The Wilder Gown

The Wilder gown has been on my project to-make list for a while now and I finally set some time aside to get this sew on the road. I am a big fan of this pattern as it has a modular design that allows for a variety of customization options. The pattern itself can be made into either a top or a gown, with long or short sleeves with dedicated lines indicating where those cut-off points are. If opting for the gown, then the skirt length can be adjusted from mini, midi to maxi and can be achieved through the incorporation of as many tiers as your heart desires. It’s rated as a beginner level project and appropriately so.
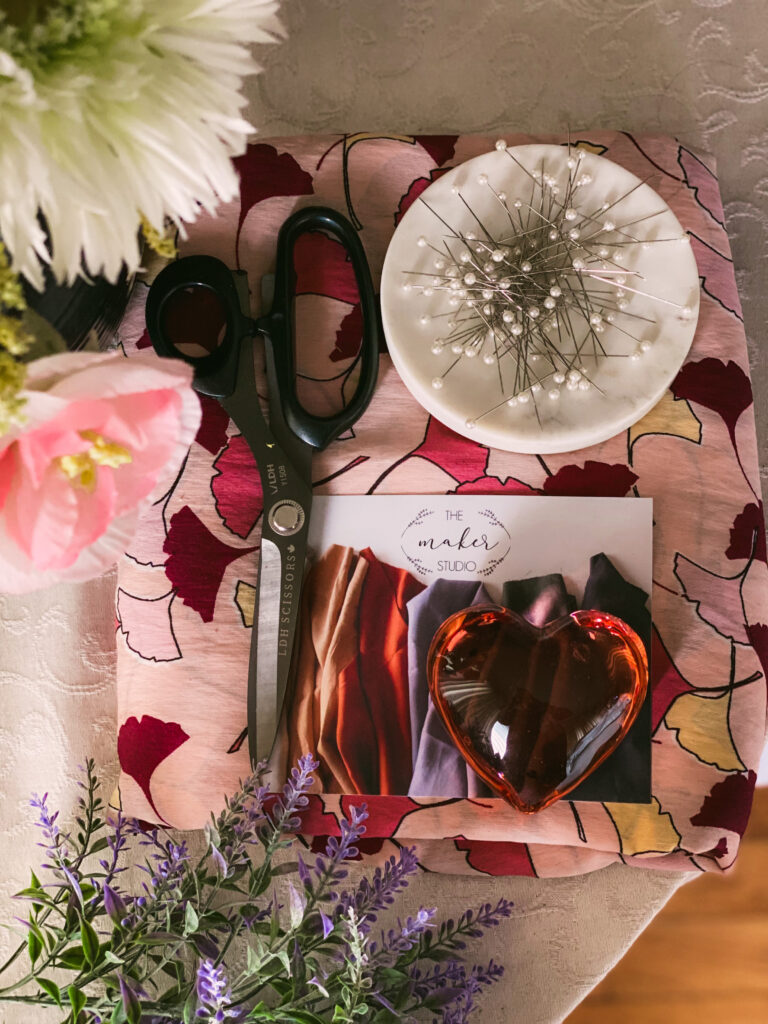
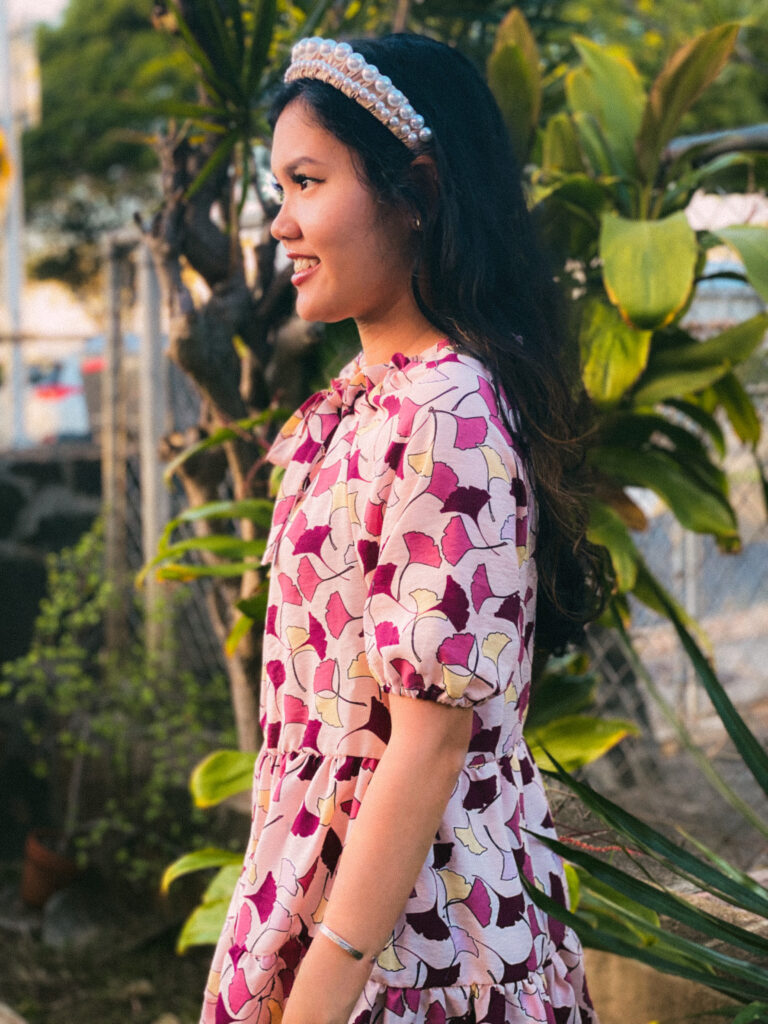
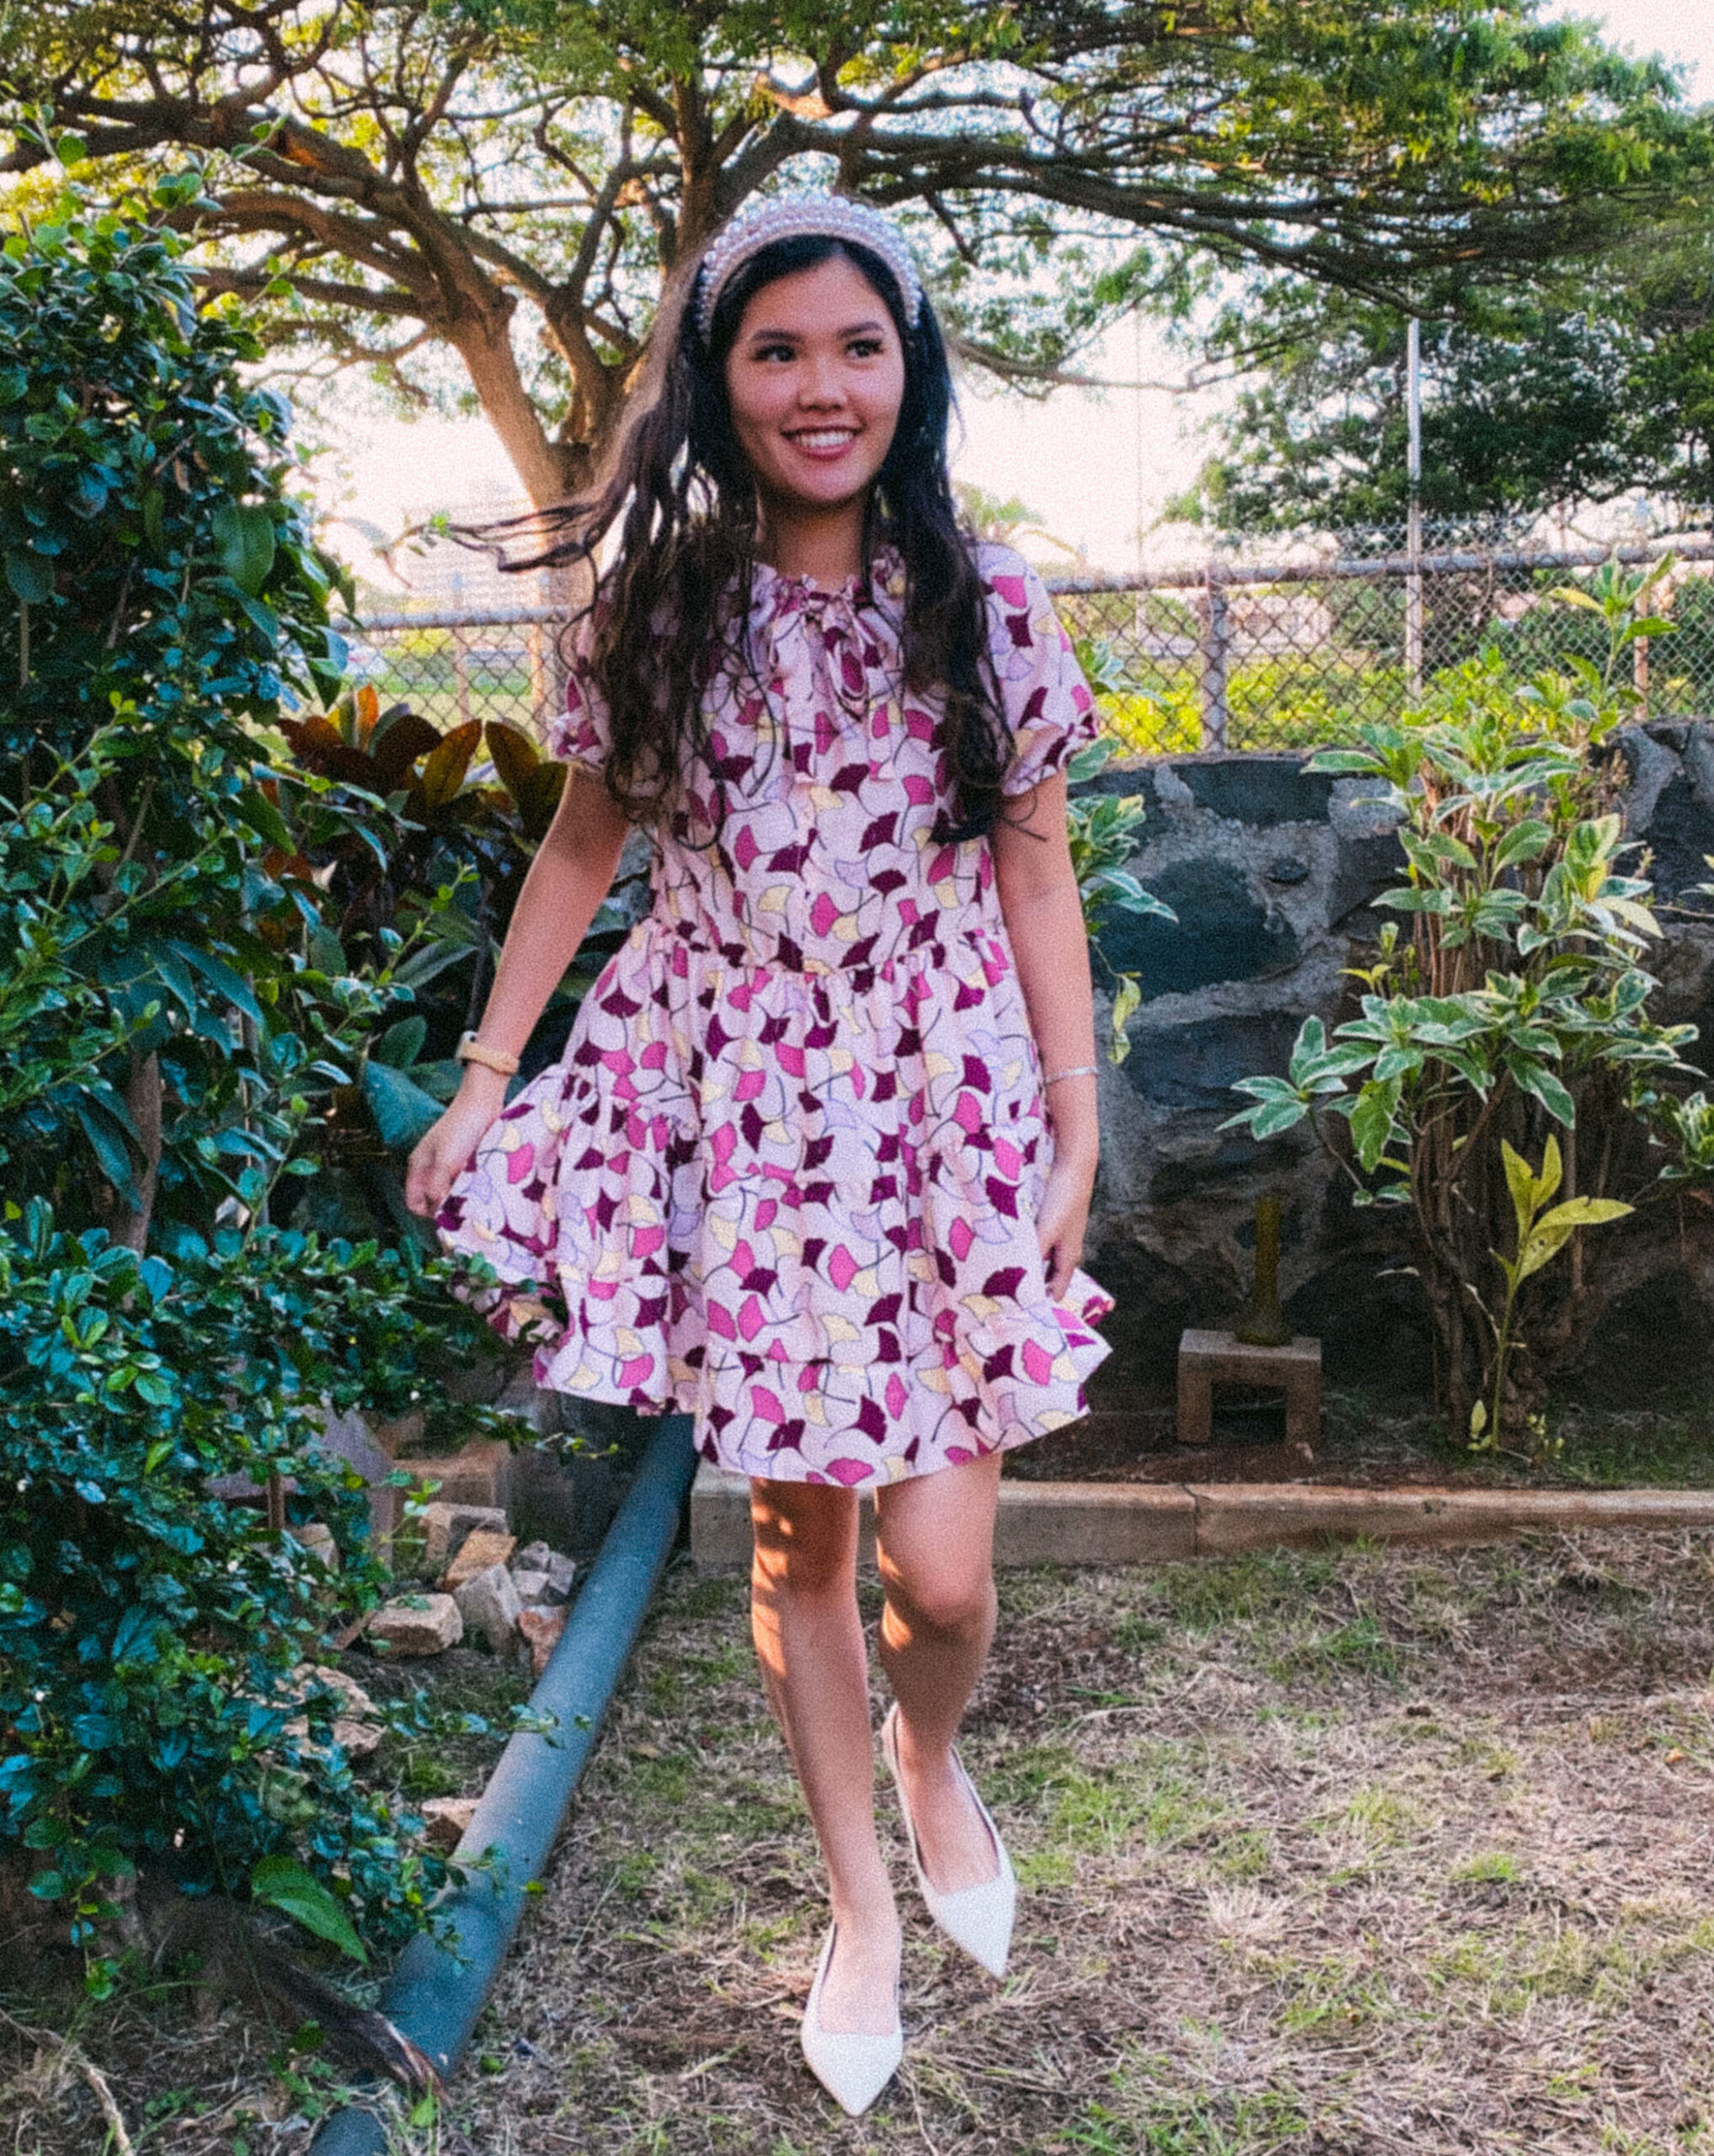
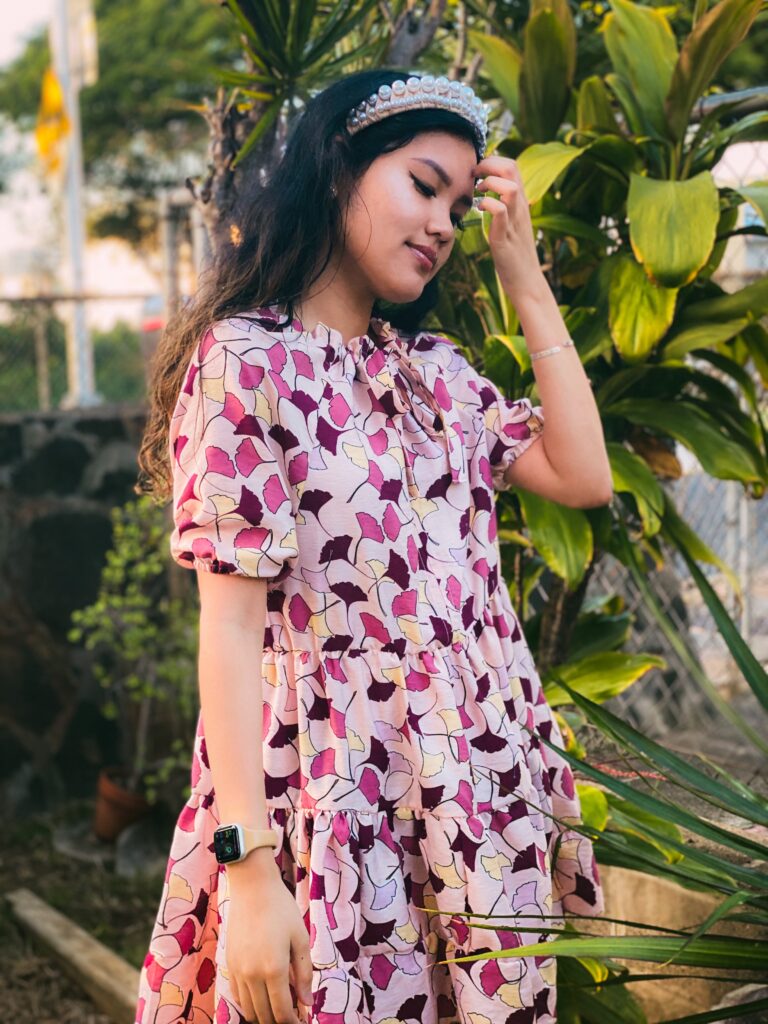
For my first version of the Wilder gown, I decided to use a deadstock cotton/poly blend gingko print and was able to whip it up in an afternoon.
I am a visual learner and though the pattern comes with detailed illustrations, I found the Friday Pattern Co. sew-along particularly helpful for construction. Although, I did veer ever so slightly off course in the way that I approached the sleeves. I wanted to add elasticated sleeves to give a hint of a puff effect. To execute this, I left a small opening (about an inch long) to feed in the elastic on the edgestitching part of step 7. I measured out the circumference of my arm where the bottom of the sleeve would hit by loosely wrapping a ¼” thick elastic around it and cutting two pieces of it at that length + a pinkie’s width for seam allowance. Please note that you don’t want to wrap the elastic too taut, because once you sew the ends together inside the sleeve and put the finished product on, you might cut off circulation. We’re all about comfort and perfusion here. Anyway, I fed the elastic into the sleeve opening using a safety pin and ensured that when the two ends met, they were both flat and untwisted. Then I sewed the elastic ends securely together using a zigzag stitch to accommodate the stretch and closed the opening by edgestitching that area and repeating on the other side.
As for the tiers, I used the following dimensions:
- Tier 1: 9”x 60”
- Tier 2: 7.5”x 80”
- Tier 3: 5”x 120”
To make life much easier, I hemmed the bottom of tier 3 using a narrow-rolled hem presser foot for a nice clean finish.
This is how the final version turned out….
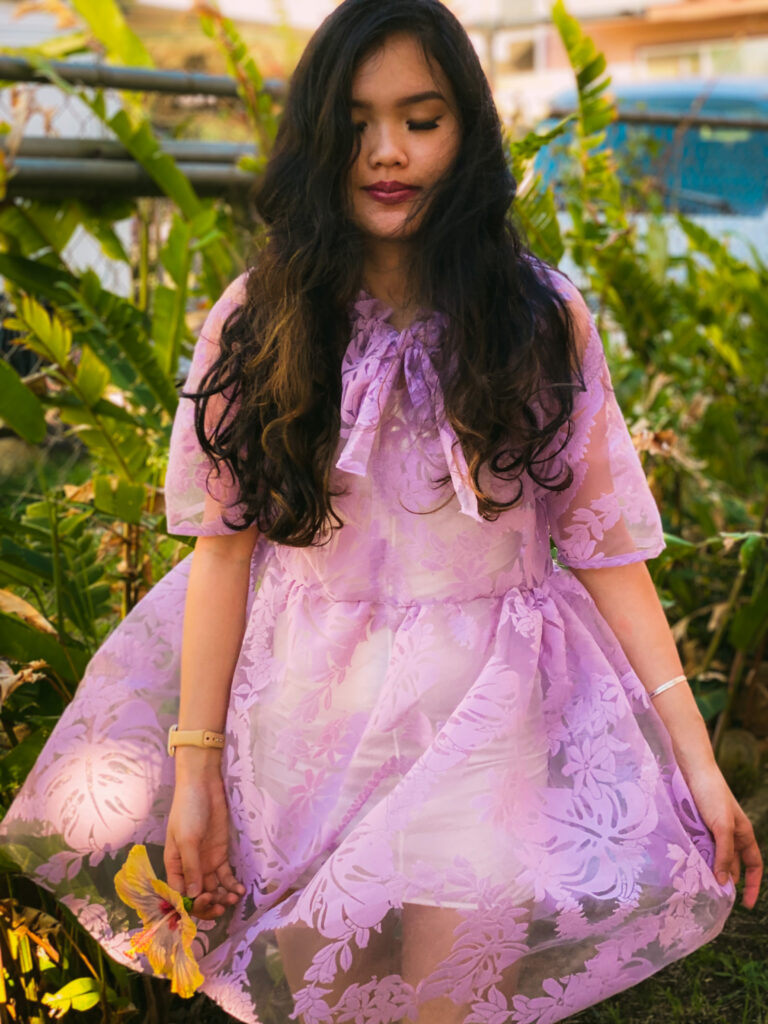
After I saw Gracie Steel’s beautiful lavender Wilder gown on IG (seen here), I was inspired to create my own. I perused my local fabric store and found this tropical design under a mountain of fabric bolts that screamed to be incorporated into my closet. As the tubes were unlabeled, I am not 100% certain what kind of fabric I grabbed but I believe it is an embossed sheer organza of some sort. For this version, I lengthened the sleeves 1.5” from the short sleeve cut line and added only one tier that was 19”x80”. In my opinion, the sewing construction is quick and straightforward and I could basically do it from memory after one go, but the only hold up is the amount of time it takes to gather the tiers in the gown. Thus, before the gathering was completed, I decided to capture how this pattern would look as a crop top.

Nevertheless, all that effort was worth it and this is how the second version looked….
The Wilder pattern is such a versatile one and with the freedom of fabric choice, top or gown selection, sleeve preference, or tier options, you have the opportunity to create many looks.