Demystifying Double Gauze

Has Double Gauze been on your “to-try” list for too long because you have heard the horror stories and remain intimidated? You aren’t alone. Or maybe you’ve tried before and ended up with something wonky, oversized and disappointingly unwearable—you aren’t alone either!
Double gauze doesn’t have to be difficult to work with– but it does behave uniquely in the world of woven fabrics.
Overview:
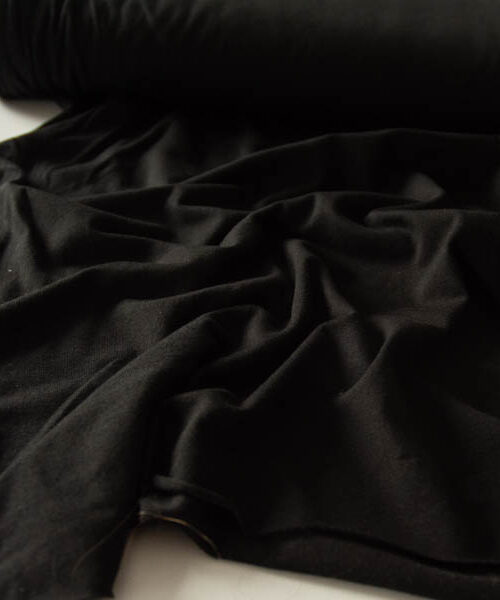
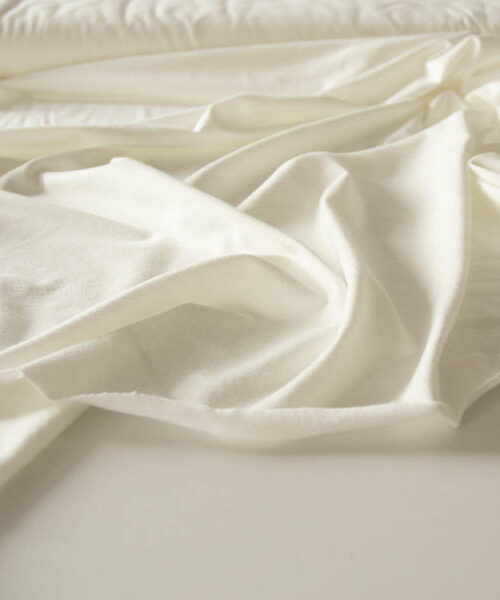
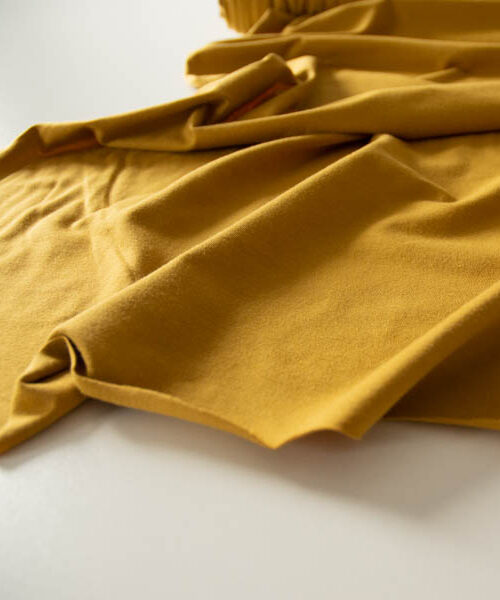
Double gauze (also known as bubble gauze) is constructed by sewing together two layers of gauze (yup, think that open weave fabric that is used for wounds— but apparel size and quality). This creates a light and lofty fabric that is both airy and cozy. I am going to focus on 100% cotton gauze, as that’s by far the most readily available. But it can come in other fibers— double gauze refers to the manufacture, and not the fabric material.
Key Concepts:
If you’ve been sewing for any length of time, you are almost certainly aware that one of the first questions we ask when it comes to fabric and pattern pairings is “knit or woven?” This IS an important question, but it doesn’t always provide all the information you need—which can result in misunderstandings and disappointing results.
The crucial follow-up question you may not be asking yourself yet is “how stable is this fabric?” Stable fabrics, whether knit or woven, are generally just going to require less caution and care. It is a common mistake to conflate “woven” with “stable.” You can have a less stable woven fabric (double gauze! It’s what we’re talking about) and a predictably stable knit fabric (pontes are a prime example).
Bearing this in mind— a lot of tips and tricks that we attribute as beneficial to working with knits in general, are actually fantastically helpful for working with any less-stable fabric.
PRE-WASH/CARE: I like to keep natural fibers as easy-care as I can, so when I bring double gauze home, I throw it through a normal wash and dry cycle. This usually results in puffing up that iconic texture. I love that look and see no reason to fight with it, so I don’t. I have seen others suggest pre-treat as you will wear it, so if you want it flat, then iron it at this point. I’ll be honest, if I don’t want the texture, I’m going to opt for something like a cotton lawn, instead. Some sources suggest that you lay the fabric out flat to after drying, or air dry. I have neither the space nor the patience for this. I’ve never found it necessary— but you can try it if you like! Let me know how it goes. In any case, pre-washing for garment sewing is a big “YES” from me.
Handling note: precision and perfection are not the approach for this fabric. It has texture, loft and a certain amount of pliability. The more you try to force and cajole double gauze into submission, the more stretched and blob-like your garment is likely to become— both from warping and over-handling. It is a light and airy fabric that benefits from a light and forgiving hand.
PLANNING & CUTTING:
Choosing your pattern— I highly recommend patterns with generous positive ease and simple details and style lines. Consider that it’s better to steam than press, so anything with sharp creases and really defined lines, fitted features and fine details are not the most natural pairings here.
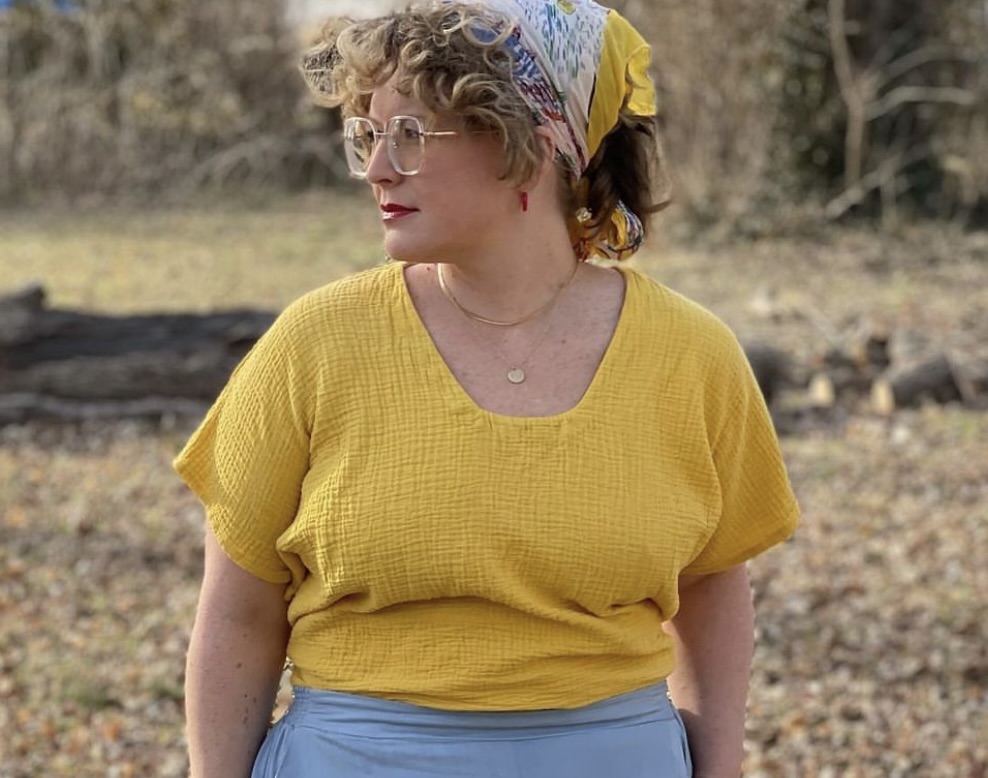
When pattern elements need a bit of extra structure—I’ll often choose to use more stable fabrics for the internal elements of a garment. For instance, my Fibr & Cloth Yarrow top is faced with a quilting cotton to maintain the neckline’s square shape. I find this is an excellent way to add that extra bit of structure. I prefer sew-in-interfacing when attaching it directly to my double gauze– and this brings us to our next key point…
DO NOT PRESS—STEAM & HOVER: I don’t iron, or press, my double gauze directly. Again, I try to maintain the fabric’s loft and texture as much as I can. So, I steam and hover my iron, instead of pressing down.
SEWING:
Machine Adjustments: I find it most helpful to try to maintain the size and shape of the cut piece, with the loft and texture still intact as I go. To do this, I set myself up as follows:
- Lengthen stitch length to 2.8-ish
- Use a 70-80 universal needle
- Adjust tension on your machines– I don’t always find this necessary– but for both my home machine and my serger, snugging up the tension/differential– just like you would with a knit– can be helpful to minimize warping
- Adjust pressure foot pressure– Again, we want that fabric to puff on through, so to avoid pulling and warping, you can lighten your pressure foot pressure
If you haven’t worked with double gauze before, I recommend testing and swatching to see which adjustments work best with your machine.
Finally, consider a walking foot: If you’ve ever asked me for help with tricky fabric, you’ll almost always hear me proselytize a walking foot. Honestly, it’s probably the most valuable foot in my tool-kit. It’s like an extra set of hands, pins, clips, miracles… It keeps things in place as it feeds through, evenly.
NOTE: my sewing machine came with a walking foot— I have heard from some folks who have gotten “cheap” versions (and I mean this as a representation of quality, rather than actual cost) can have issues with fabric snagging. As always, test before the rest. Because this is such an open fabric, it can be prone to catching and snagging.
Best Practices:
There are a few techniques I have found that are particularly effective when working with double gauze.
French Bias Binding Method: I have heard that it’s best to avoid bias cut finishes with double gauze. I understand this, but have found a few ways to circumvent total avoidance— and I love to enclose my raw edges as much as possible with this fabric as it easily unravels. My favorite method for binding is called the French bias binding method.
I am going to confess something here– the whole point of bias cutting is to be able to manipulate around curves. I’ve found that since the nature of most double gauze is naturally stretchy/pliable enough I can get away with cutting my strips on-grain and still get a lovely finish. Proceed with caution, as I’ve not found evidence of this advice anywhere but my own sewing— but when I’m tight on fabric, I’ve cut this way more than once with happy results.
French Seams: While I have used a serger and quicker finishing methods—I find the best results and longest wear comes from taking a little extra time to enclose the seams of your garment, and French seams are the most readily available technique, especially for standard 1/2”-5/8” seam allowances.
Finishing touches: When it comes to finishing, my favorite options are light and slow— a bound or enclosed edge, or a a narrow, hand-coaxed hem, using steam instead of pressure, are my preference. A deeper hem (3/4-1”) is often suggested as an easier option and can work extremely well– though I will often hand roll and steam for a narrower finish.
Last steps:
The last step I take with double gauze is throw my garment back through the washer/dryer cycle in what I call a “shrink cycle.” No matter how careful you’ve been, this last step will help redistribute the texture and loft. It is likely that your piece grew as you were working with it, and I find this final step is necessary before assessing the garment’s true fit.
NOTE: it is not uncommon for DG newbies to get to this point, before washing, and feel disappointed by the oversized fit and how much the fabric grew. PLEASE don’t make final judgements until you’ve taken this final step. I, personally, find that a normal wash/dry cycle does the job perfectly.
If you’re ready to try this gorgeous fabric, you can find beautiful options here.
And if you’re looking for pattern suggestions, here are some of my favorite options for beginners:
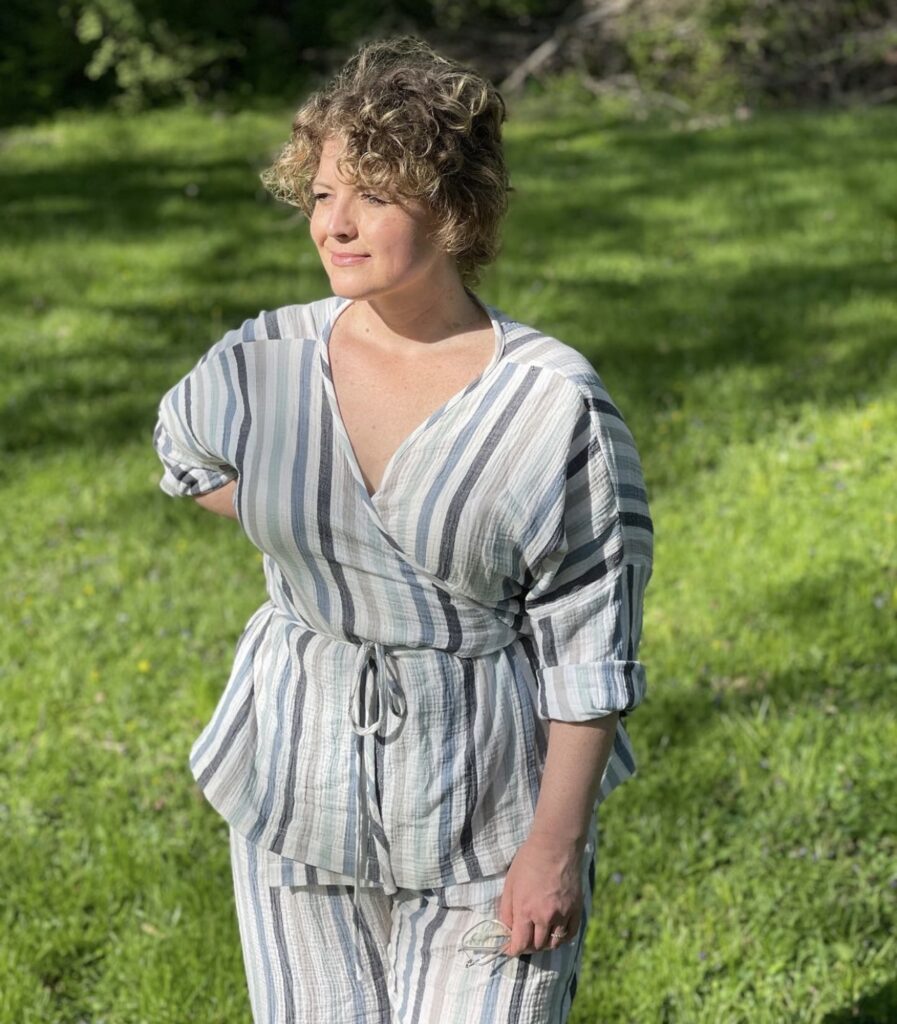
Sew La La Rumi (pictured in sample)
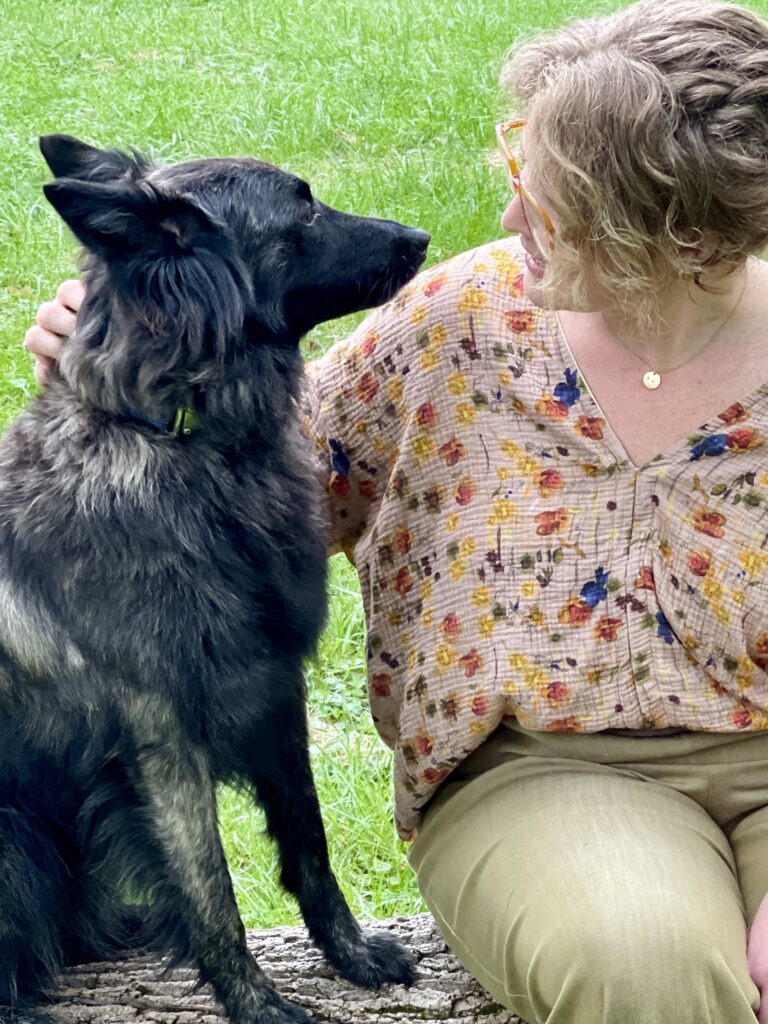
Fibr & Cloth Yarrow Top — All of her patterns work really well with double gauze– this one is just my favorite for beginners. Alexis (founder of Fibr & Cloth) is a fellow contributor for The Maker Studio as well!
I hope you now feel emboldened and excited about using this fun and unique fabric. Wearing it is like wearing a cloud– it’s lightweight and cozy. While it is most often associated with warm-weather sewing, I love wearing it year-round and find myself reaching for it over and over again.


Thanks for these tips – was looking for advice around make bias tape for double gauze and this has inspired me to give it a go!
I have been obsessed with double gauze this summer. I was drawn to buying garments back in the 70s.
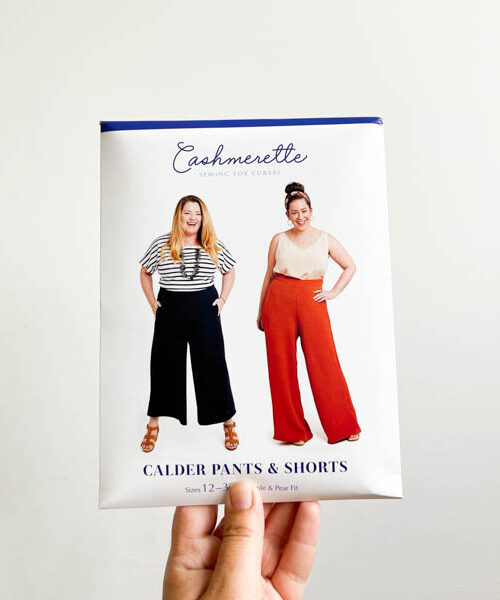
Tunics & shorts, blouses and pants are my go to garments this summer.
Loose patterns with serged seams and self-binding look the best.
Super helpful and perfectly timed as I try my first double gauze project