TUTORIAL: Adding ruffles to sleeve armholes
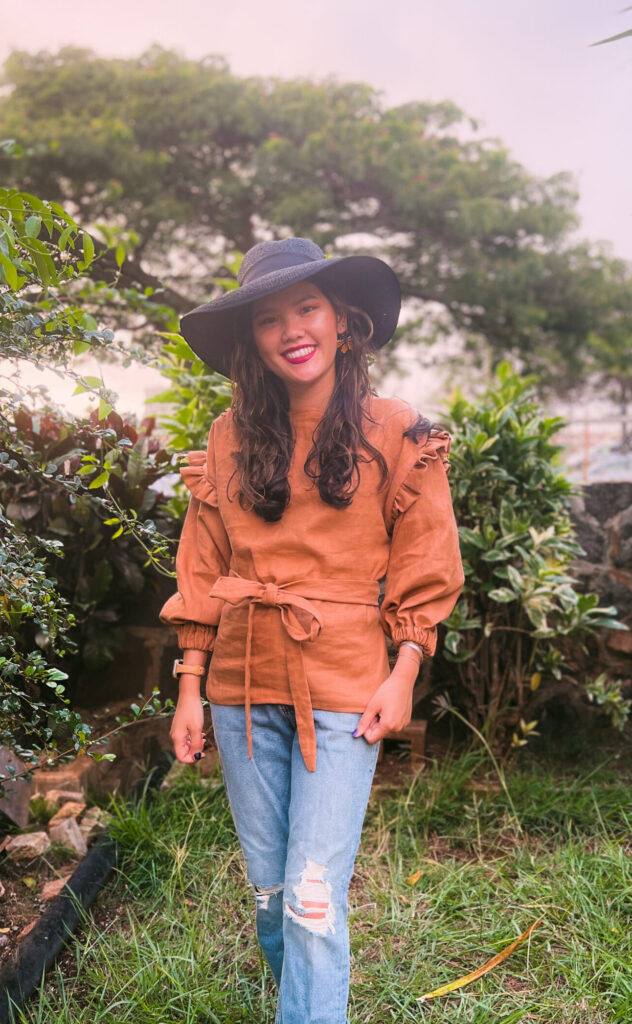
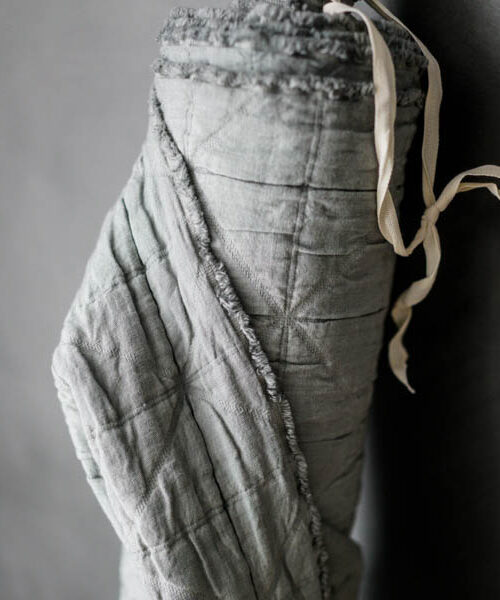
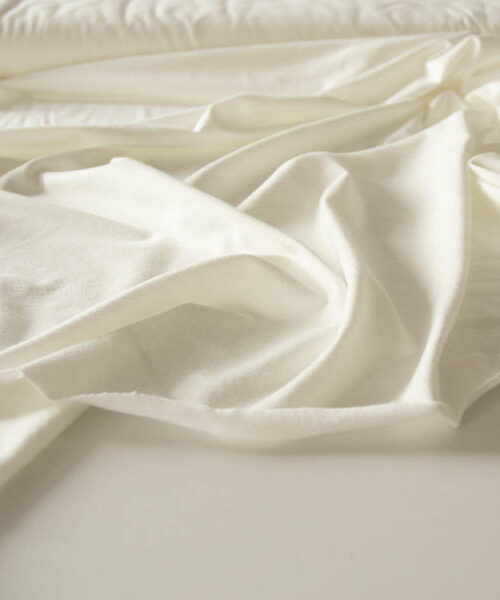
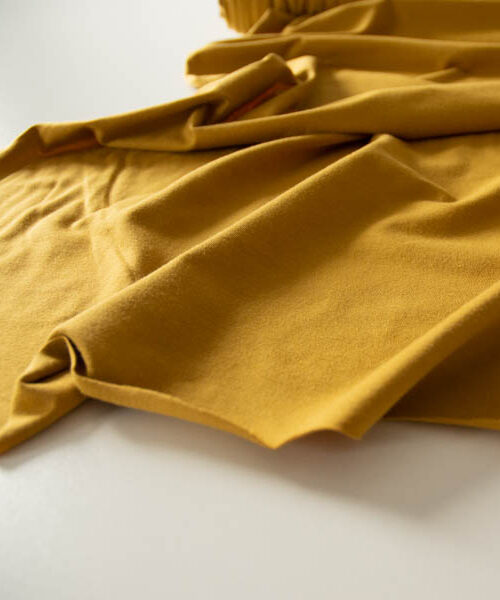
As fall rolls in with the changing of the leaves and crisp air (though not where I’m from…but it’s nice to visualize), the desire to throw on a cozy long sleeve grows. Enter the Papercut Array pattern paired with the Vivaldi linen in Clay, a material that gets softer with every wash in an earthy, autumnal hue. A combo that would at least give me the illusion of engaging with a four season experience. I thought that this pattern would be complemented with a ruffle detail just along the top of the sleeve where it connects to the shoulder area.
To accomplish this, follow the pattern as prescribed but pause after completing step 11, preparing the sleeve. With the sleeve pressed in half, measure at least 1.5″ from the armpit region and mark with a washable pen. This is to make sure that the ruffle won’t add too much bulk and discomfort under the armpit when wearing it. Then measure the distance from there to the top of the shoulder seam. Repeat on the back of the sleeve. Add those measurements together, multiply by 2 (I also added an inch for good measure), and that will be the length of the ruffle strip that’ll be cut with either the same fabric as the body of your top/dress or in a contrasting pop of color.
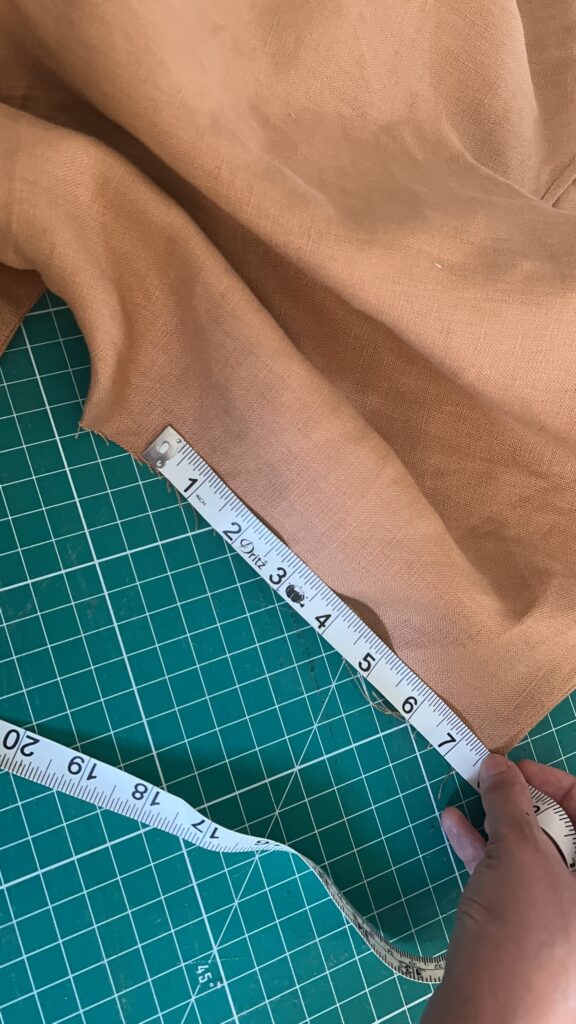
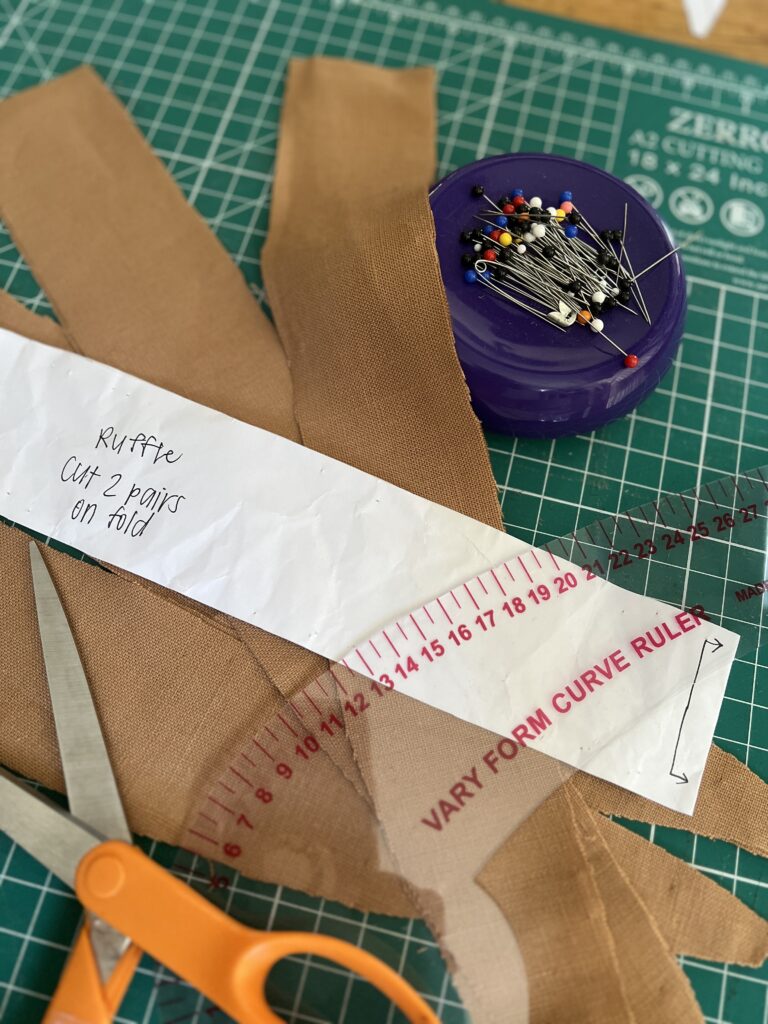
Decide how wide you want your ruffle to be. I made mine 2″ wide. Draw out a rectangle with these length and width measurements.
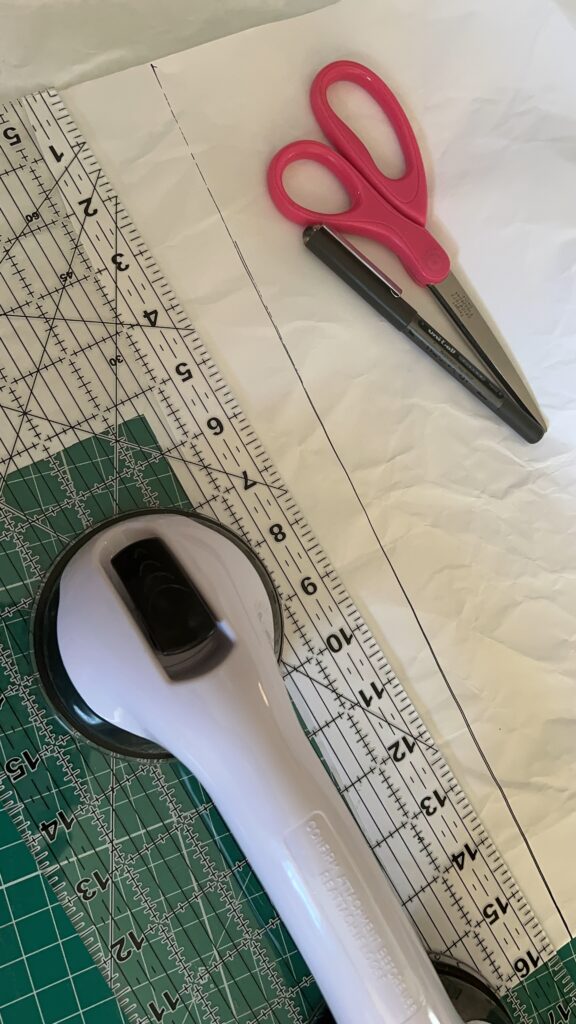
Then take a curved ruler and taper one end so that it’s approximately 0.5″ tall.
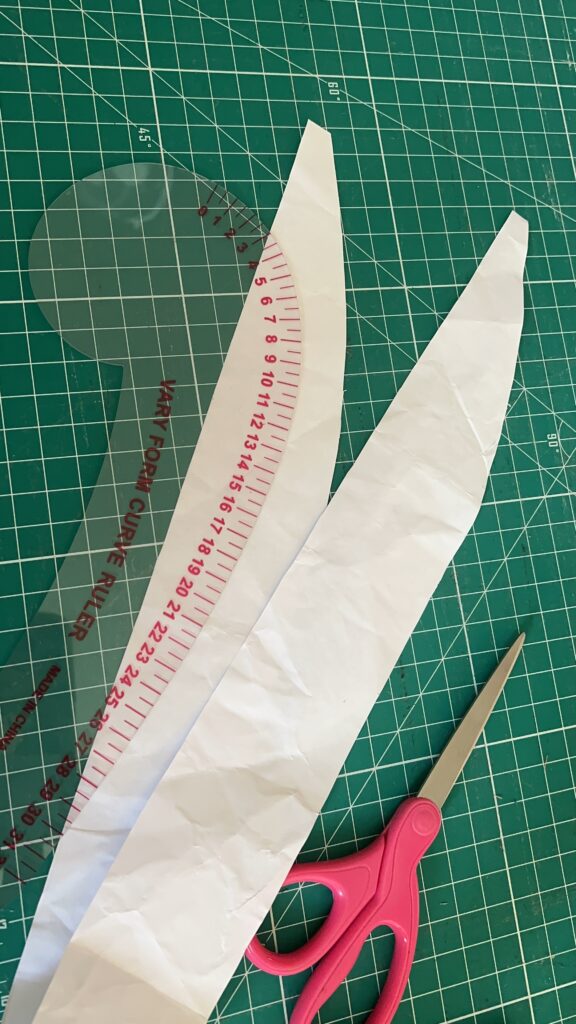
Place your ruffle pattern template on the fold of your fabric and cut out 2 pairs.
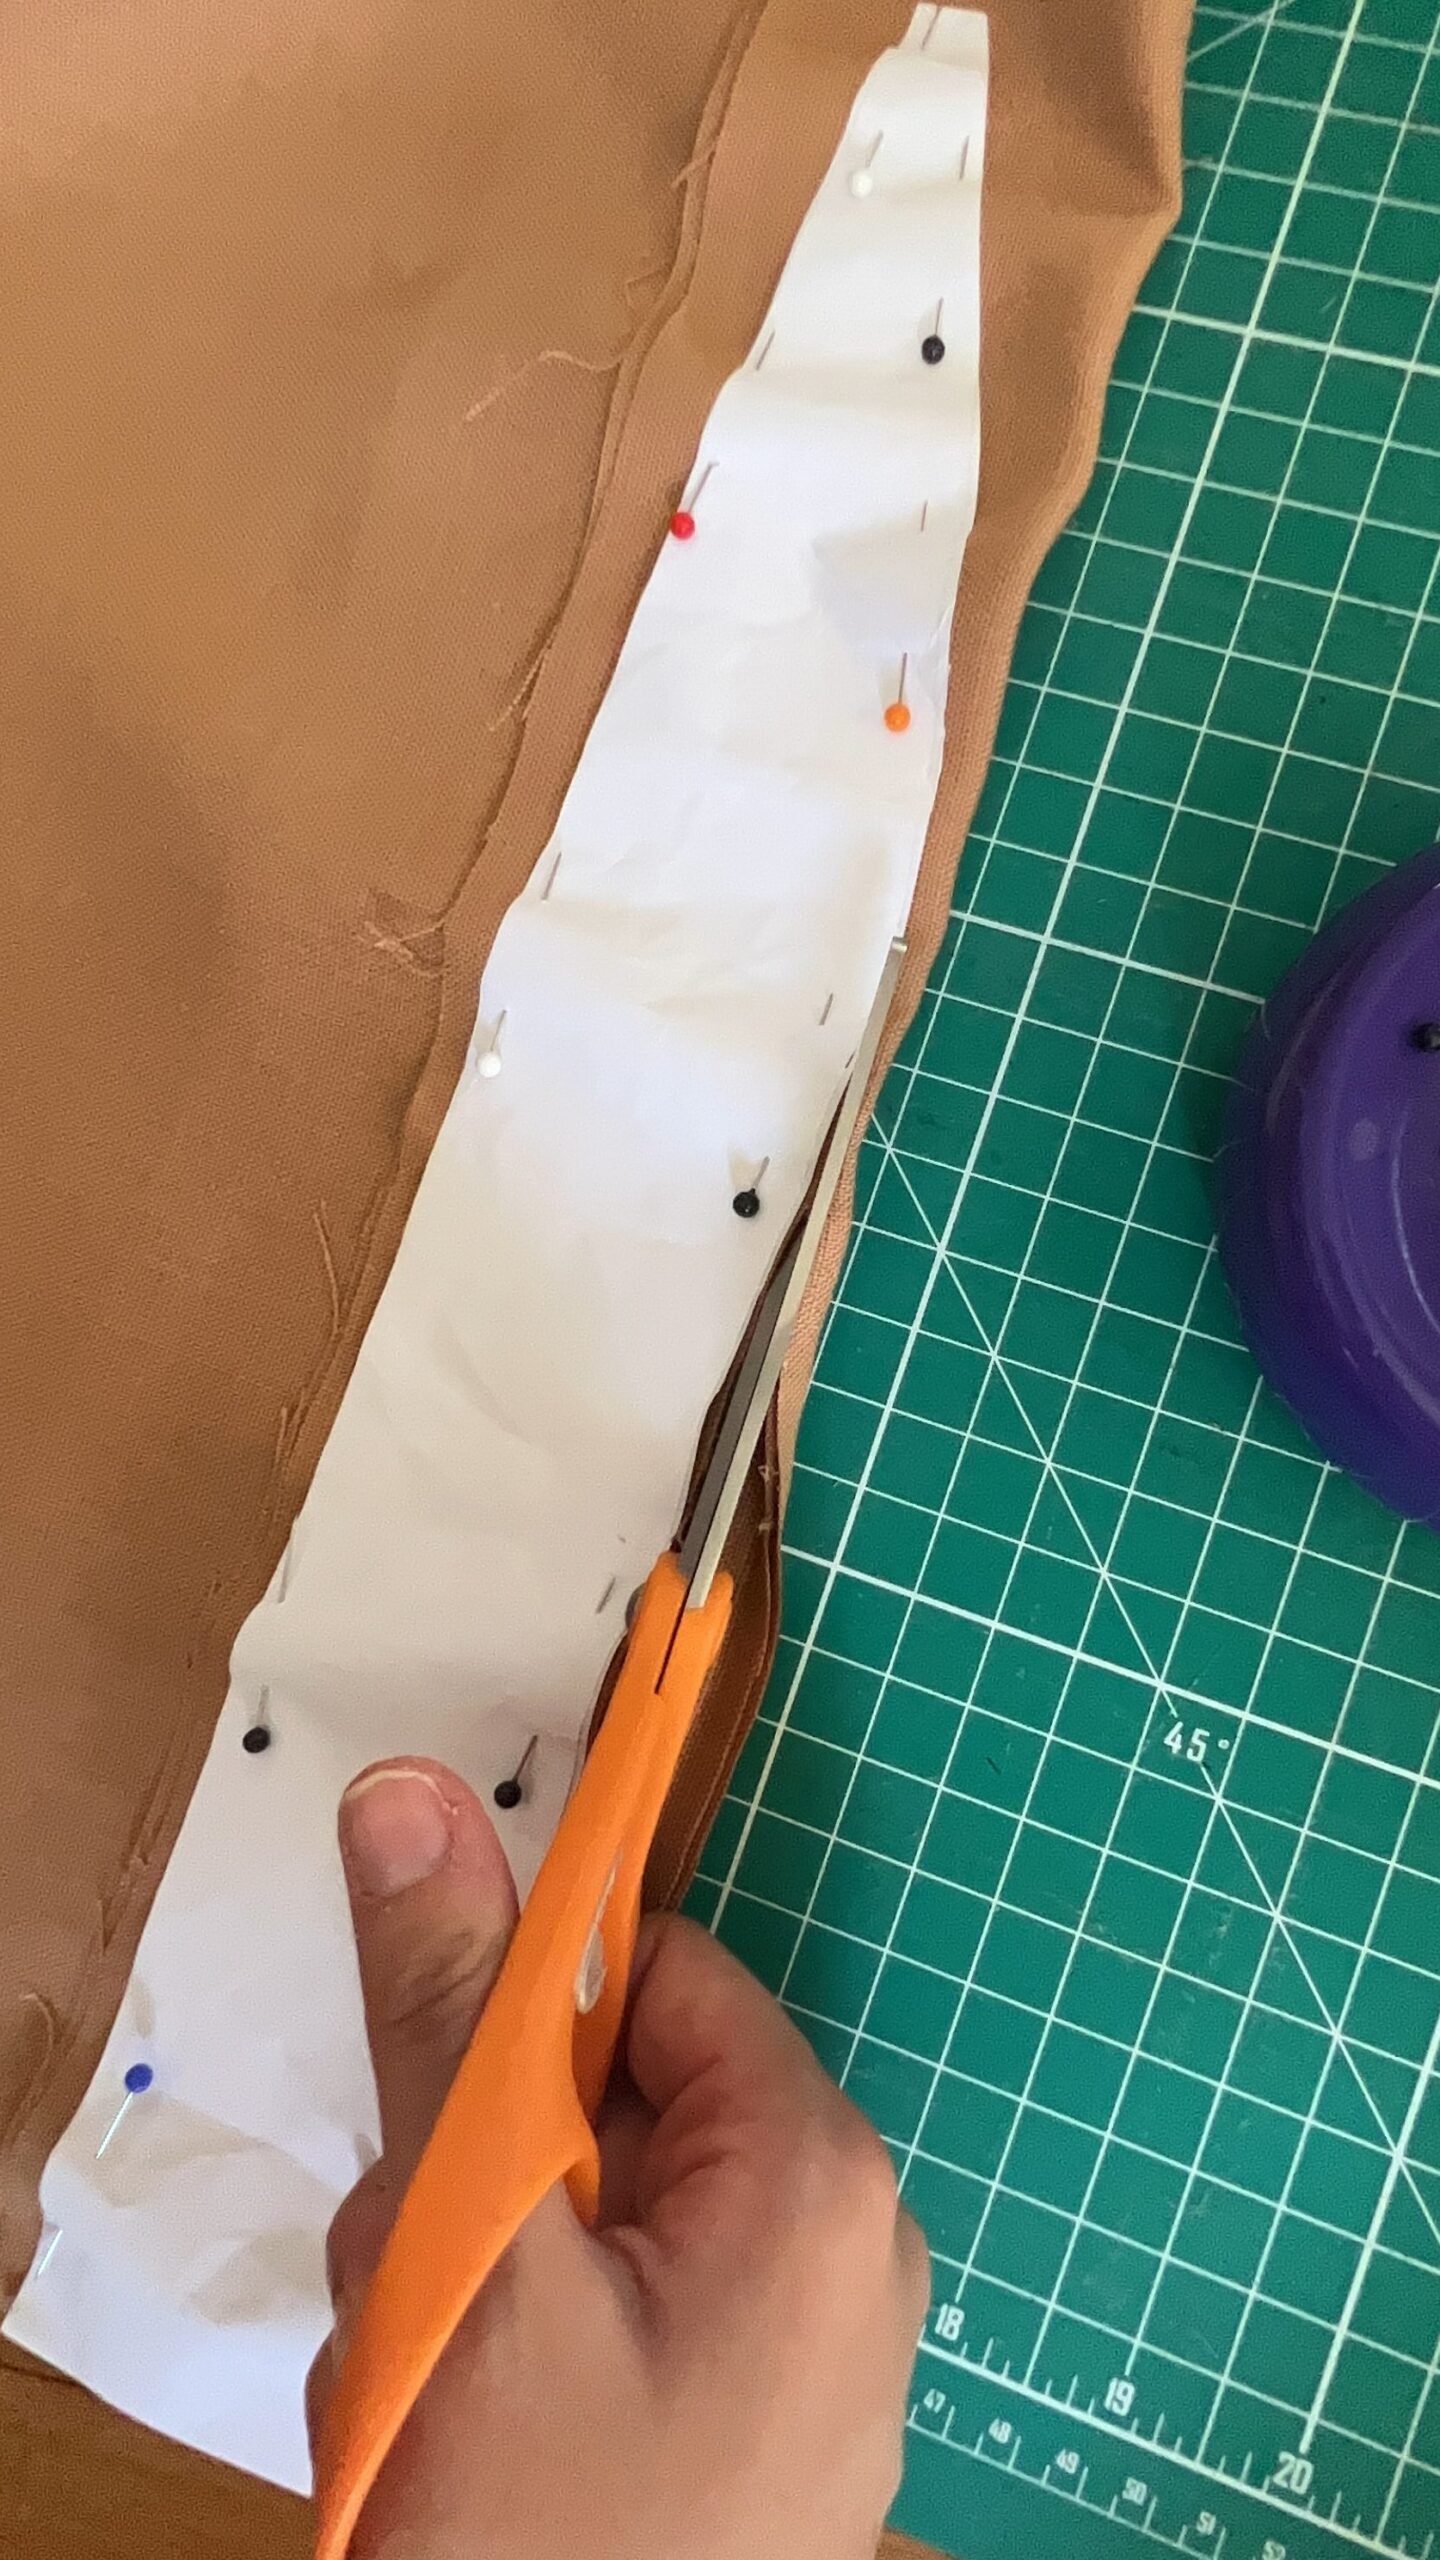
Take one ruffle pair and sew along the curved edge with right sides together using a 0.25″ seam allowance. Reduce bulk by trimming with pinking shears. Repeat with the other pair. Then turn right sides facing out and press.

Use a basting stitch to gather the bottom of each ruffle piece.
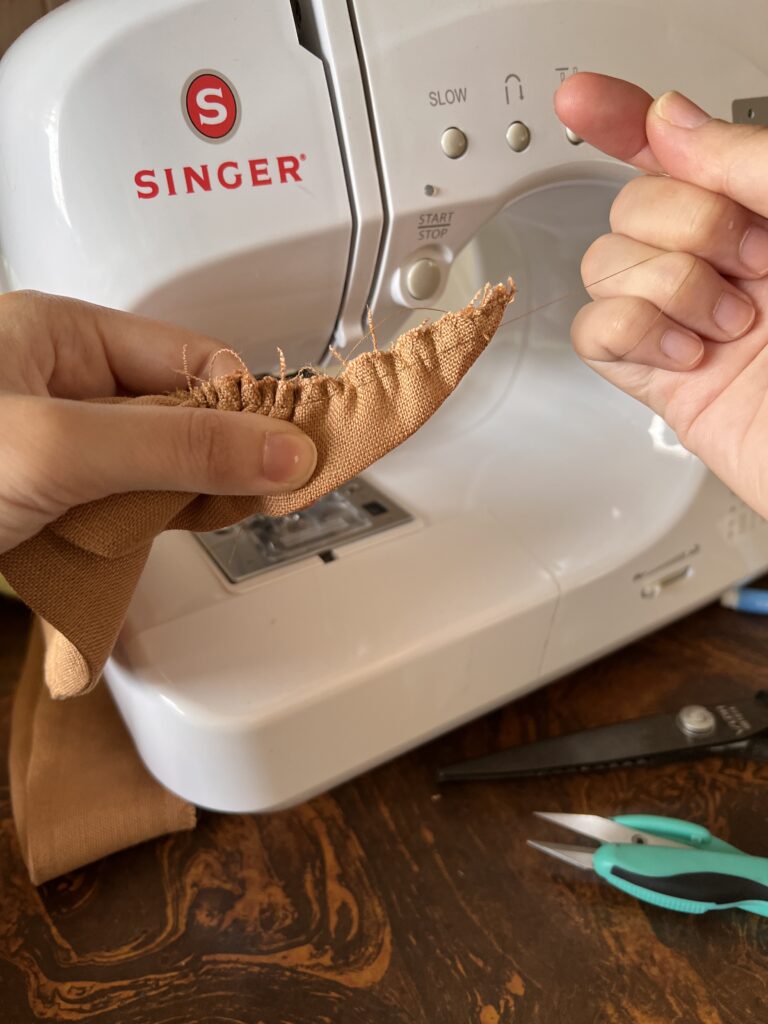
Gather to the length above the 1.5″ marks on your main top/dress body and pin in place. Sew down with 0.5″ seam allowance.
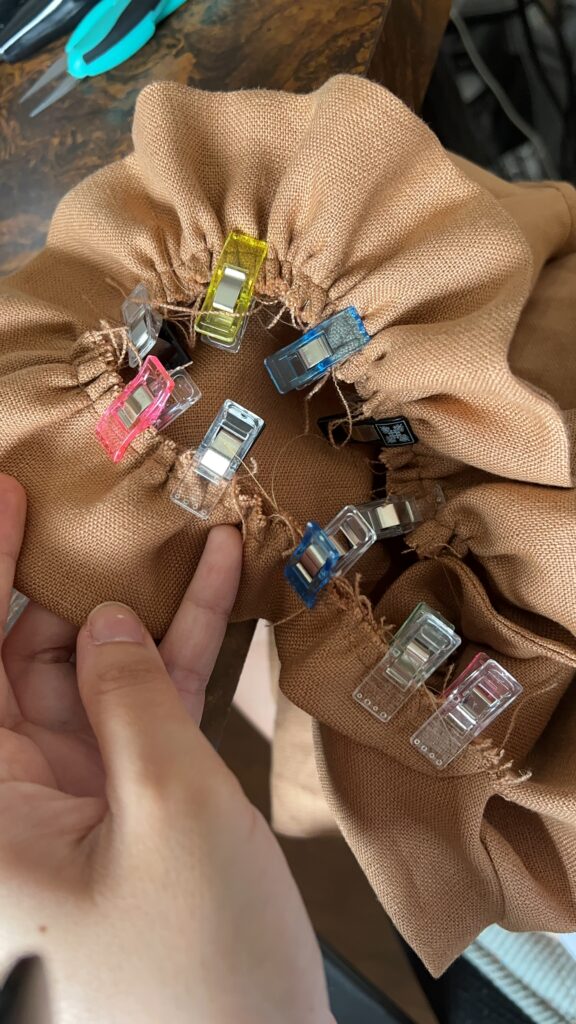
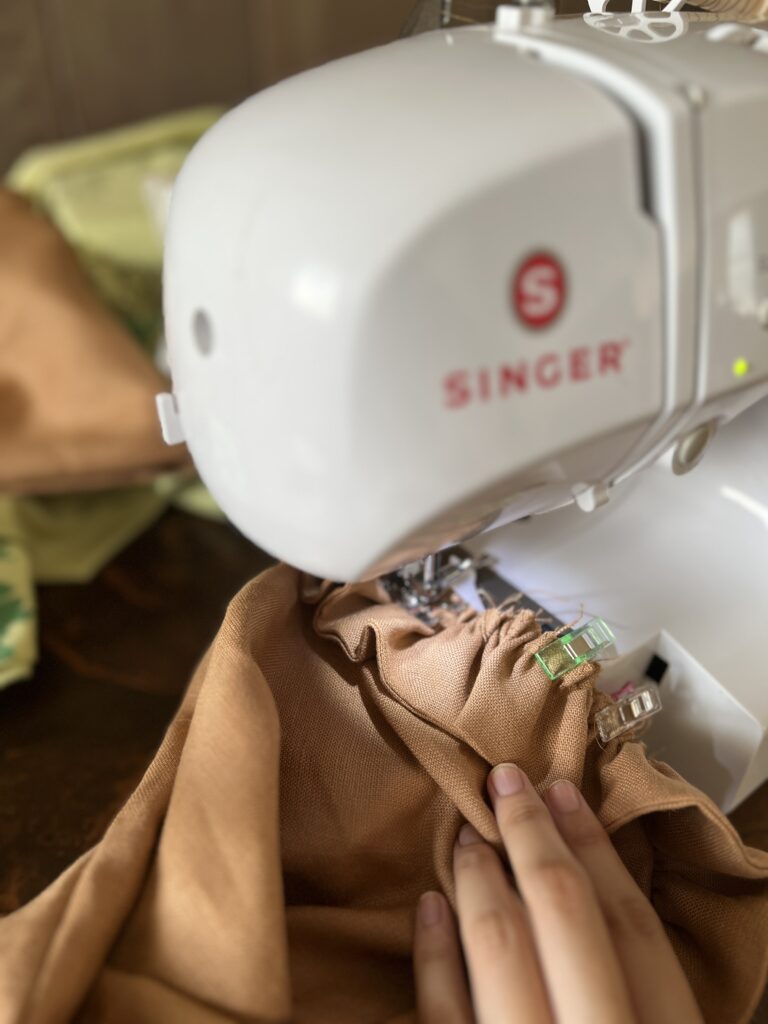
Then proceed with step 12 of the instructions to connect the sleeve to the main body at the armhole with right sides facing, ensuring the ruffle is sandwiched between them. Sew in place and finish the seams. Repeat on other side. Continue with the rest of the pattern’s instructions to finish your garment.
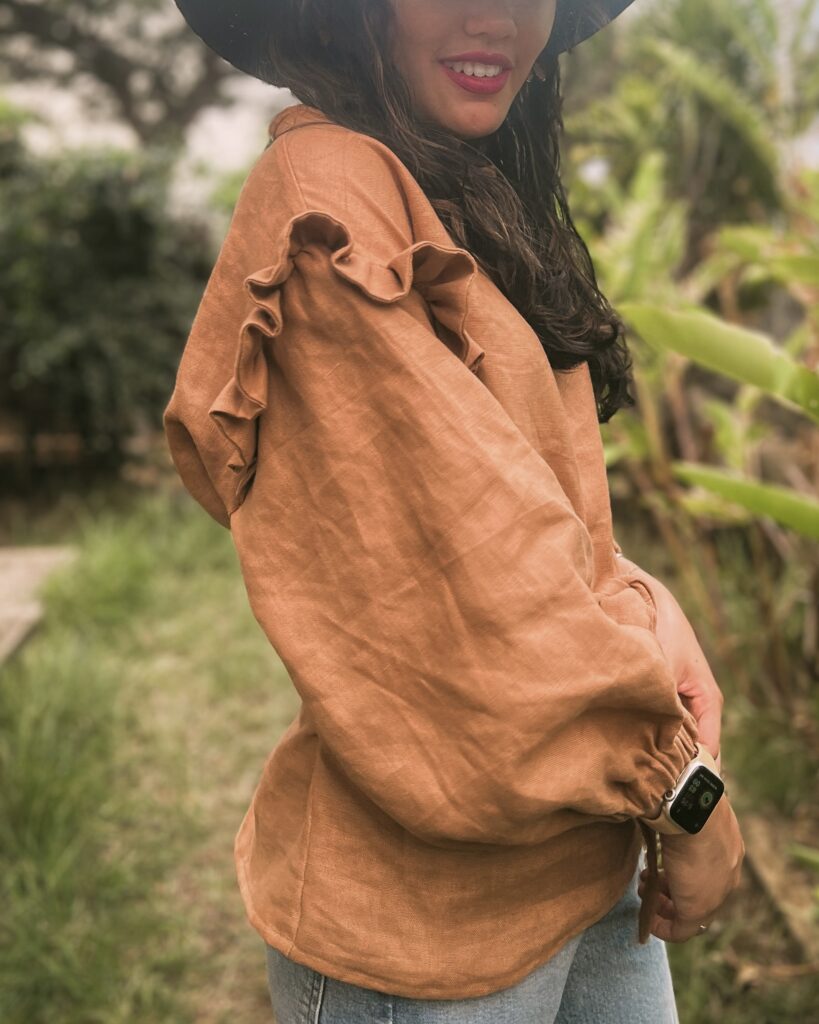
In the end, it should look something like this..
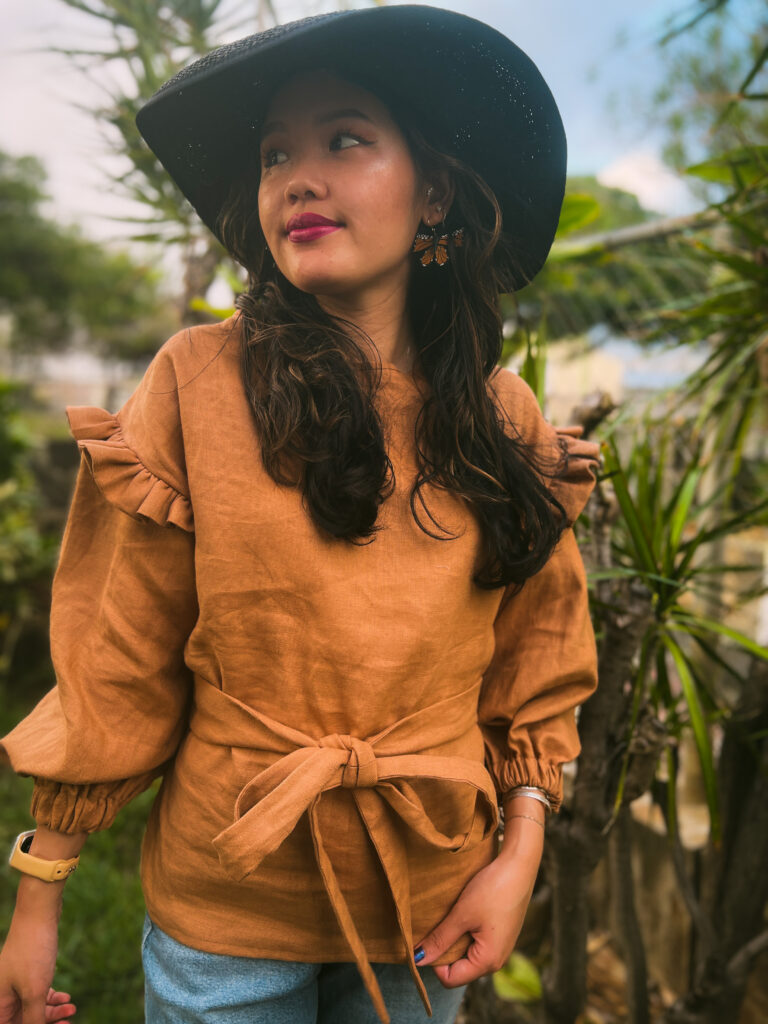
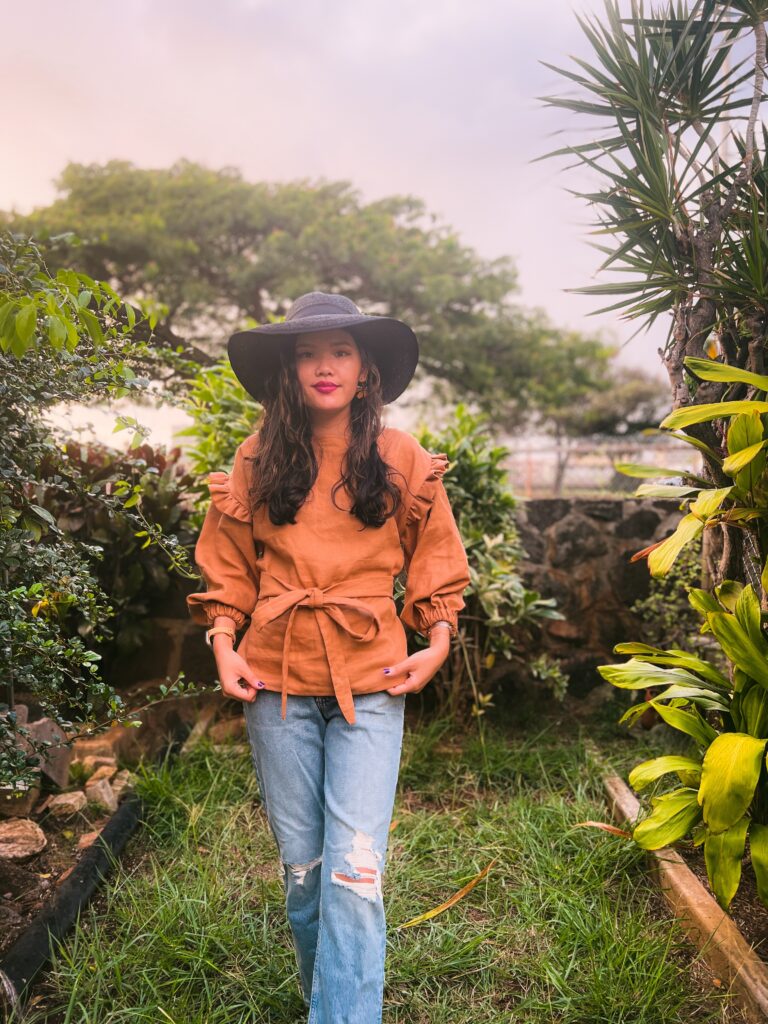
If you choose to add a cute ruffle detail to your sleeves, be sure to tag me on IG: @rumer_has_it, so I can see what you make!

