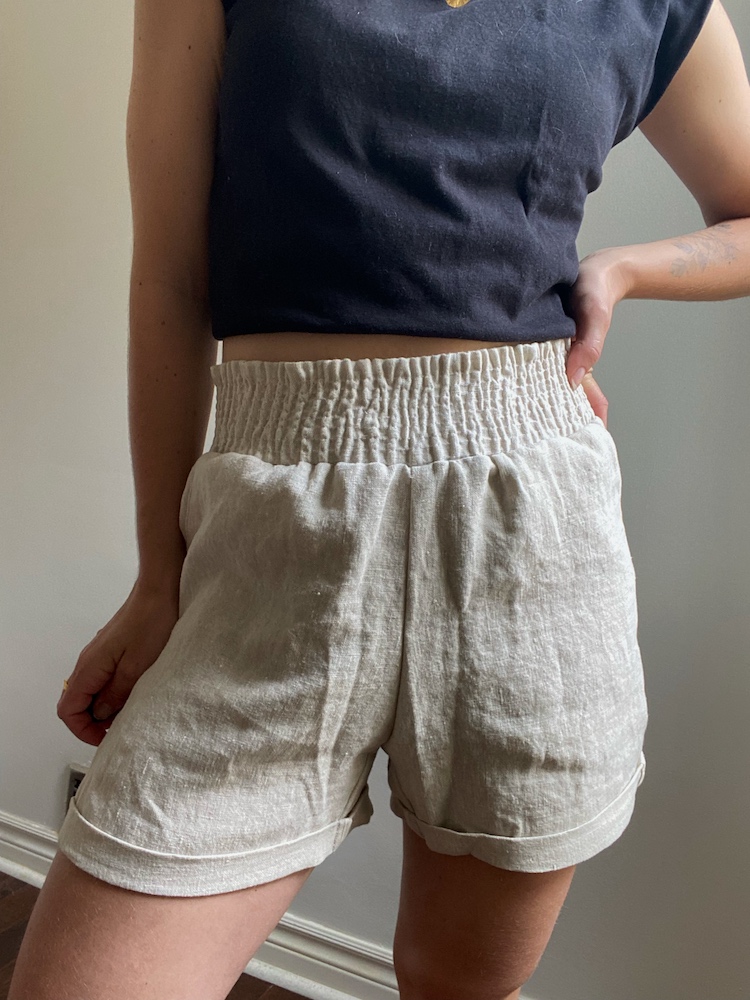
Hacking Elastic Pants to Make Shirred Shorts

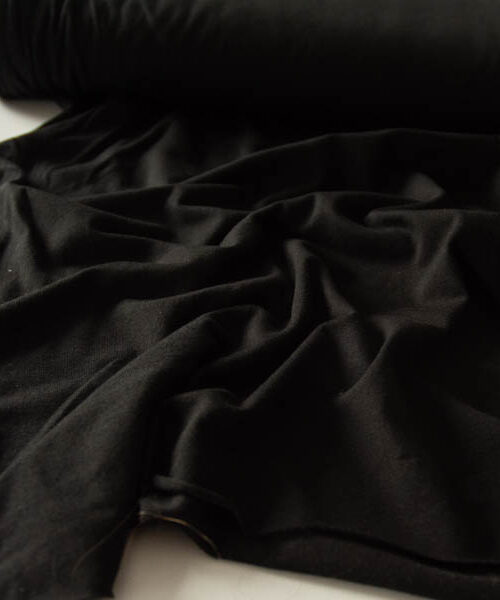
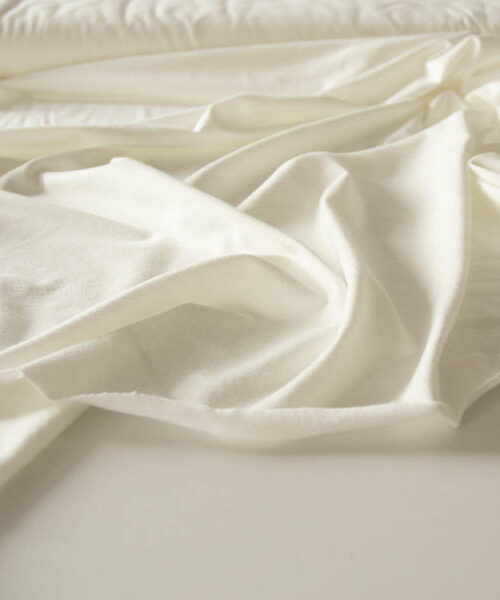
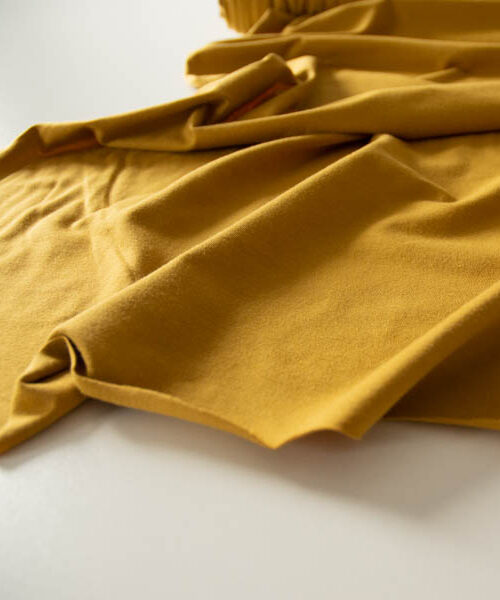
There is nothing like linen when the weather starts heating up. As the seasons changed I realized I tend to gravitate towards the same one pair of shorts I like best, and that just won’t do anymore! I decided to make a pair of neutral linen shorts using this stunning Vivaldi Linen because they will go with absolutely everything and get so much wear over the coming months.
I went hunting through Pinterest for inspiration, and decided to pattern hack a pair of pants I’ve already made to make it work with my vision. I chose the straight leg lounge pant from the Peppermint x Common Stitch lounge set, as the crotch fits me perfectly and has fantastic pockets. I recommend choosing a pattern you’ve made before and fits you well.
Here are the mods I wanted to make:
- Shorten the length to 2-3” below the crotch line
- Reduce pocket length (so they wouldn’t poke out from under the short)
- Change the hem to a cuffed hem
- Extend the waistband to make it 3”
And here’s the major modification: ditch the elastic and use shirring!
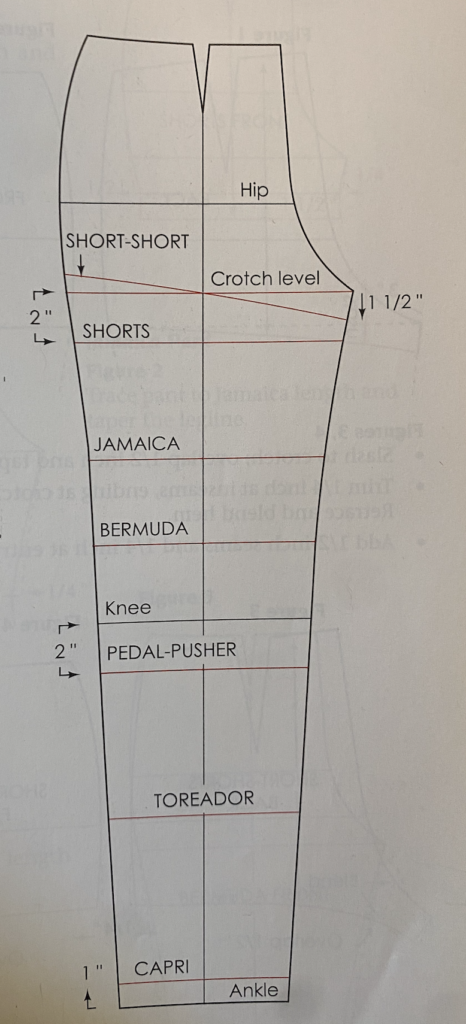
When it comes to determining length, I found this visual from the Joseph-Armstrong textbook helpful. It suggests a short is 2” below the crotch line, but I left a bit of extra length to see what I would feel most comfortable in.
Instructions:
- Assemble the short as the pattern indicates, up until the waist band. Don’t finish the hem yet.
- Assemble the waistband attaching short ends together. Every pattern instruction will be a bit different, but basically you want to have a loop.
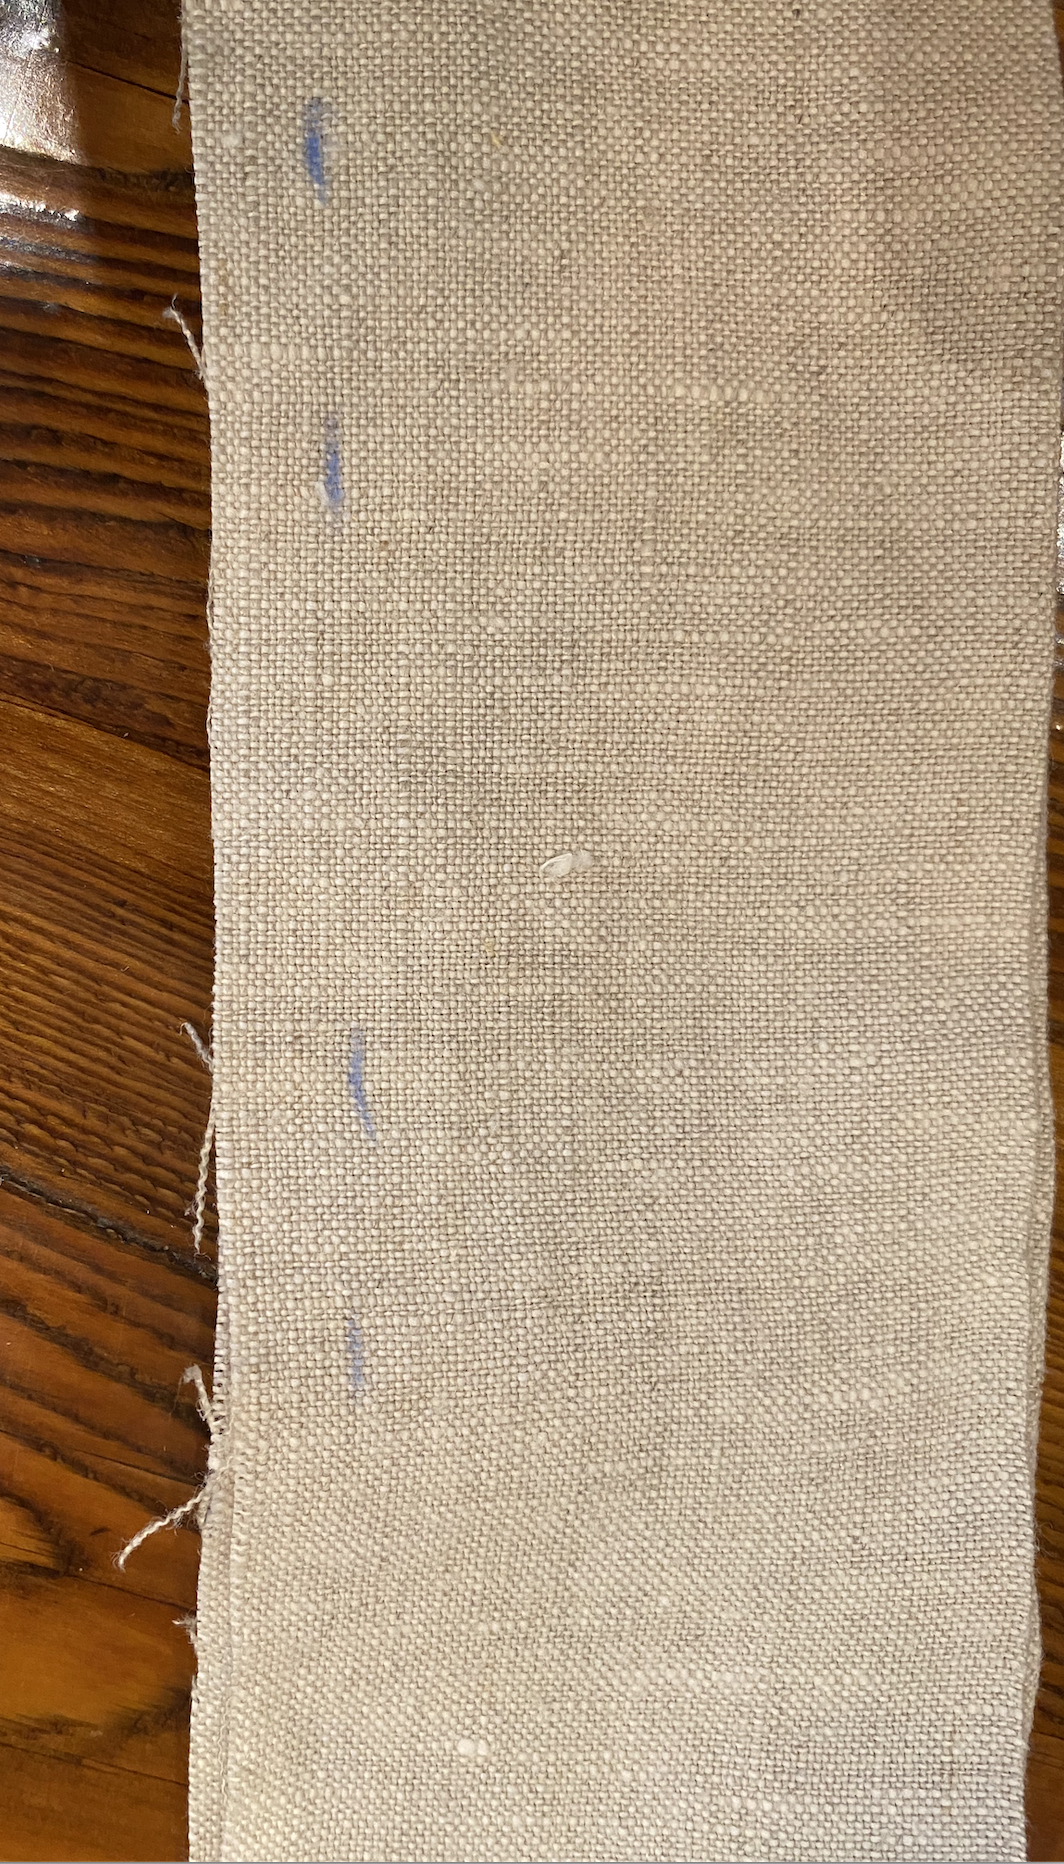
- Mark the seam allowance where it will attach to the shorts along both long edges of the waistband. This is where you will stop shirring. Here is what it looks like marked on one edge of the waistband:
- You’ll want to leave about a 2cm gap where your waistband will fold in half. You can determine where this is by folding the loop in half widthwise, and marking down 1cm from each side of the fold.
- Handwind your bobbin with elastic thread. You might want to test winding it tighter or looser to see what works best with your machine. Don’t forget to test on some scraps first. My machine worked best with a stitch length of 4 and tension at 2.
- Start shirring rows about 1cm apart around the loop, starting at the seam allowance mark on one fo the raw edges. I went in one big line of stitching around, instead of stopping and starting every row. Stop when you get to the marks you made at the centre fold, and seam allowance marks along the raw edges.
- Fold your waistband in half widthwise and give it a good steam to tighten up the shirring if needed.
- Attach your waistband to your short.
- Try on your shorts and decide how short you want the final length to be. Mark this length from the crotch along the inseam.
- Cut the shorts 2” longer than the final length.
- Fold the hem up 1” towards to right side of the fabric and press, and repeat.
- You can finish the cuff two ways:
- Top stitch 7/8” from the bottom of the cuff
- Stitch in the ditch on the inseam and side seams to keep it rolled up in place. From time to time you might have to tuck the hem in and re-press to maintain the cuff
Now go show off your easy shirred shorts!
Here are the exact measurements of my mods:
- Shortened pockets by 1.5”
- Since the pattern I chose had a fold over waistband, I created a waistband piece that measured 19.5” x 6 3/8”. I cut two pieces for front and back waistband pieces. Here’s how I got to this number:
- 1. Measured the front and back pant pieces and removed the center back/front seam allowances (4 cm total) from the length of each. This ended up measuring 19.5” for size B.
- 2. I decided how wide I wanted the waist band (3”), then doubled it and added seam allowance. This measured 6 3/8”
- Removed fold over waistband from top of front, back, and pocket pattern pieces by shortening 2”


If I understand correctly, the inside half of the waistband is not shirred, only the outside half? Could you elaborate a little more? Thanks!
Hi there! Both the inside and outside halves of the waistband are shirred flat. After shirring, fold the waistband in half. The shirring (right side) will be on the inside and outside of the waistband, this way the elastic “wrong side” of the waistband isn’t visible at all. After folding the waistband in half, you can attach to the shorts.