TUTORIAL: Making a Braided Waist Tie
Hello,
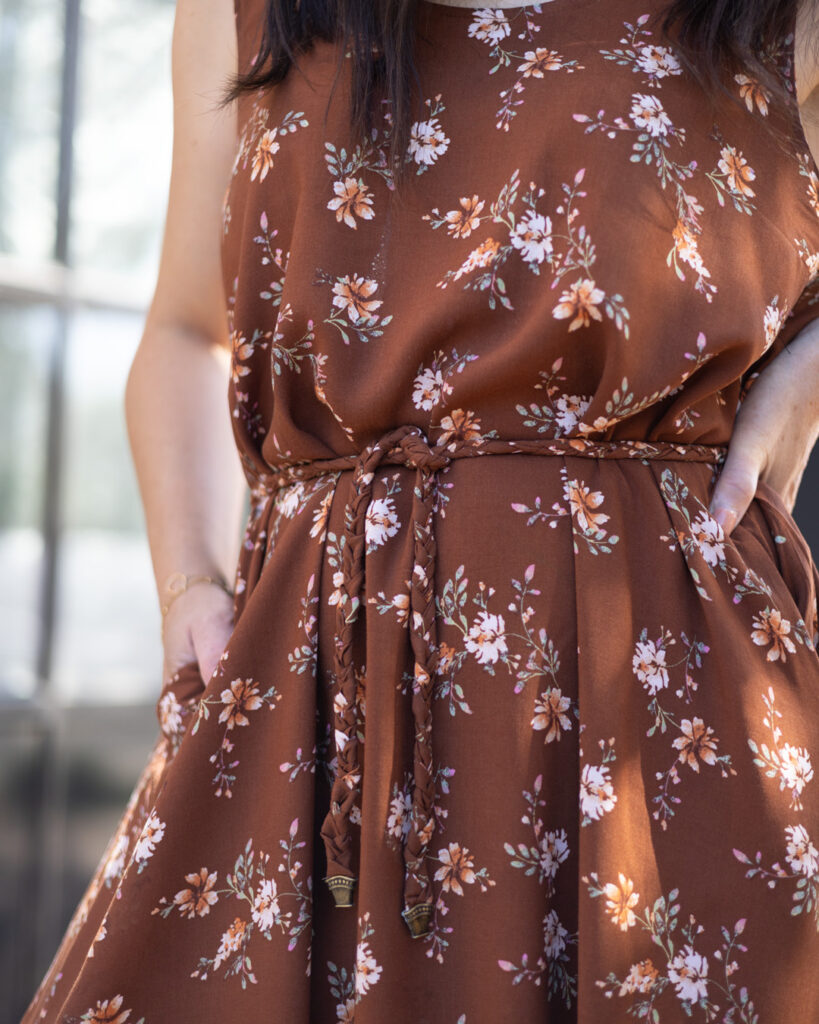
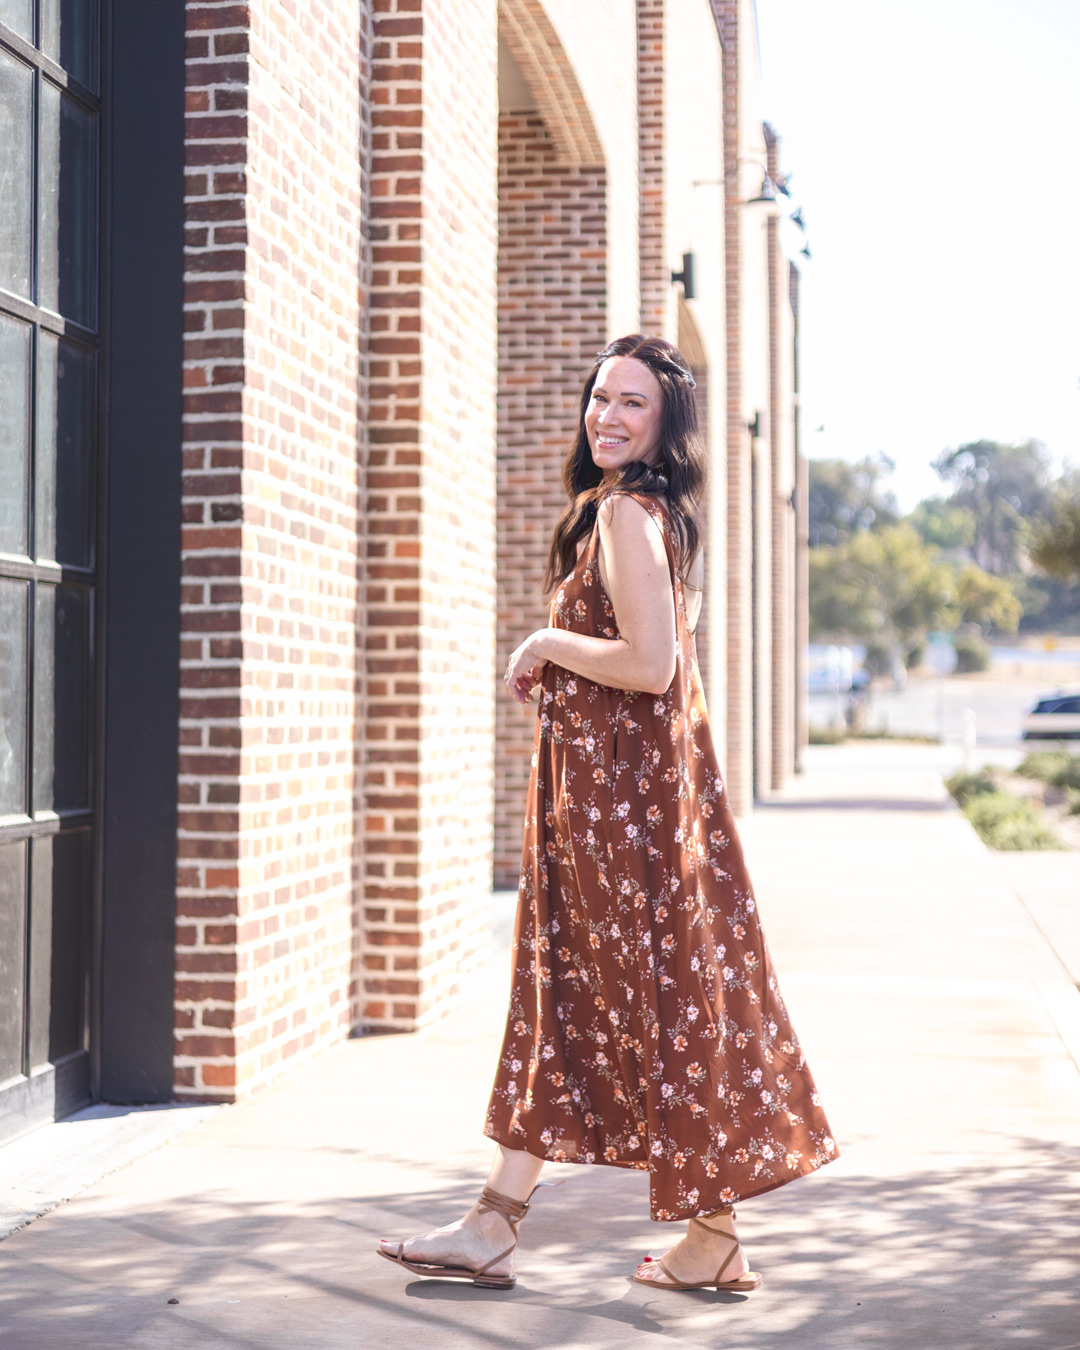
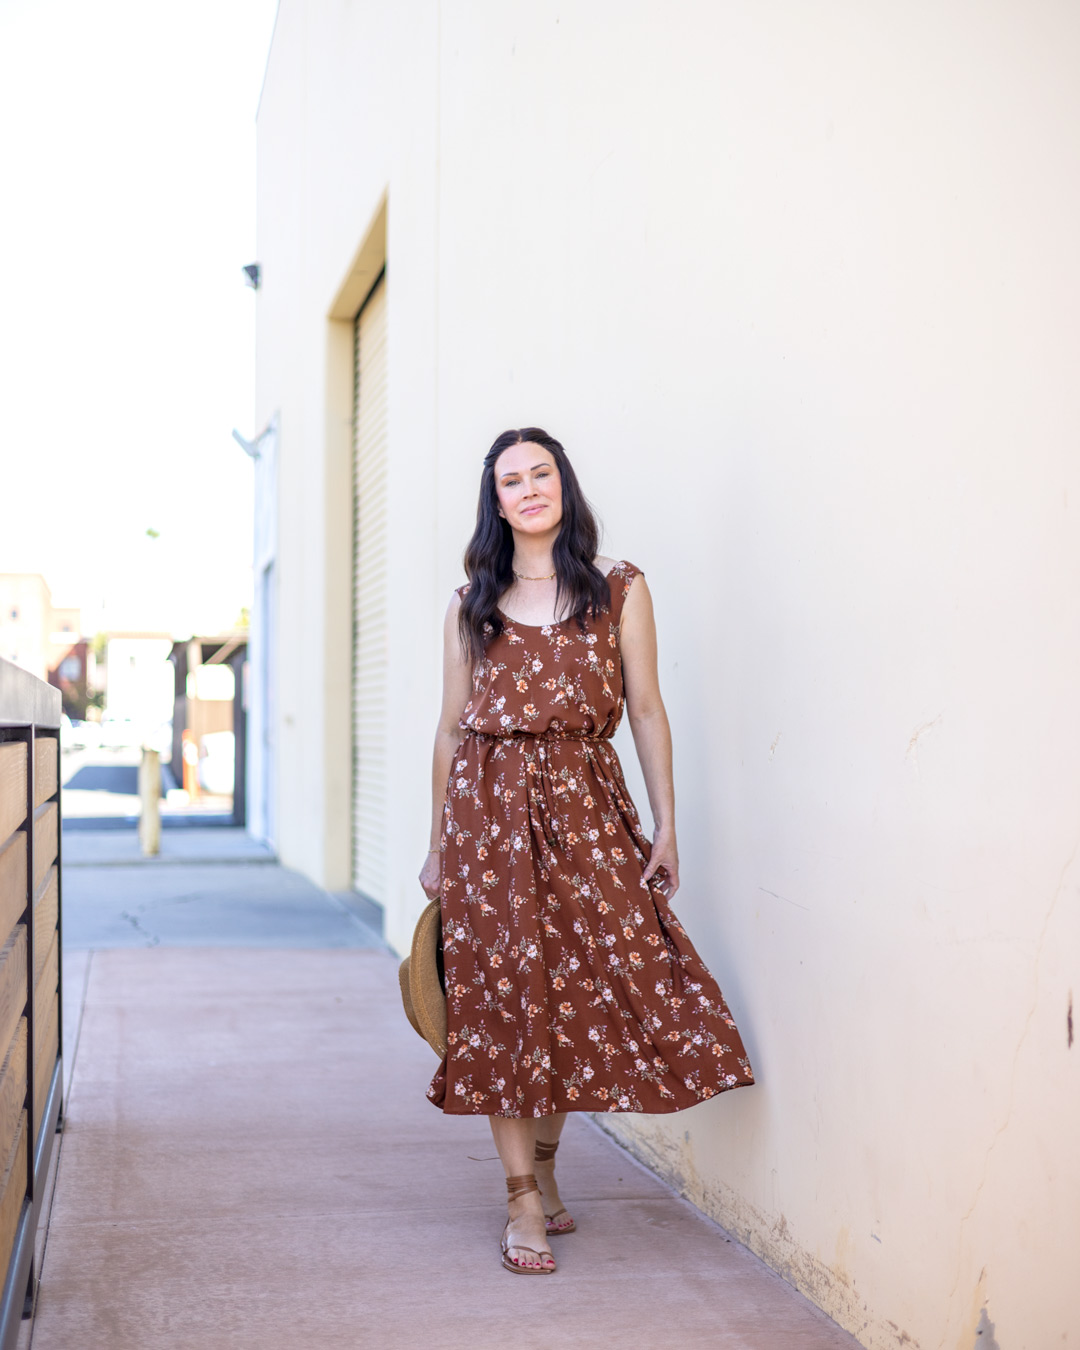
Alexis back today sharing my latest project with The Maker Studio! We all know how great the fabric selection here is at The Maker Studio and this beautiful floral is no different. The dark rich brown background on the Gardenia fabric gives all the fall vibes. I don’t know about you but I could use some cooler fall weather and this dress and fabric will be a great transition piece.
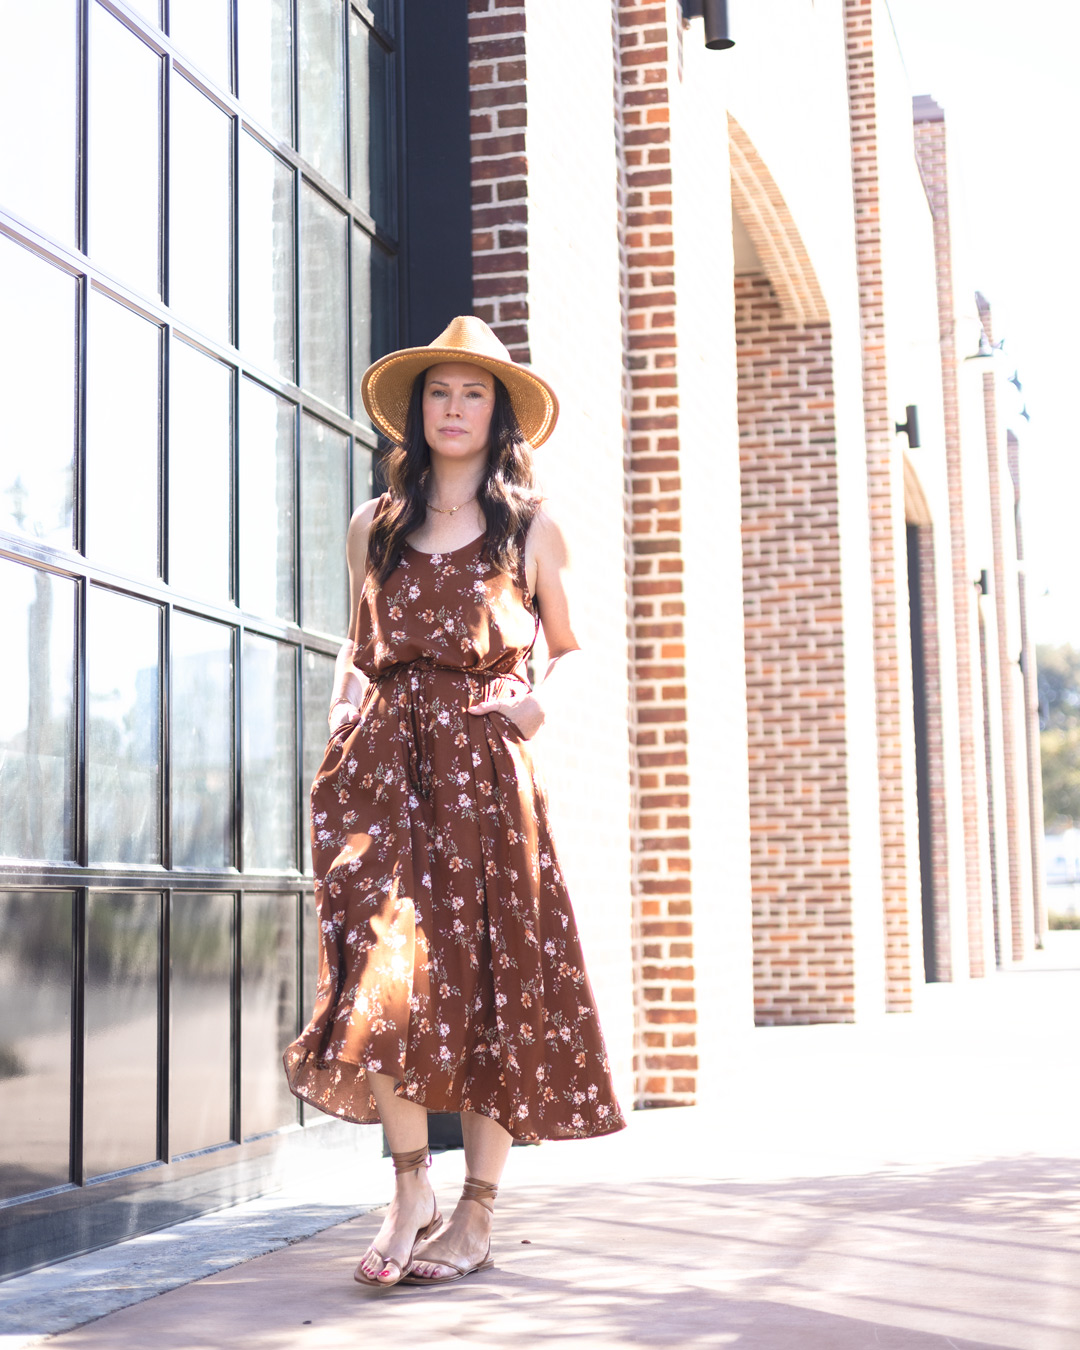
The fabric is 100% rayon and is lightweight with plenty of drape and like I mentioned the fabric background is a dark brown with cream, orange and green florals.
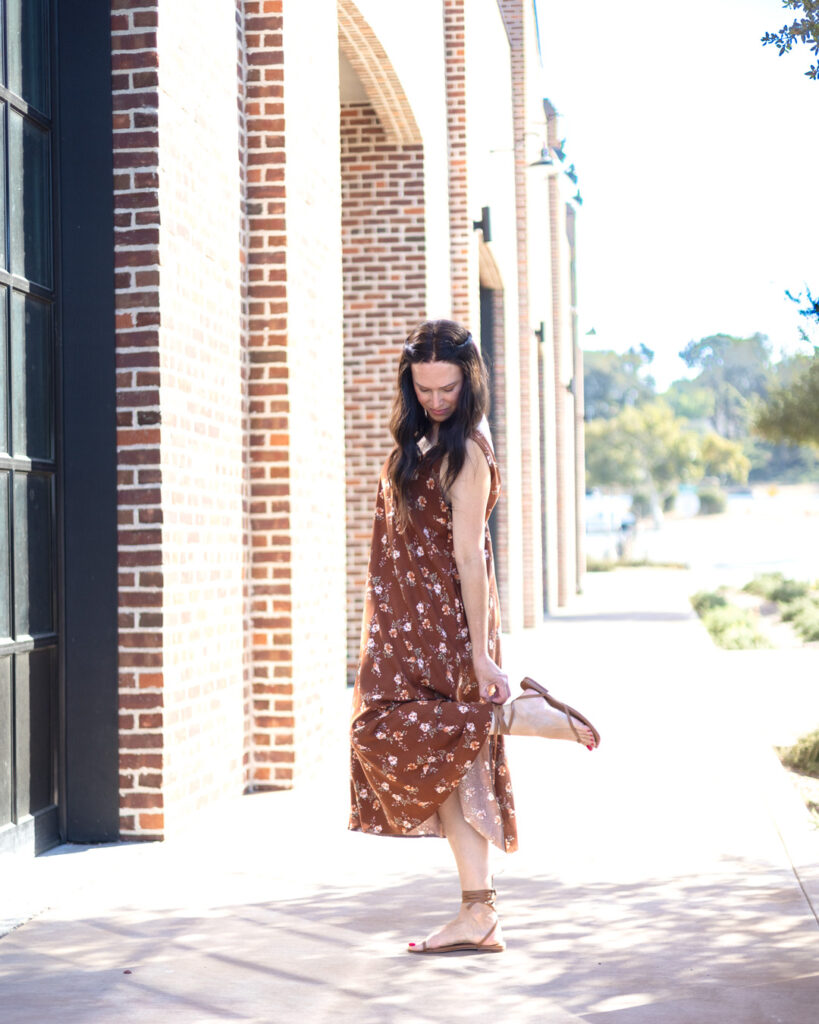
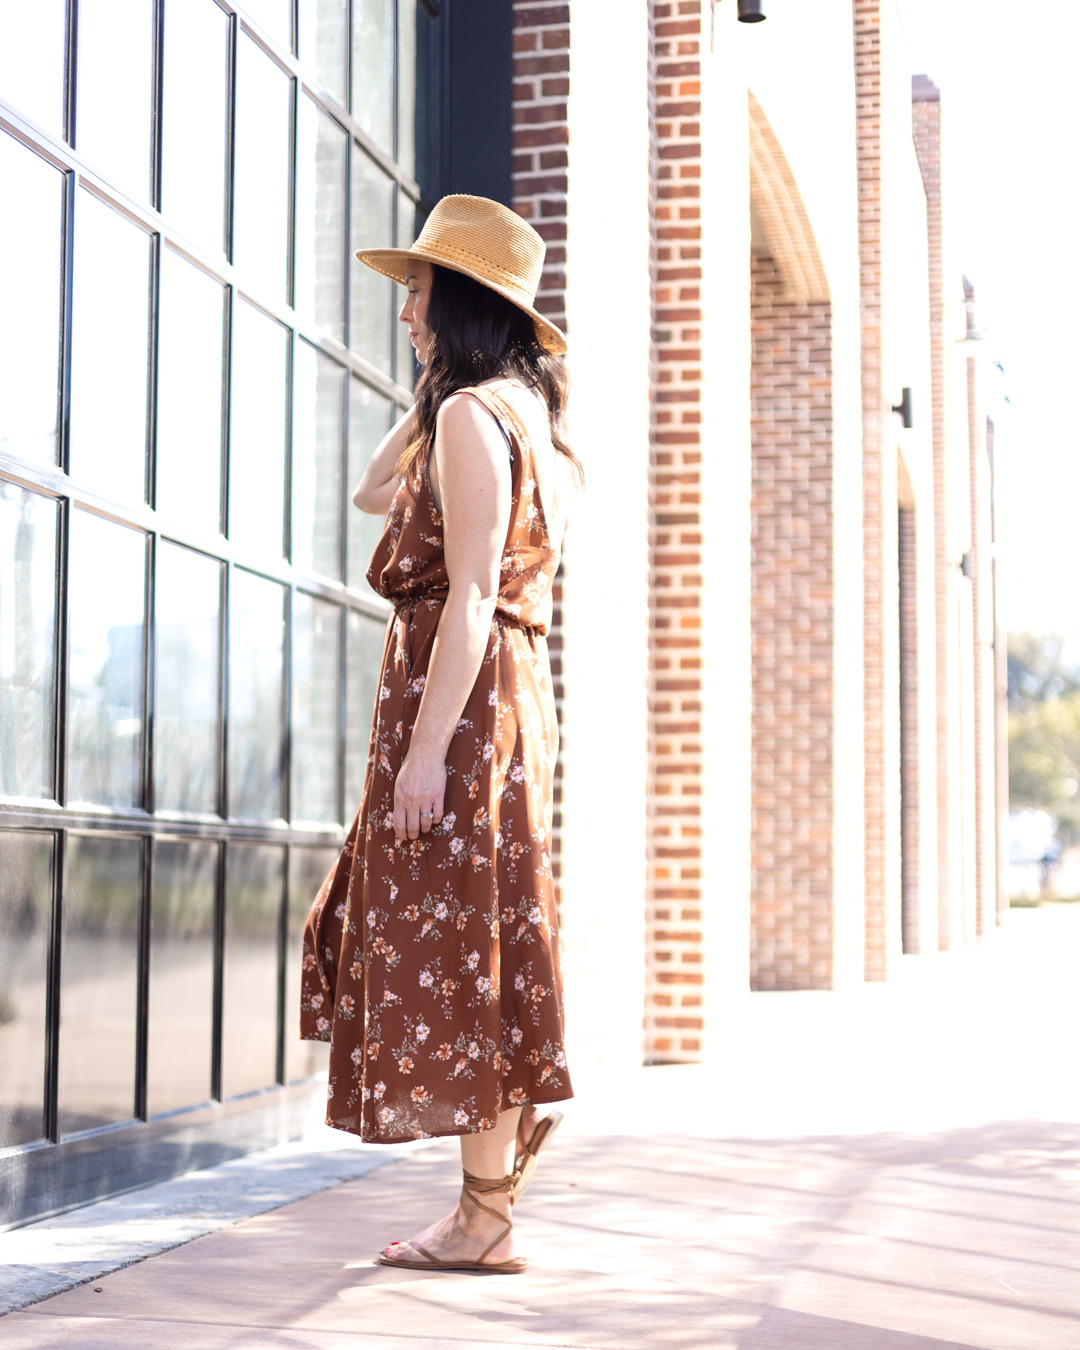
Where I live it will be warm for a few more months so I chose a pattern that I could wear for a while. Then I can wear it with a sweater and boots later in the year. The Fibremood Zita is that dress! It’s super flowy and oversized dress for those very hot days but I can also see it belted and worn with a cute, oversized sweater.
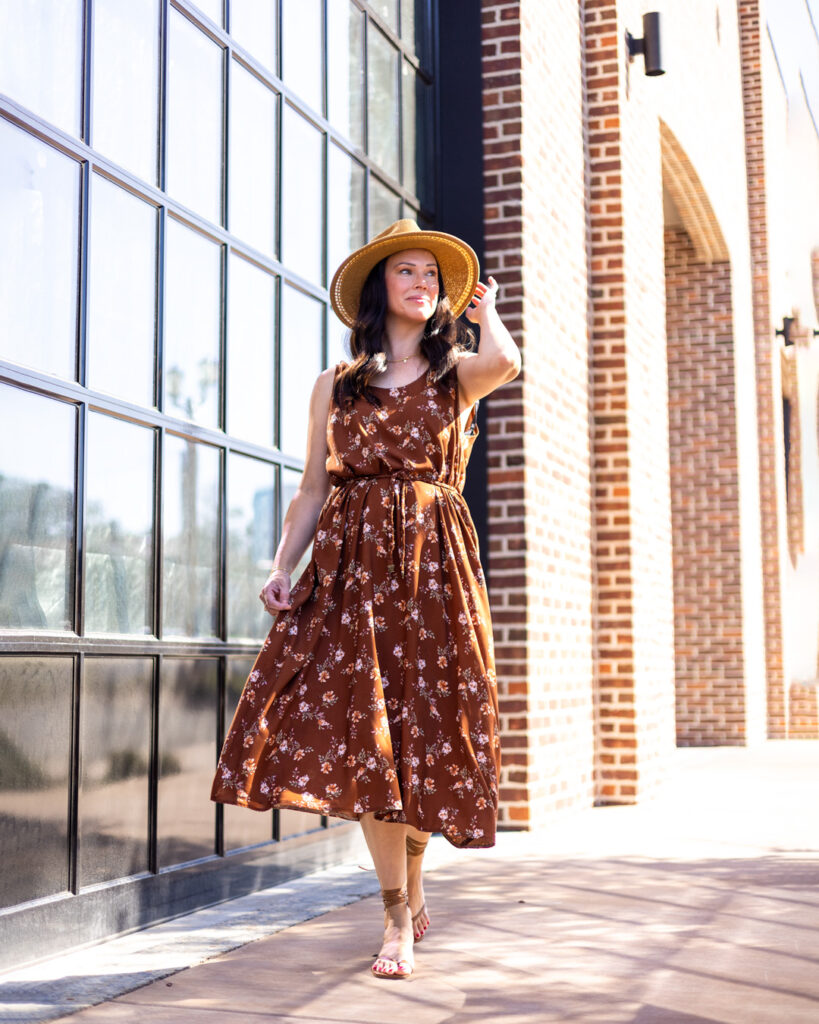
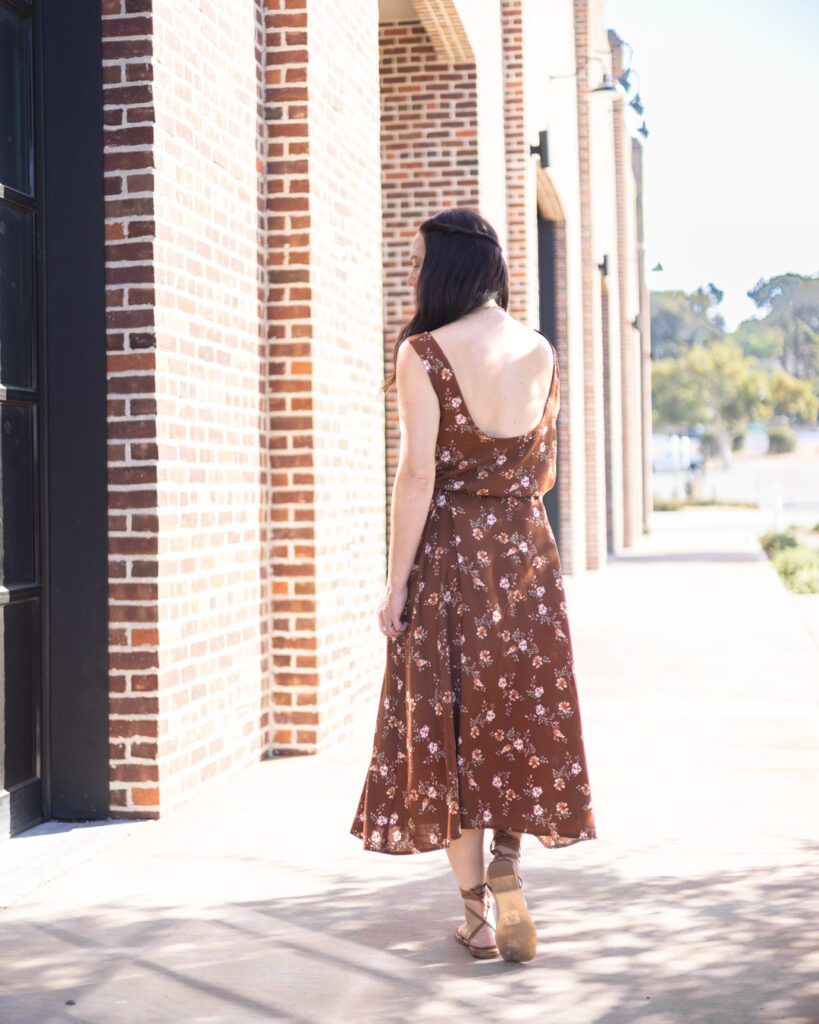
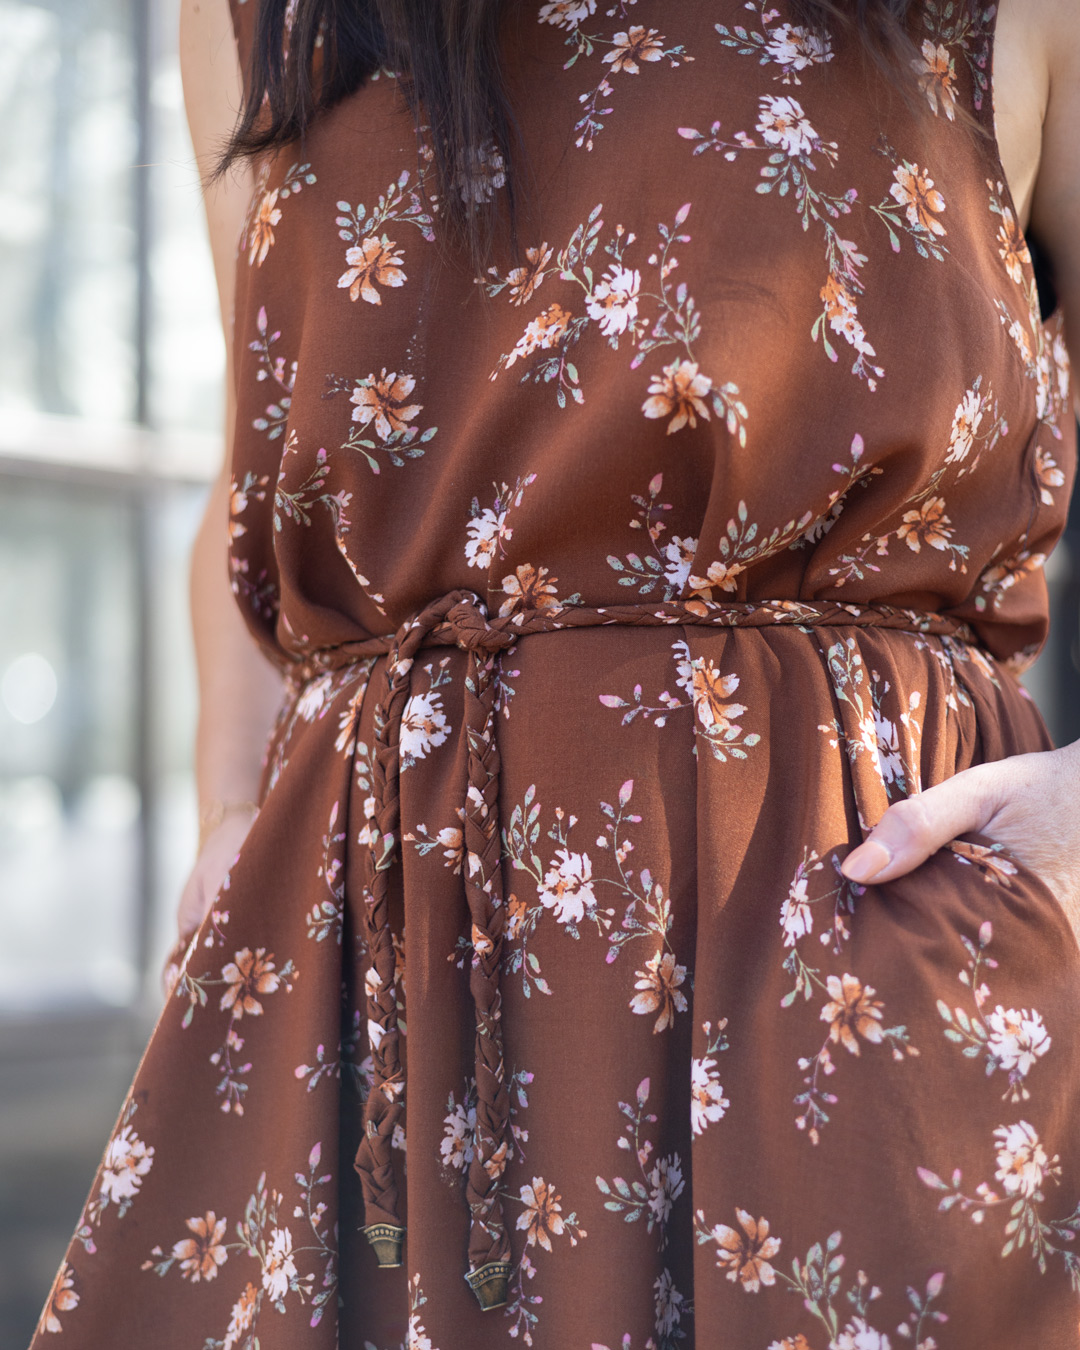
When Fibremood released the Zita pattern, Florence from @florence_laforge did the coolest hack by adding a braided trim around the neckline, as well as braided waist tie. I loved these ideas, so I decided to make my own version of the braided belt.
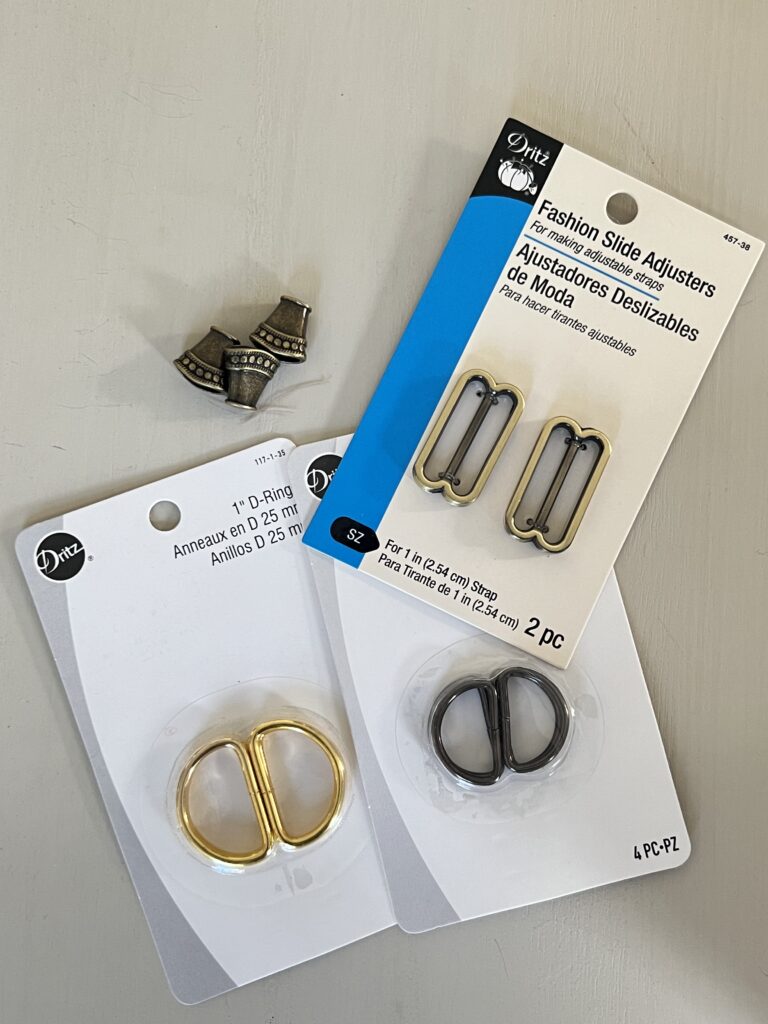
After overthinking about how to finish the ends of the ties and a long trip to Joann’s, I found myself in the jewelry aisle and I decided to use the Bead Cones to enclose the ends of each side the braid. You could also use D-rings.
Here is a breakdown of how I made the braided waist tie:
1. I used the belt pattern piece that comes in the pattern. You will need to cut 3 ties.
2. Instead of constructing the belt per the tutorial, I only folded the belt in half with wrong sides touching. I then sewed with a ¼” seam allowance.
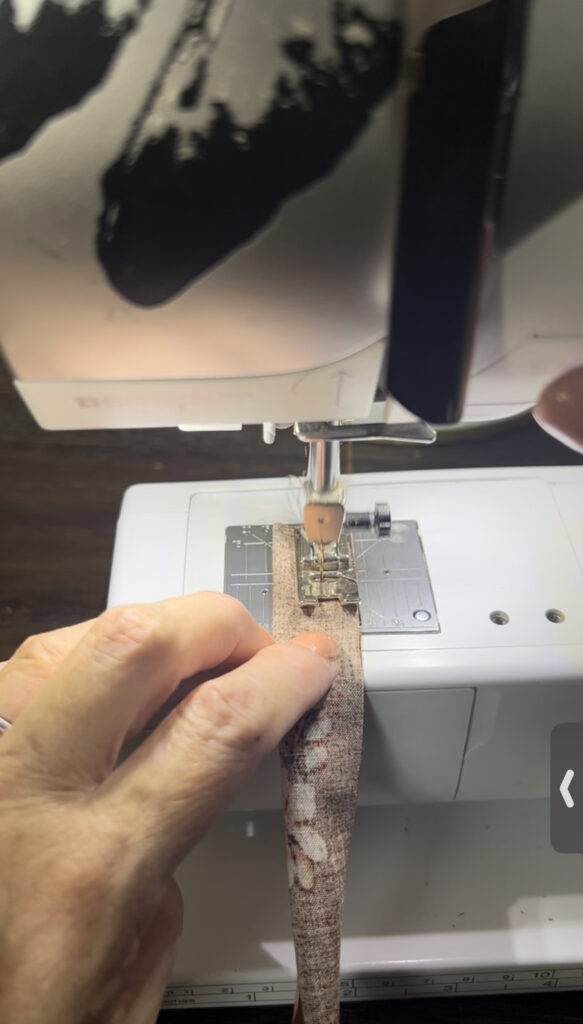
3. Once sewn, trim the seam allowance in half, turn right side out then iron flat. Repeat this two more times. You will need to have 3 ties.
4. Layer the ties on top of each other and sew together with a ¼” seam allowance. You can also serge the edges as well, if desired.
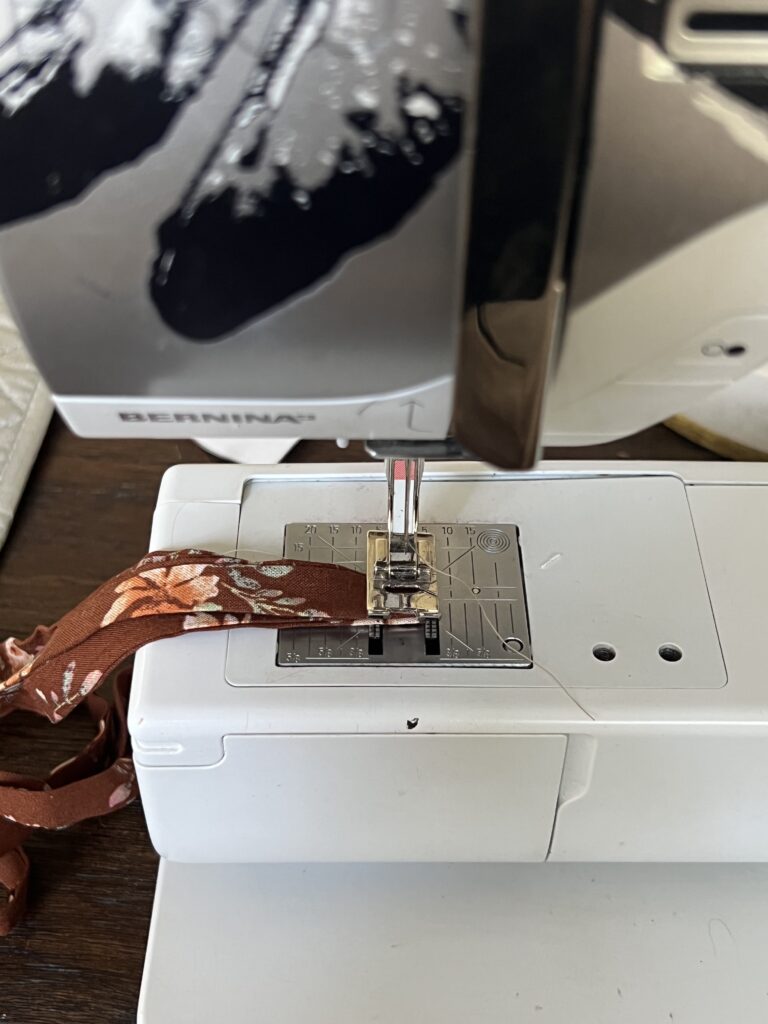
5. I then inserted the end into the bead cones and use pliers (or a hammer) to crimp the ends on the fabric.
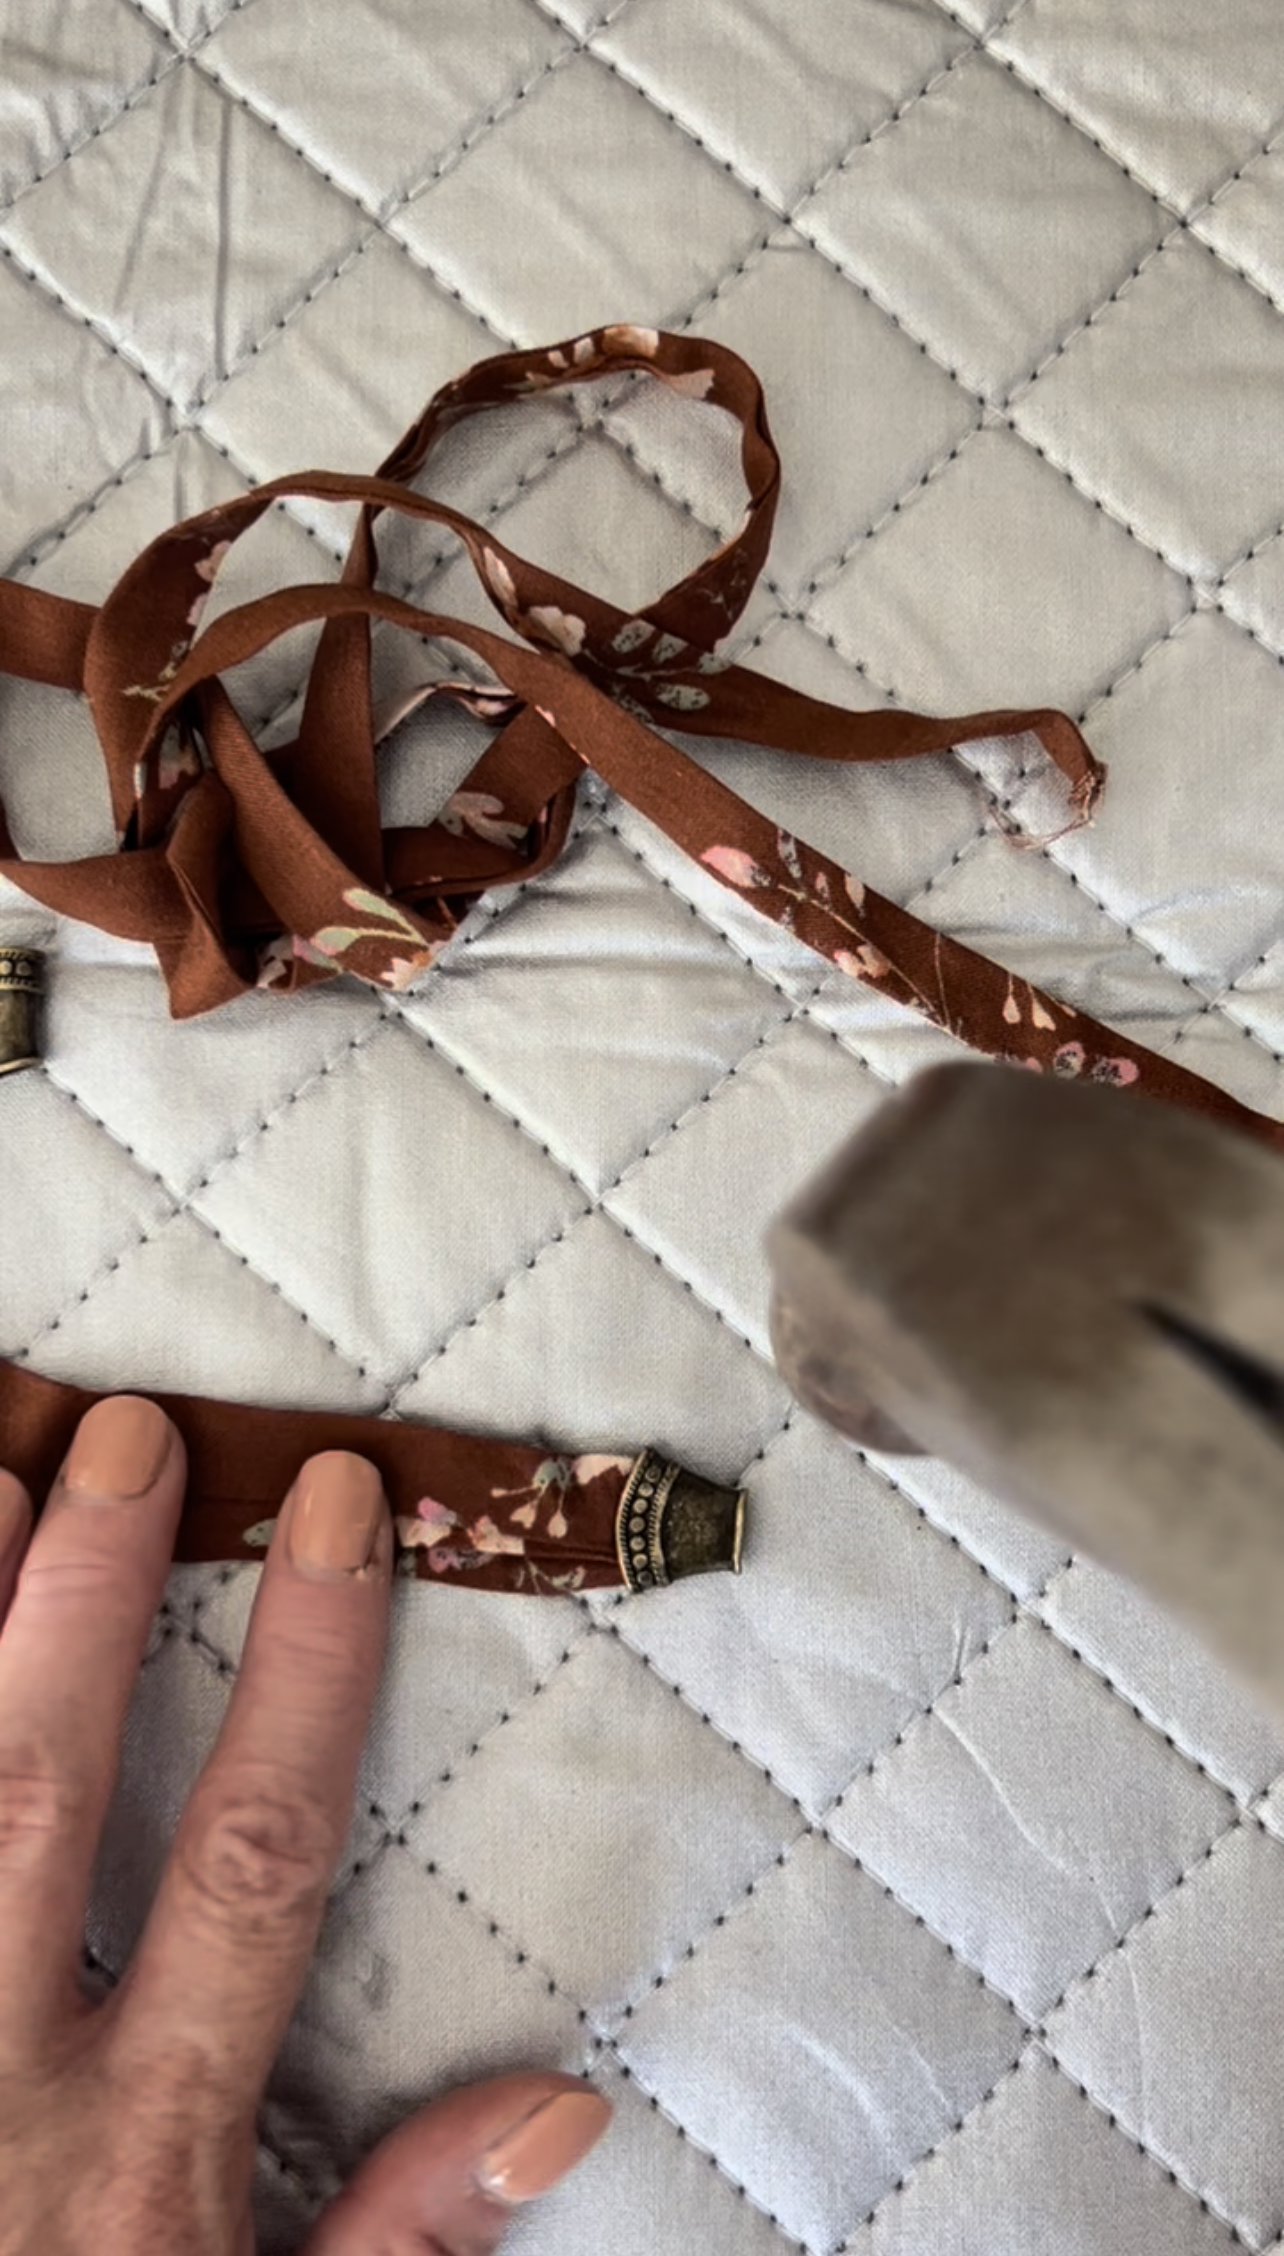
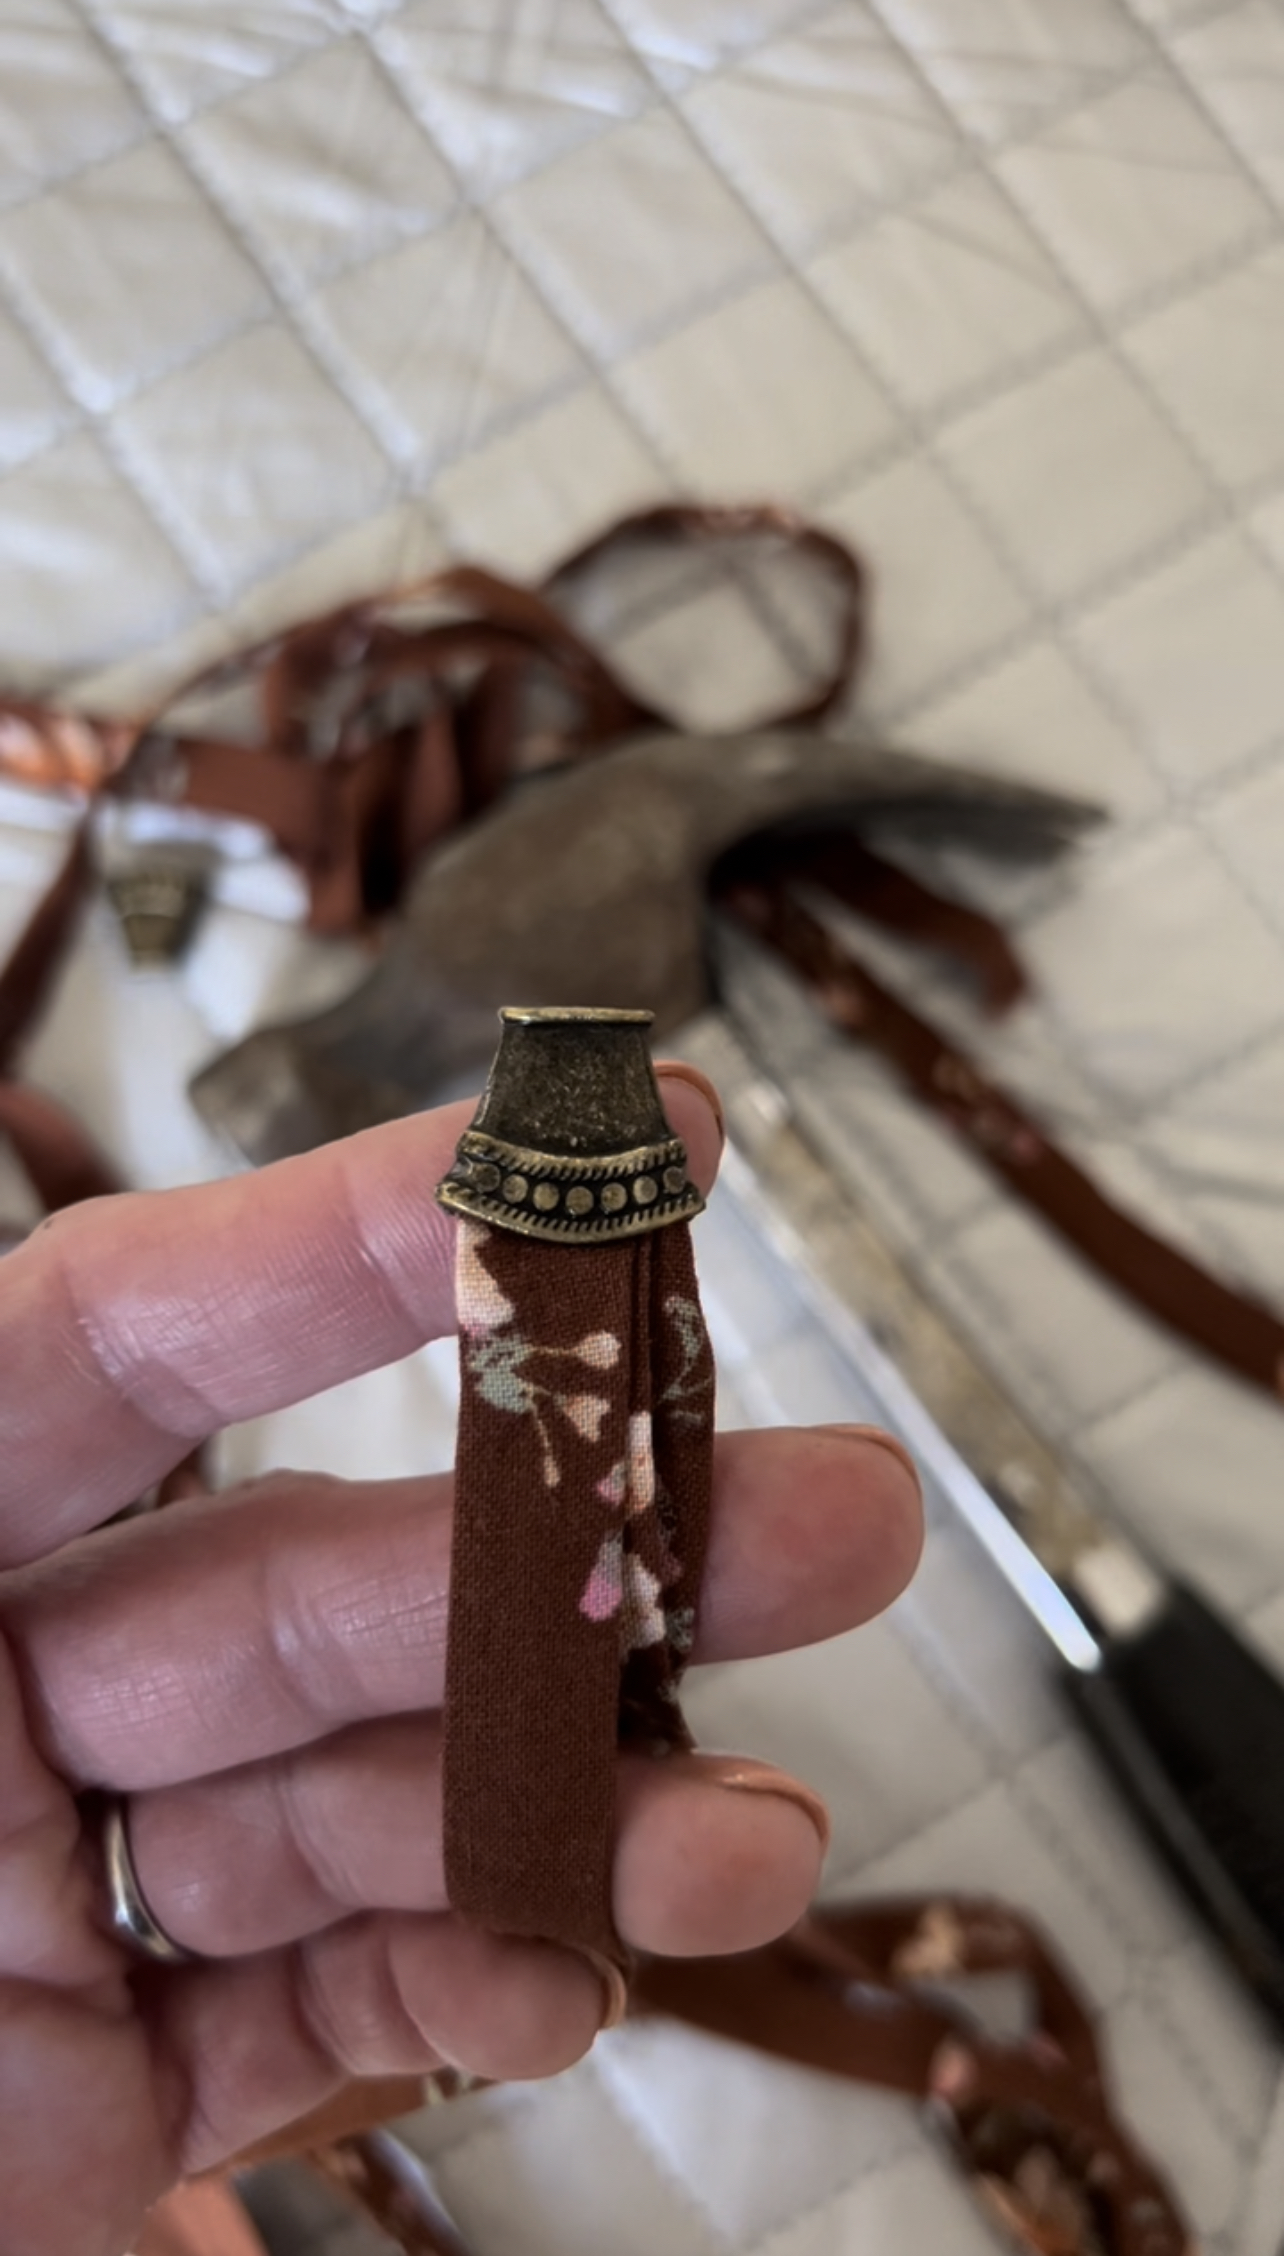
6. Start braiding until you reach the end and repeat with the step above to enclose the end.
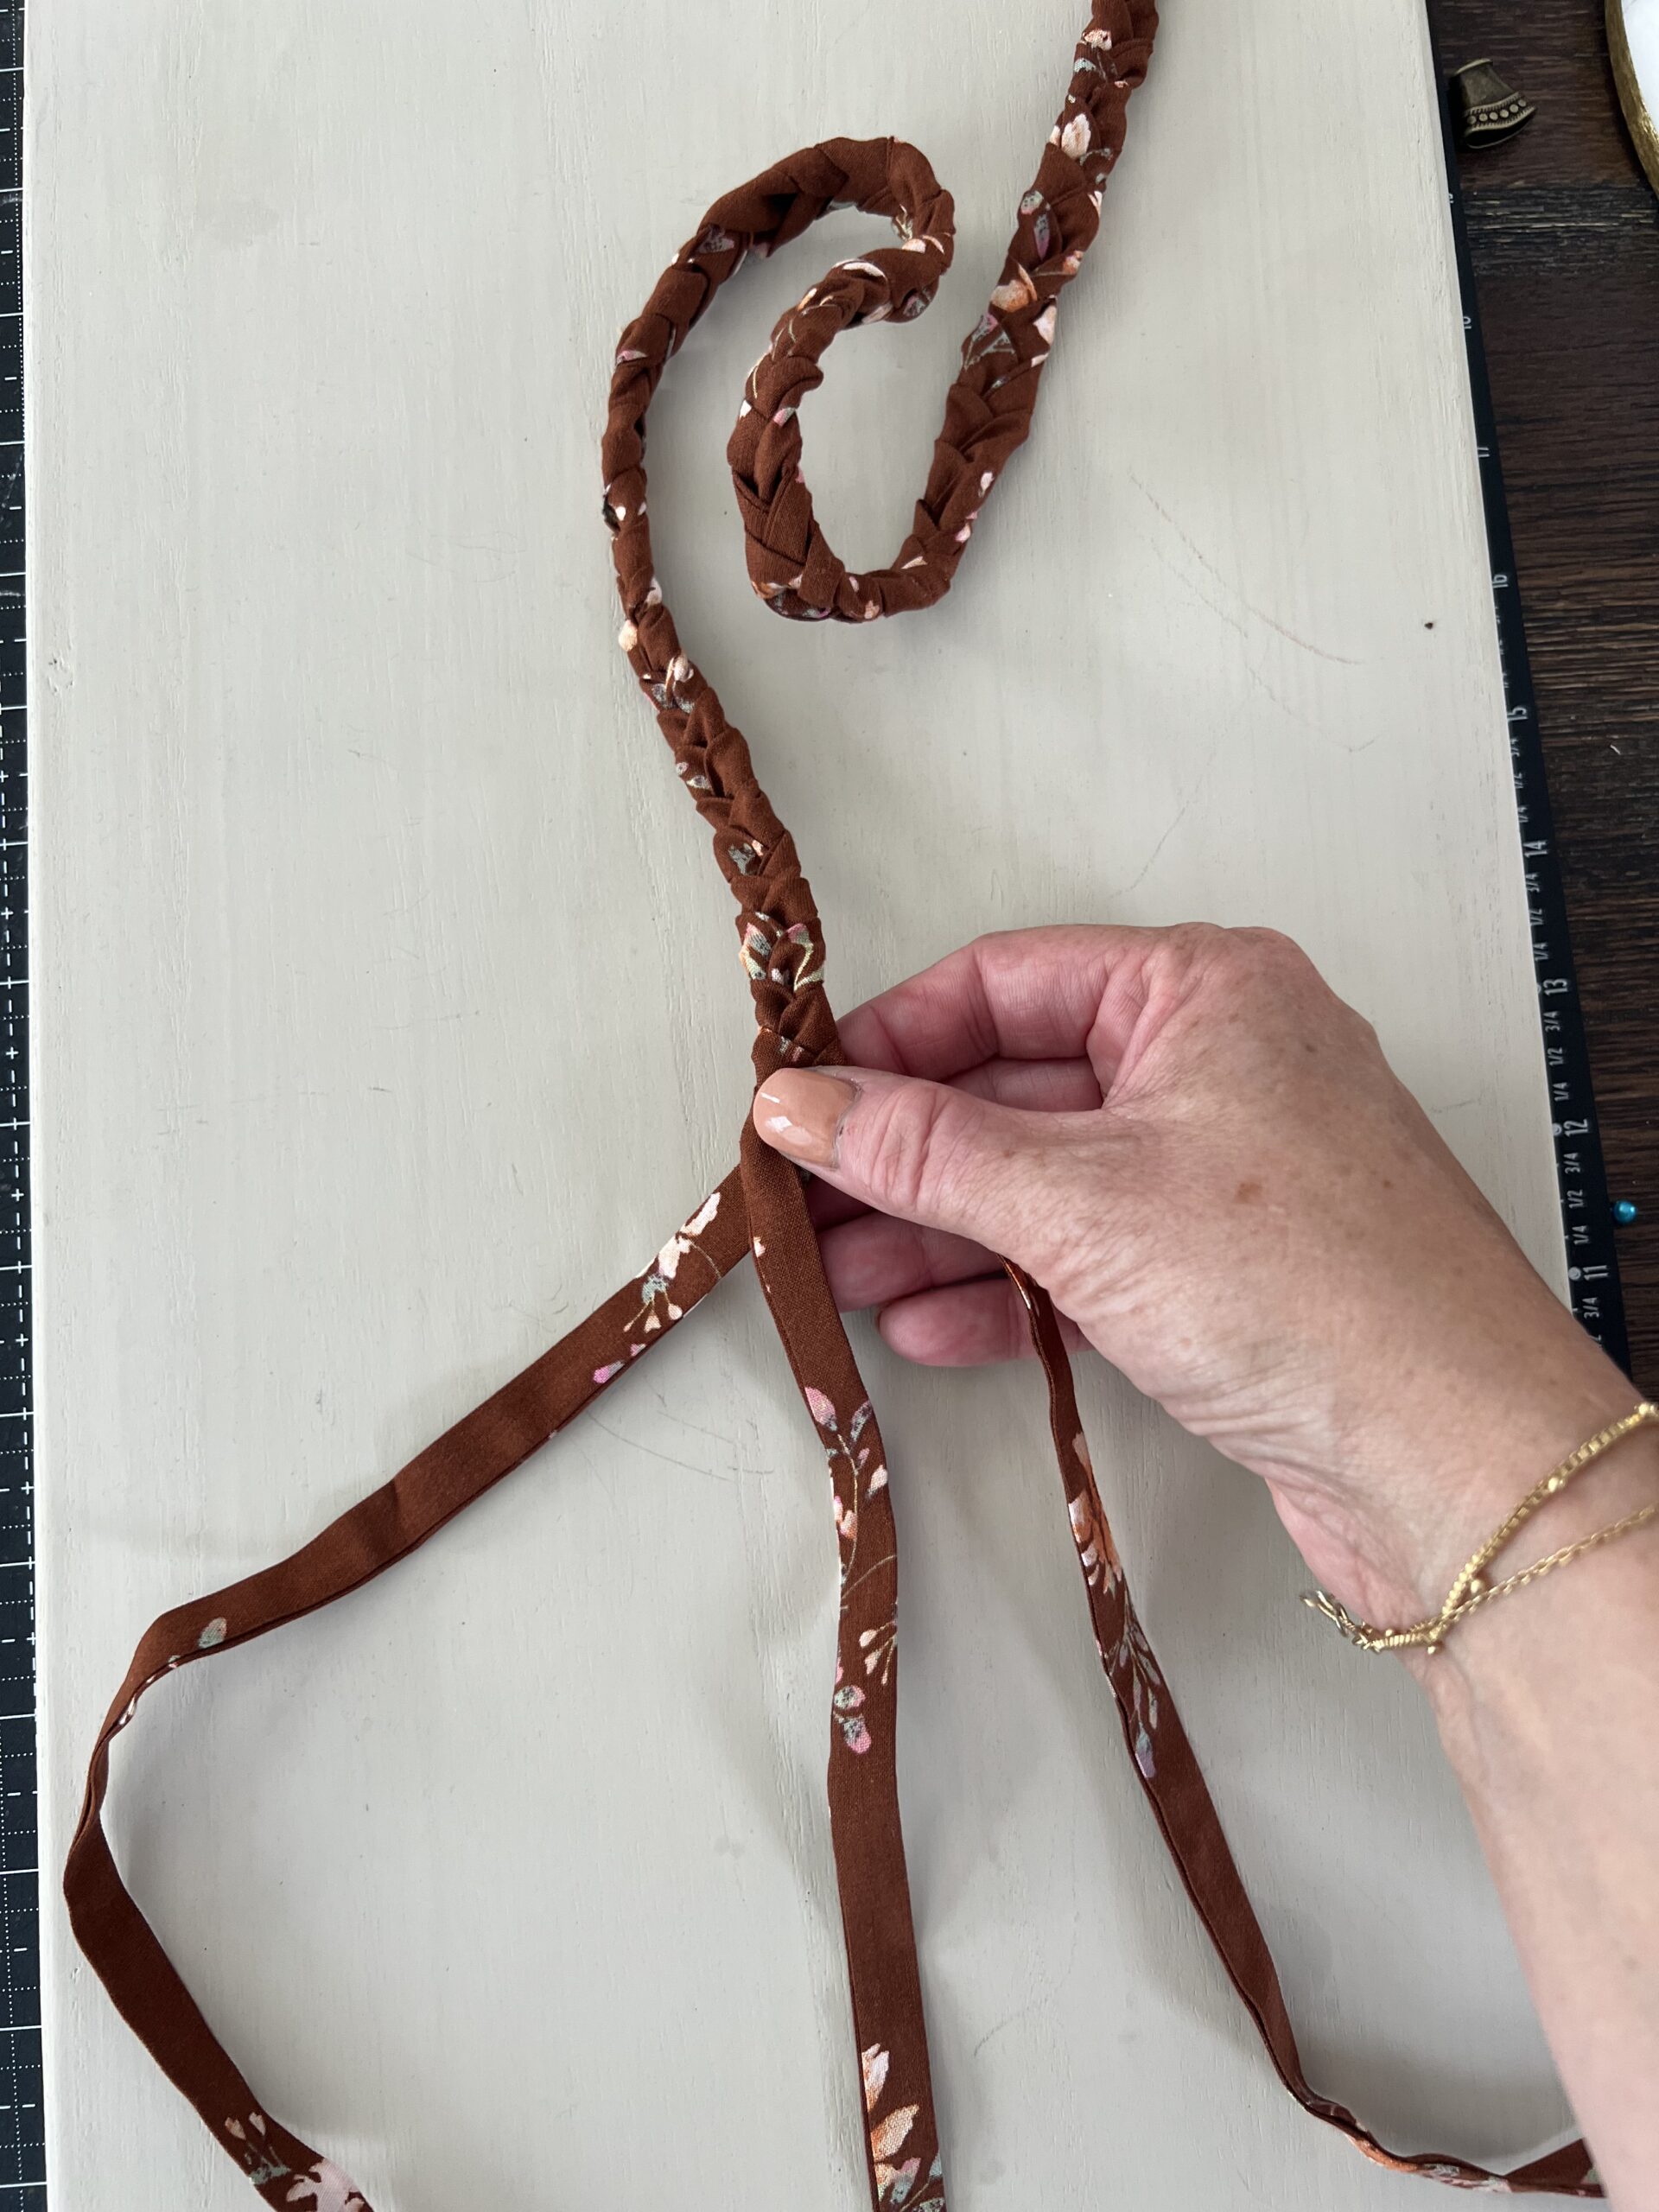
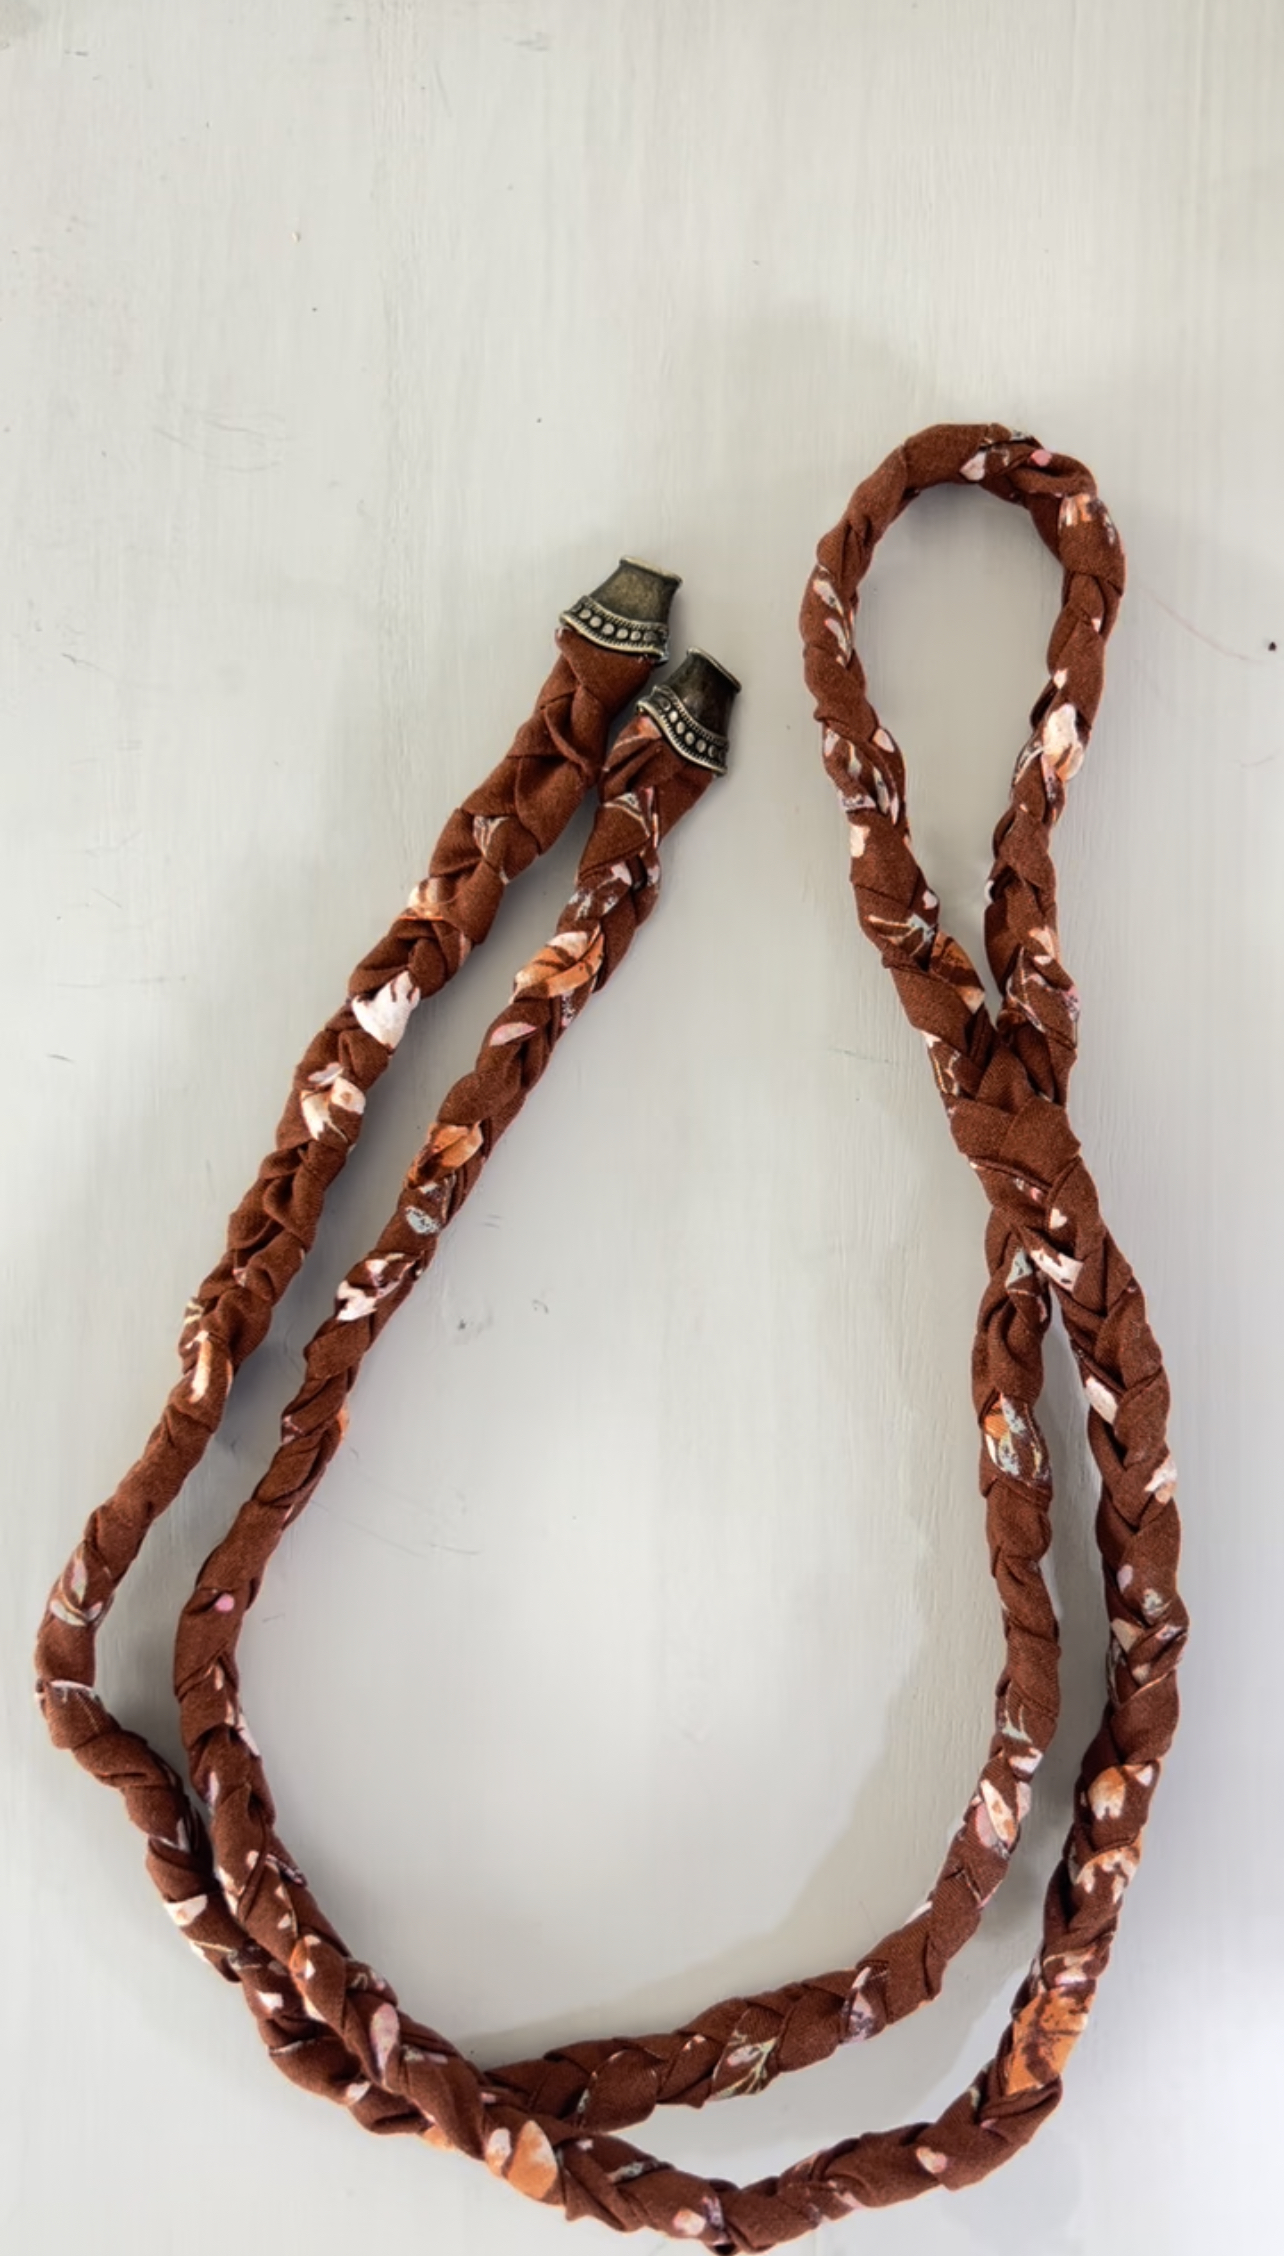
Note: I kept the same length as the original pattern piece and found that it fit well with it tied in a knot around my waist.
A little bit about the pattern fit:
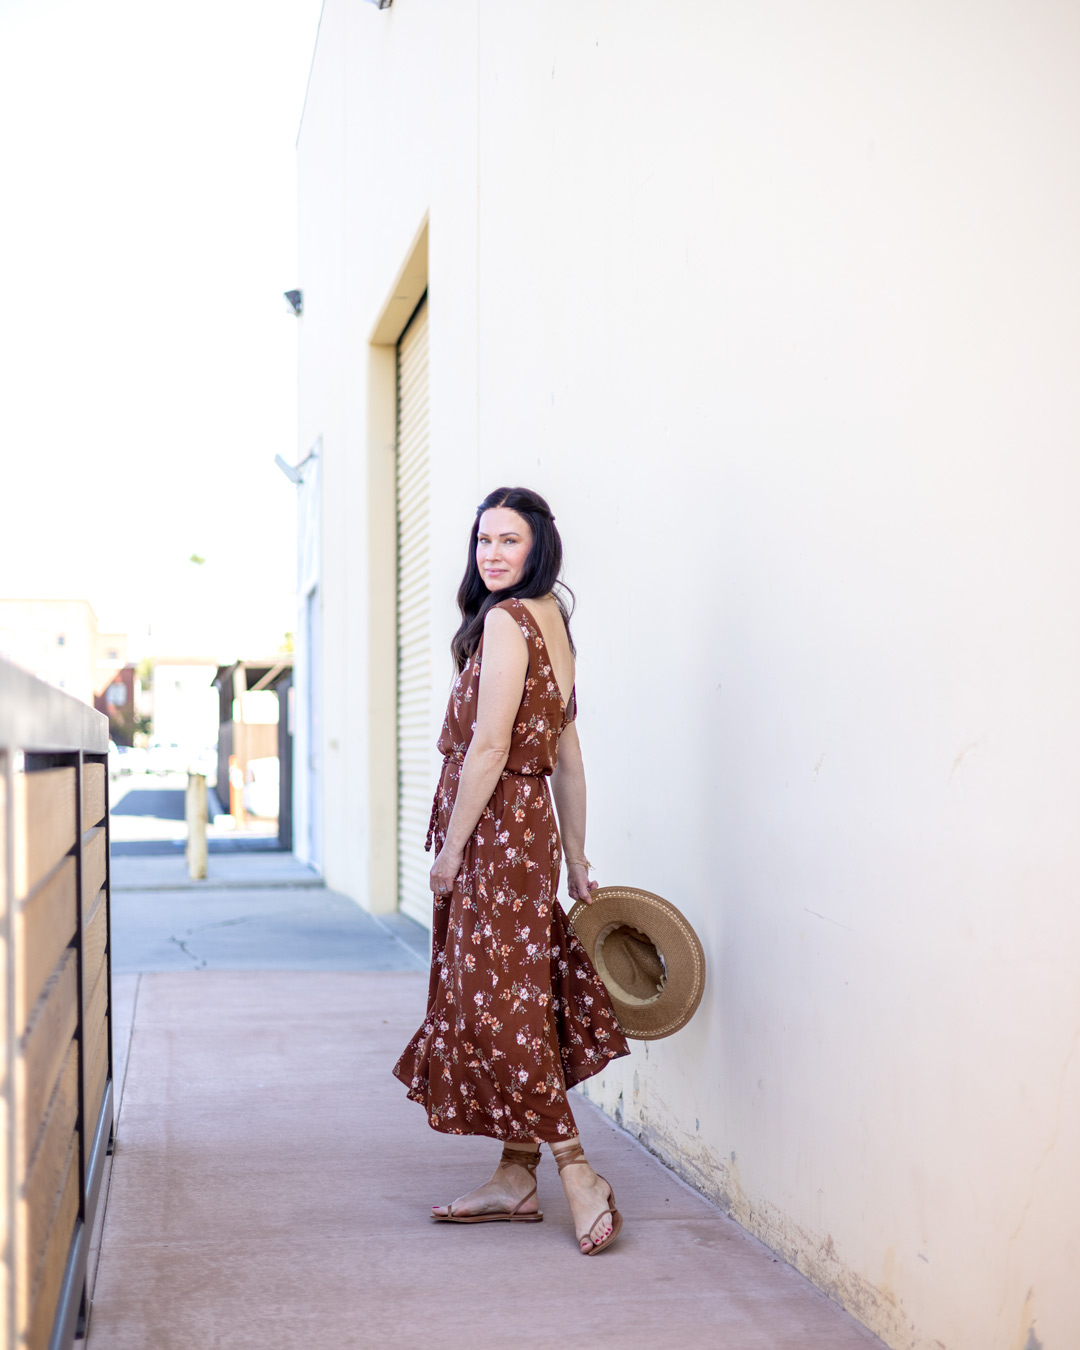
It is oversized with is nice to wear in the crazy heat, however the whole time wearing it my shoulder straps kept falling off my shoulder. It was driving me nuts after the 10th time adjusting it back in place. My plan for next time is to size down one size in the bust but keep the width the same everywhere else. I love the fullness in the waist down to the hem. I made a size small for reference my bust is a 34” (29.9”-57.5” bust). Another option would be adding ties to the back bodice to keep the shoulder straps from falling off.
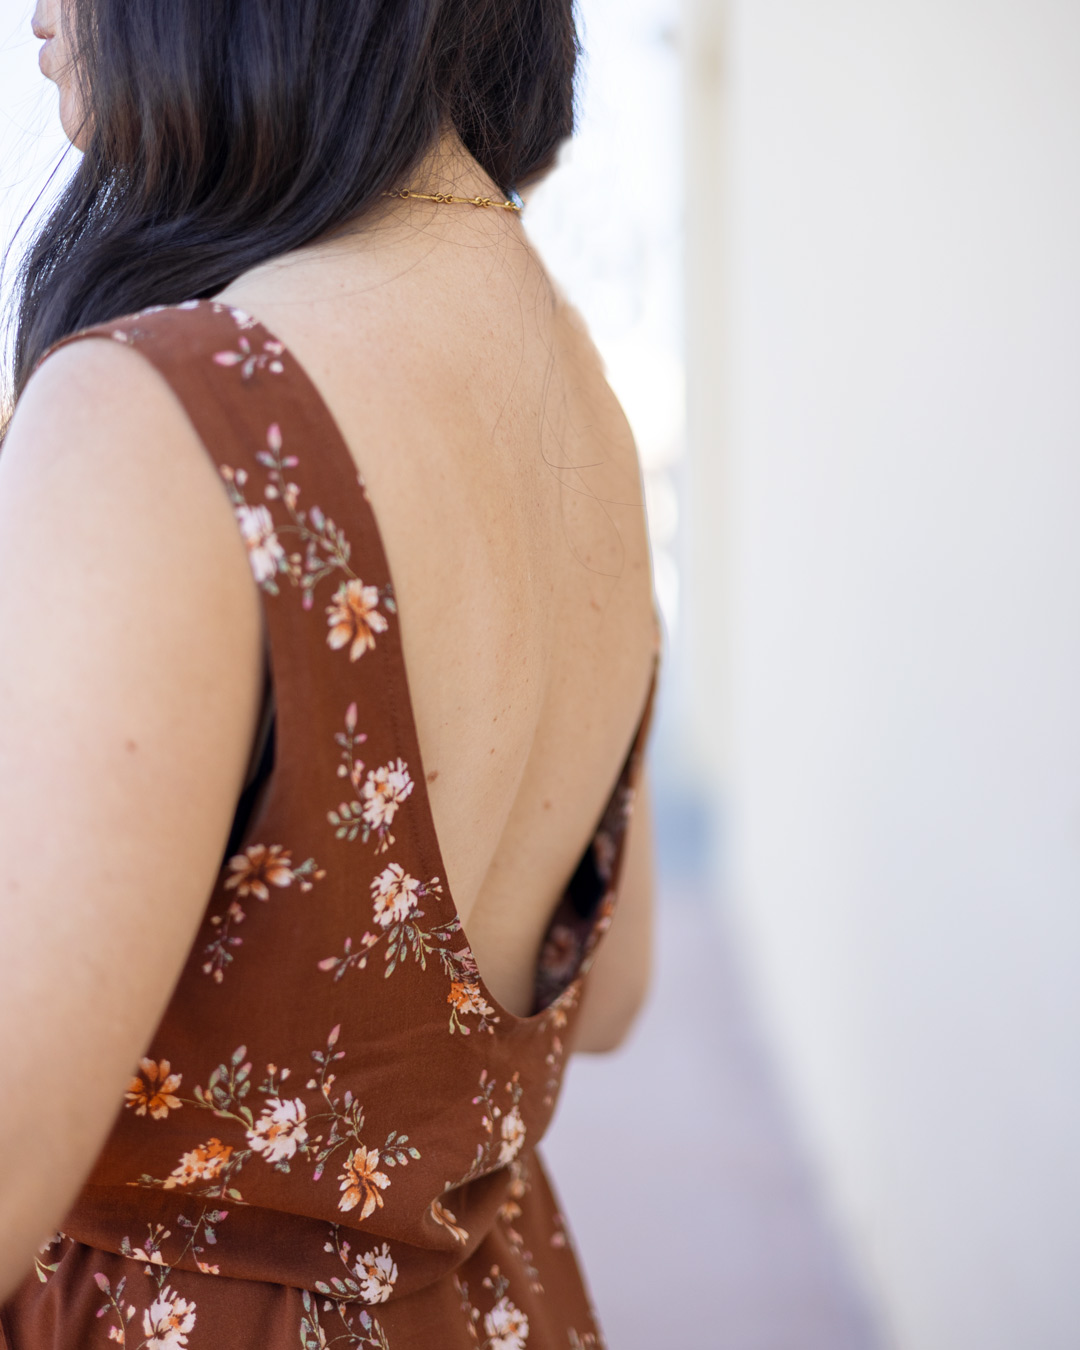
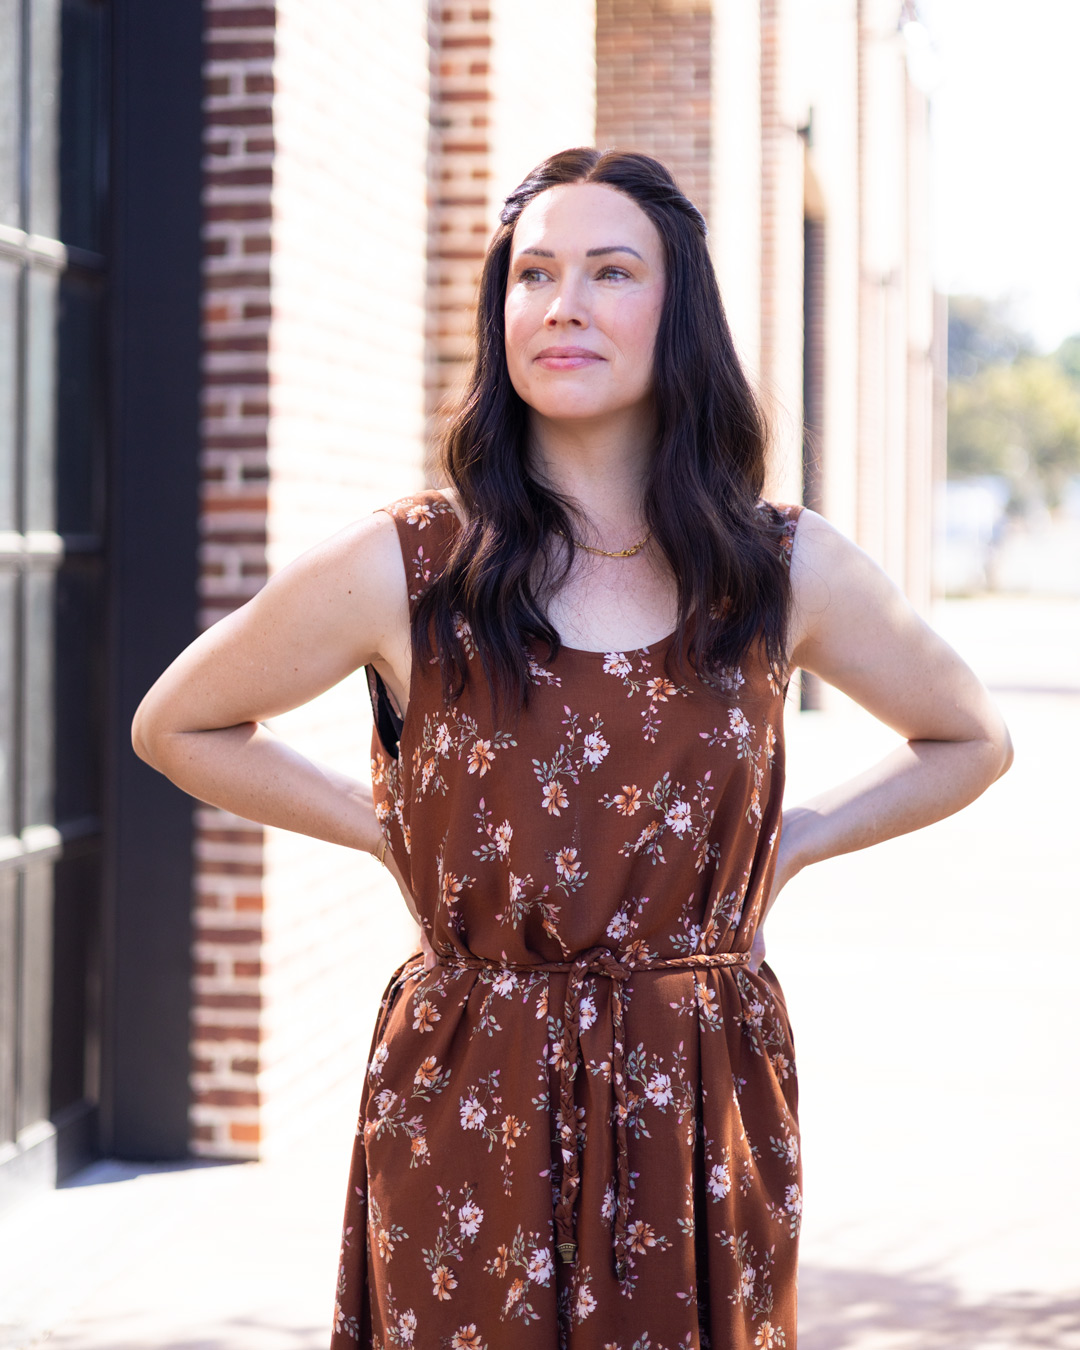
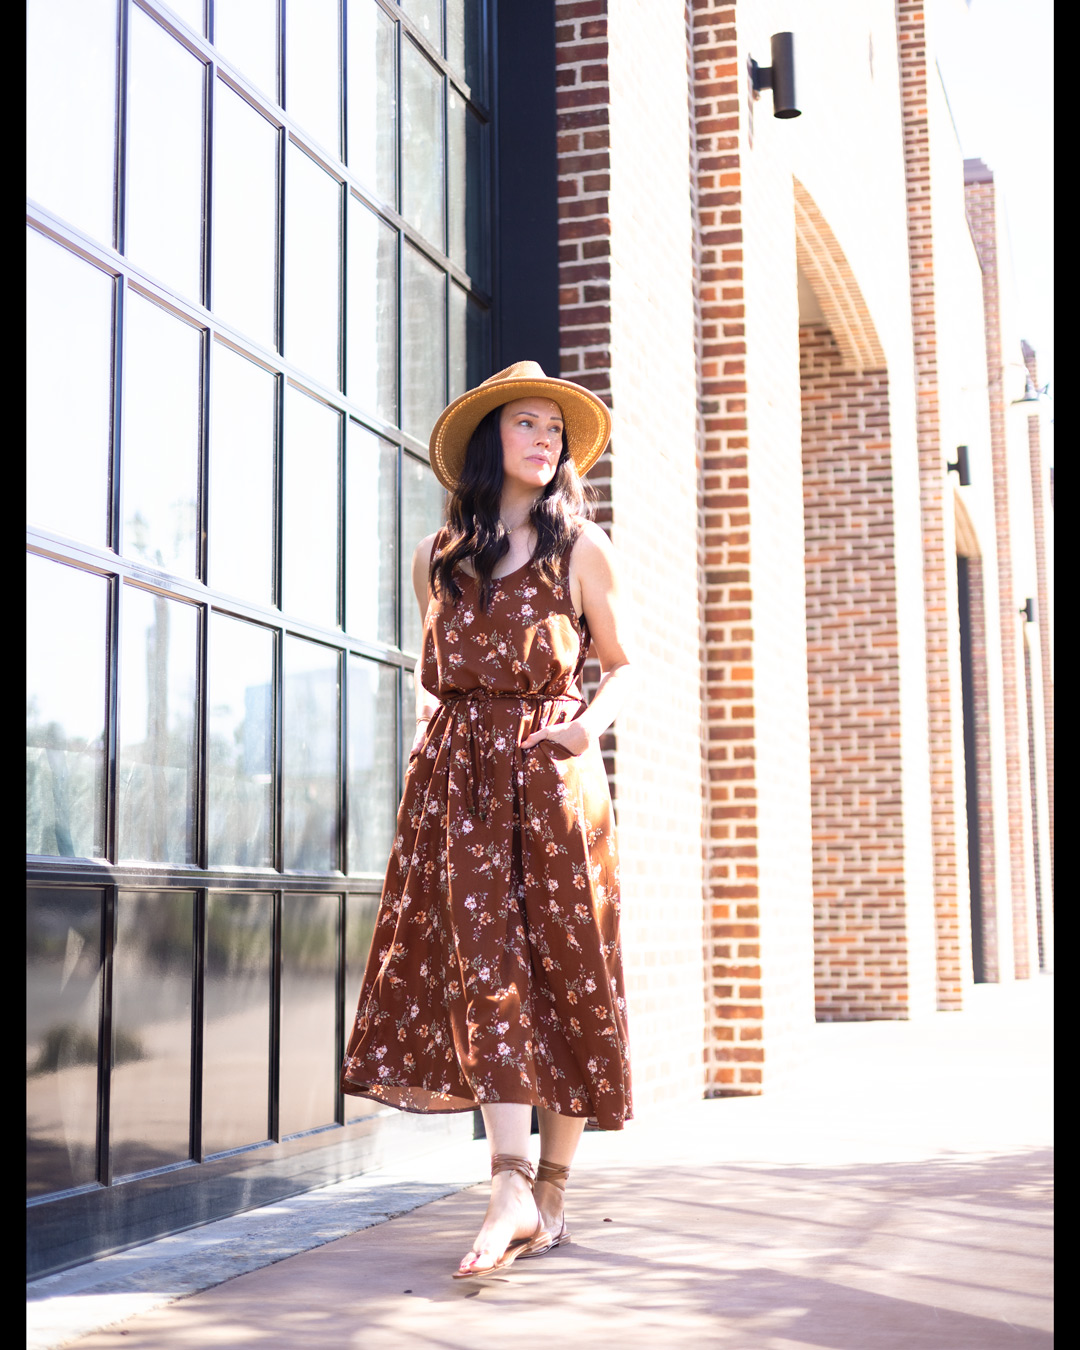
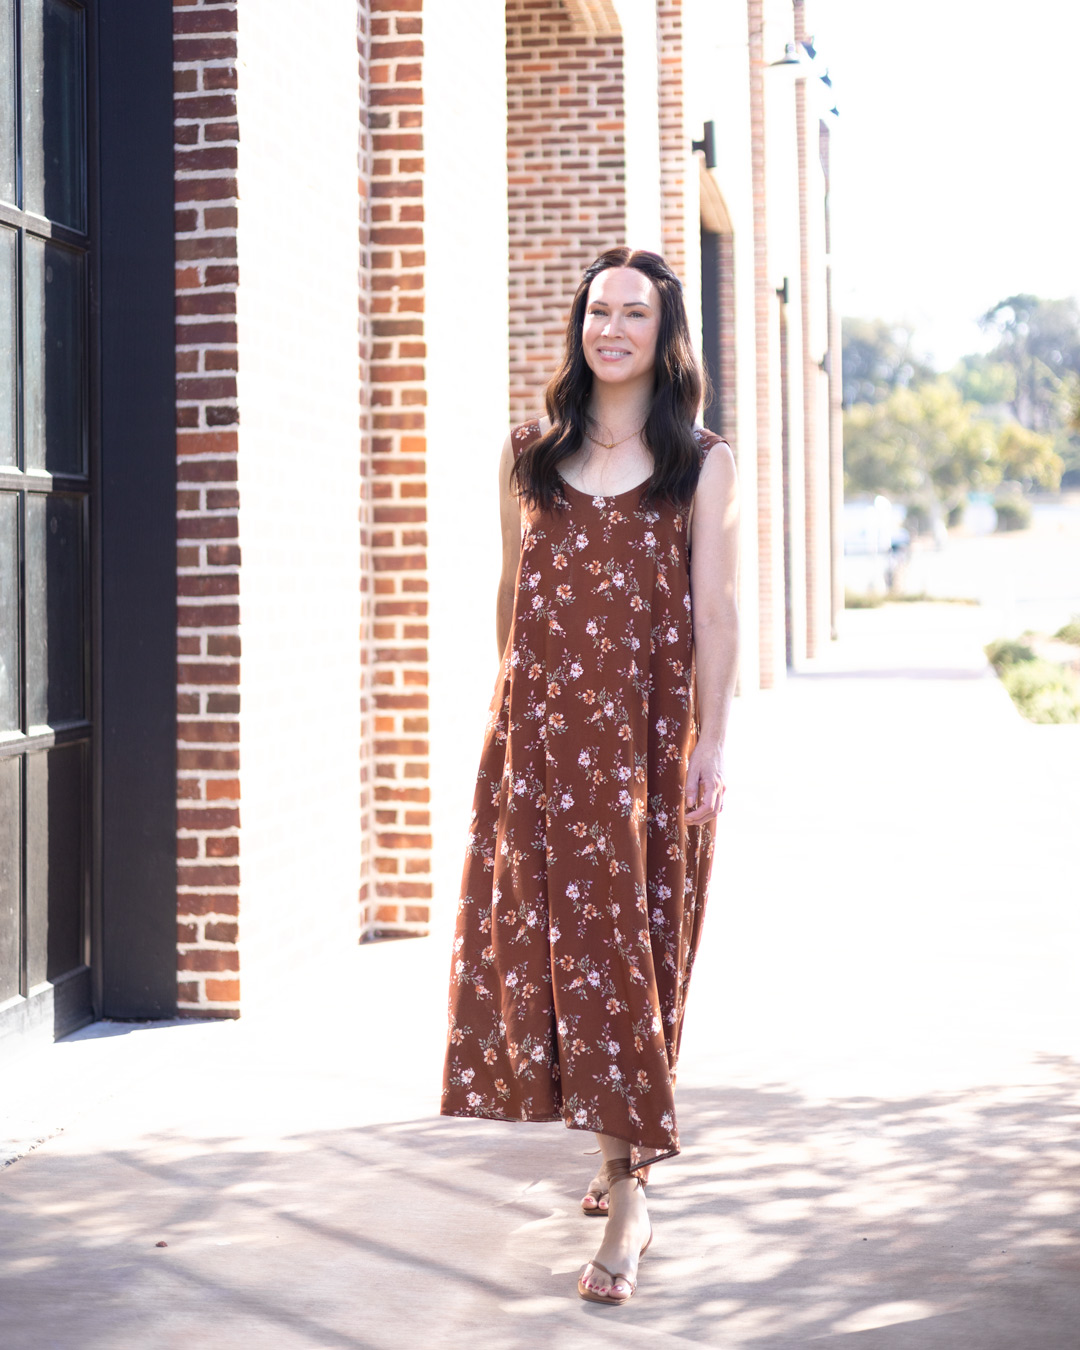
Overall, the pattern is a very simple sew and I would recommend it to a beginner sewist. You will learn how to sew with bias tape and sew inseam pockets. Yay for pockets!!!
