Pattern hack: boxy top into dress

One of the easiest ways to maximized the use of your pattern library is to use your favorite top patterns and make them into dresses.
As a beginner it can be overwhelming to try to modify and alter a pattern so I wanted to show you a super easy way to make a dress out of a top pattern.

Lets start with the pattern. I chose one of my go to patterns, the Torrens Box Top by Muna&Broad. I made this top multiple times in the past and love the way it fits me. There are multitude of boxy tops patterns but in my opinion this is one of the best ones out there, specially for larger bodies. The proportions of the Torrens are spot on doesn’t matter the size you are/make and the sleeve bands are a nice detail that elevates the simple design.
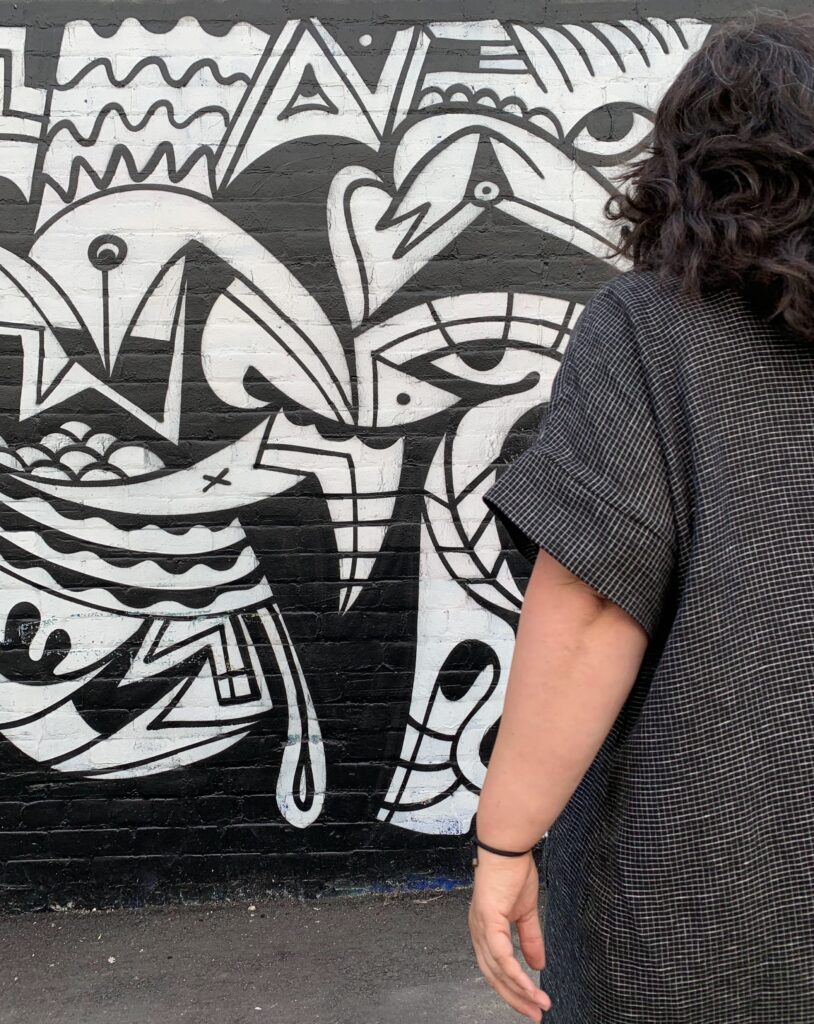
For this hack I made my usual size (Size E at the shoulders and bust grading to a size F at the hips). If you are using a boxy top as your starting point I am sure the measurements might be enough to go thought your hips with ease but I recommend to always check the finished garment measurements chart and make sure you are happy with the ease.
Ease is the difference between your body measurements and the measurements of the garment once it’s sewn up. In this case, my hips are 58″ and the finished measurement for the hips of the Torrens top size F is 63″ giving me 5″ of ease around my hips.
If the pattern doesn’t provides a Finished Garment Measurements Chart, you can always measure the pattern pieces and make sure it will fit you the way you want.

Once you decided on a pattern and checked the measurements we get to the actual hack: adding length. To do this you can put on the top (if you made the pattern previously) or put the paper pattern piece against your body and with a measuring tape determine how long you want the dress and consequently how much length you need to add.
For my dress I decided to add 18″ not because I did what I just told you to do but because I own two clear rulers that measure 18″ so I used them to cut my pattern pieces easier, lol! As a general rule it’s always easier to cut length out than to add it so if you are not sure it’s better to cut your dress longer and there is nothing than a dip hem or a bit of trimming won’t fix.
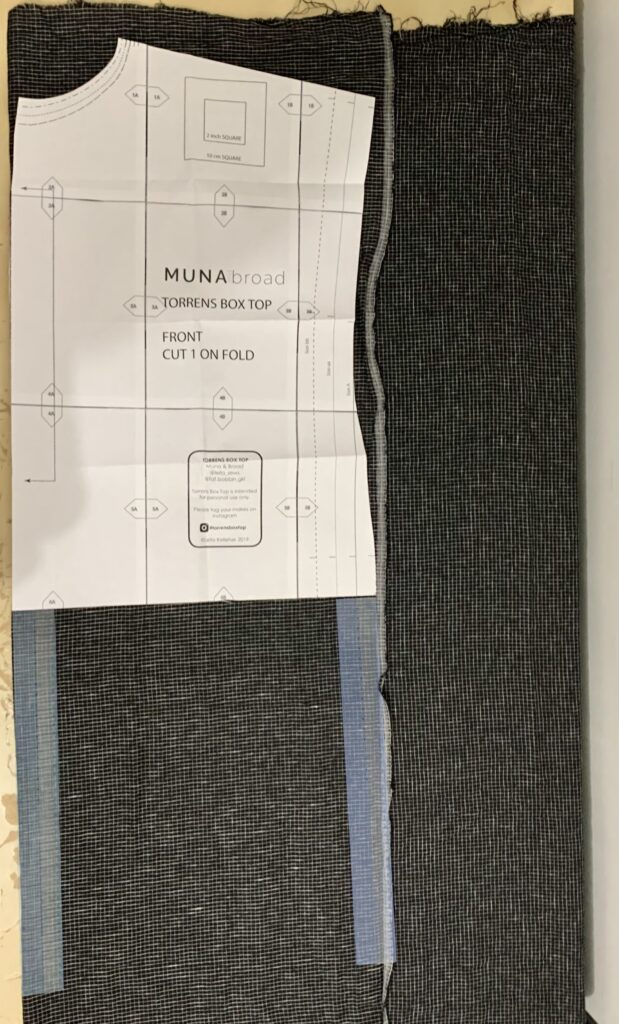
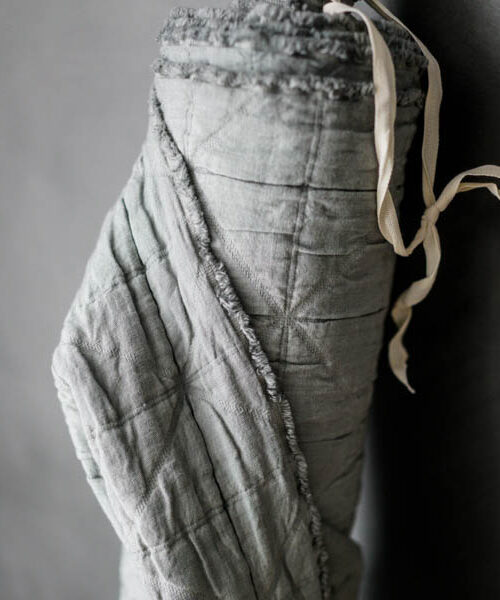
Now that we have our hack planned and ready to go it’s time to choose our fabric and in my opinion there is not better pairing to a boxy dress than linen. Said that, linen can be a bit challenging to work with if you are just starting on your sewing journey because it can shift and stretch easily while cutting and sewing it. That’s why this Mini Checks cotton and linen mix makes things easier. The cotton gives the fabric some stability making it easier to cut and sew but without sacrificing breathability or even the linen look. Also this fabrics is almost unwrinkable! I wore the dress for three continuous days before taking the photos and I can hardly believe how good and presentable still looks.
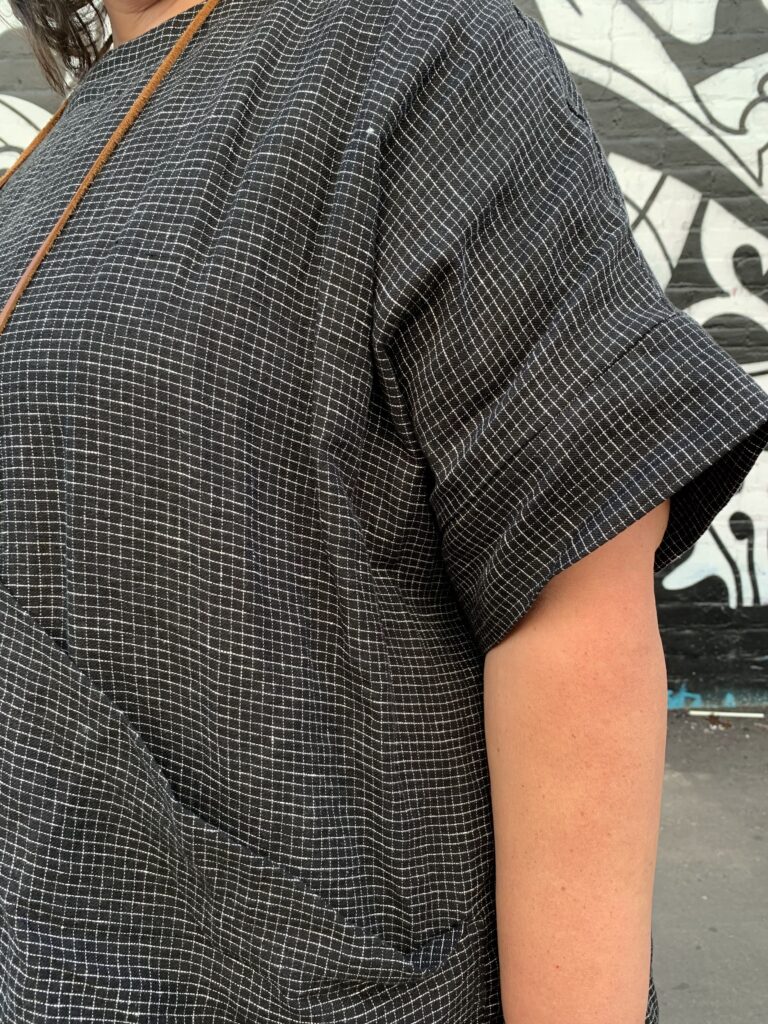
And like that we arrive at the final touches. I personally don’t like side seams pockets on this kind of dresses because they tend to drag the side seams down and create folds and lines on the dress. But we all need a place to put our hands when standing awkwardly in front of a wall or to put our phones and keys on the way to the store.
If you decided to go with side seam pockets measure the point where it’s comfortable for you to put your hands in. You can do this after sewing the shoulders seams, put on the “dress” (it will look more like a cape) and mark the point where your pockets will be.
You could also use patch pockets like I did. I went with one big asymmetrical pocket but I think it would also look amazing with two smaller patch pockets. I like this option because it gives some design interest and breaks the otherwise plain front of the dress.

The only thing remaining is to hem your dress to the desired length. I kept the initial length and did a 2″ dip hem to give the dress a bit of extra weight. Love the final result.
If summer were a dress it would be a boxy linen dress and now you can make yours. Enjoy and Happy Hacking!
