Tutorial: Make Your Own Pencil Skirt
It has been on my sew list for quite some time to make my own knit-fabric pencil skirt. Better yet, a matching set!
Recently, I have been needing to incorporate all of the knit outfits to my wardrobe, as I am expecting and growing a bump! So the making of this skirt was an exciting and necessary clothing addition to my wardrobe.
With spring in full bloom (and my bump quickly growing), I thought it would be the perfect time to get started! After making a toile or two, I perfected my pattern and I thought I would share it with you!
You’ll Need…
- Measuring Tape
- Paper for Pattern Drafting
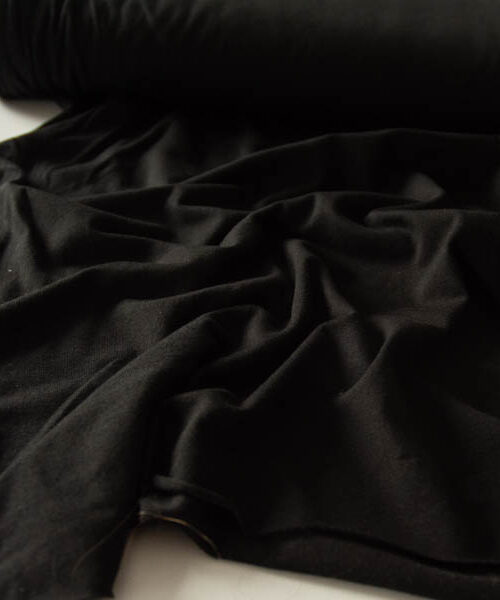
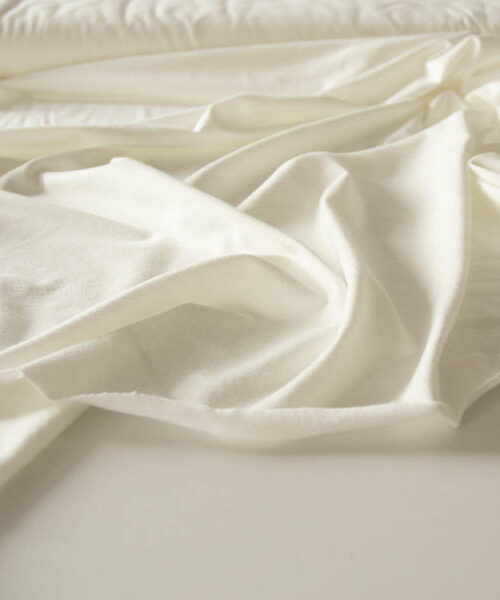
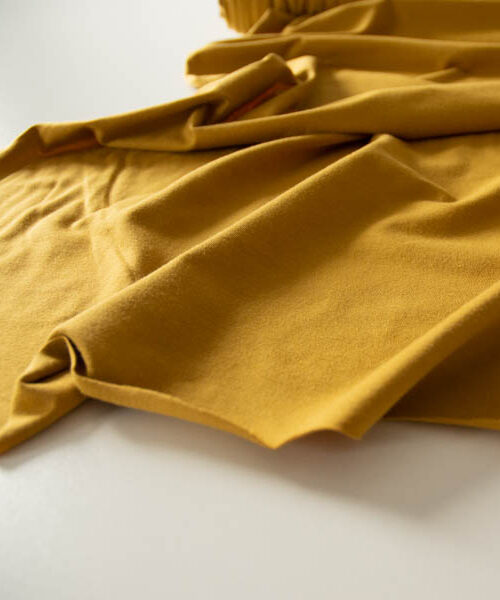
- Knit Fabric
- Elastic Band
- Thread
- A Sewing Needle Suitable for Knit Fabric
For pattern drafting, I like to use “Exam Table Paper”. It’s inexpensive, durable, and fairly transparent for tracing. But, any paper or the like, will work.
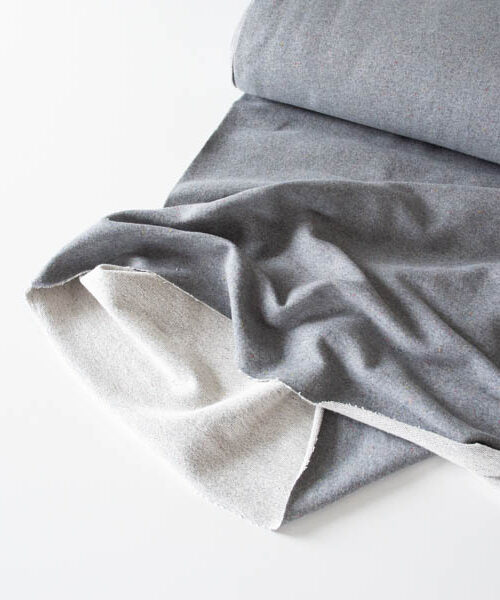
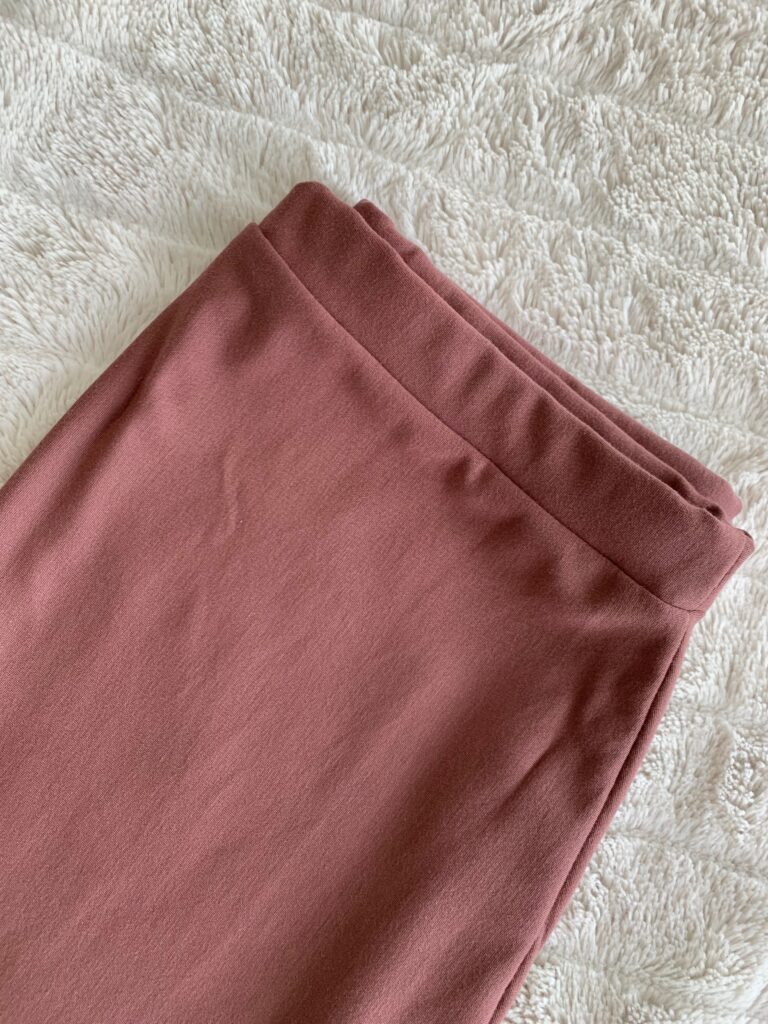
For my fabric, I decided to choose the “Royce Mauve Ponte de Roma”, a medium-heavy weight knit that had the most gorgeous drape. The Ponte was thick enough that I did not have to line the skirt. The fabric was exactly what I was looking for in a knit skirt. I will definitely use this Ponte again in future projects and I highly recommend this beautiful fabric.
For the elastic band, I used a 3/4 inch band; however, you may choose your desired thickness depending on how thick you would like your waistband to be.
Creating the Pattern Pieces
The knit skirt will only require two pattern pieces. The Waistband and the Skirt. To make these pieces, you will need to measure the following:
- Your Waist (1)
- Your Hips (or the largest portion of your body – in my case, my baby bump) (2)
- Your Knees (with your knees slightly apart) (3)
- The distance between your waist and your hips (4)
- The distance between your hips and knees (5)
- The distance between your knees and your desired skirt length
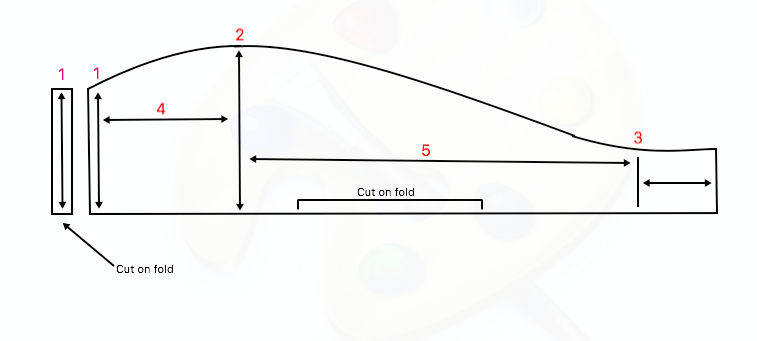
After taking these measurements, I divided each measurement by four, to create the pattern pieces. I then added 1 centimetre to each measurement to account for the seam allowance. For example:
- Waistline = Waist measurement / 4 + 1
- Hipline = Hip measurement / 4 + 1
- Kneeline = knee measurement / 4 + 1
After determining the appropriate measurements for the pattern pieces, I started drafting the skirt piece by marking the waistline (1) on my drafting paper. After marking the waistline, I measured the distance from the waistline to the hips (4) and made another marking to indicate the hipline. I then measured the width of the hipline and marked that hipline as the apex of the skirt piece (2) on my drafting paper. I then measured the distance between the hips and the knees (5) and made another marking to indicate the kneeline. Next, I measured the width of the kneeline and made another marking (3). I then measured the distance between my kneeline to the desired skirt length and marked the skirt length. I connected the markings to form the skirt pattern piece (shown above). This pattern piece will now form the Skirt. As this piece will be cut on fold, the cut pieces will be the front and back pieces of the Skirt.
Next, for the waistband, I used the waistline measurement for the width and 3 inches for the length. I decided on 3 inches, as the elastic band I chose was 3/4 inch wide and I wanted approximately 1 cm for seam allowance, as well as some wiggle room.
Now the pattern pieces are complete! Cut them out to use!
Construction
Step 1: Cut out the fabric pieces. You will need to cut two Skirt Pieces on fold, and two Waistband Pieces on fold.
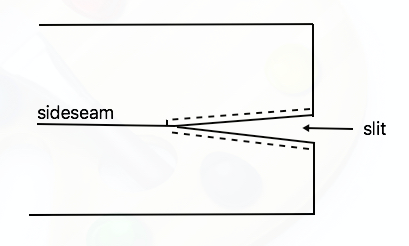
Step 2: Right sides together, sew the two Skirt Pieces along the side (shown below). Optional: If you would like to add slits to your pencil skirt, only sew the sides until the where you want the slits to go. I recommend adding slits to your skirt, if you decide to make a skirt that goes beyond your knees.
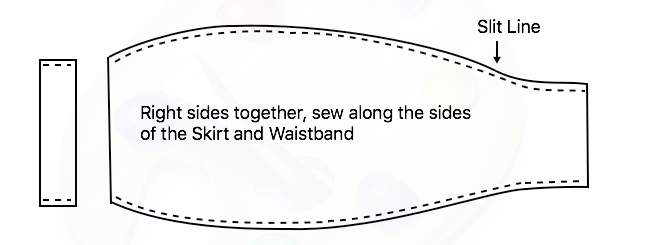
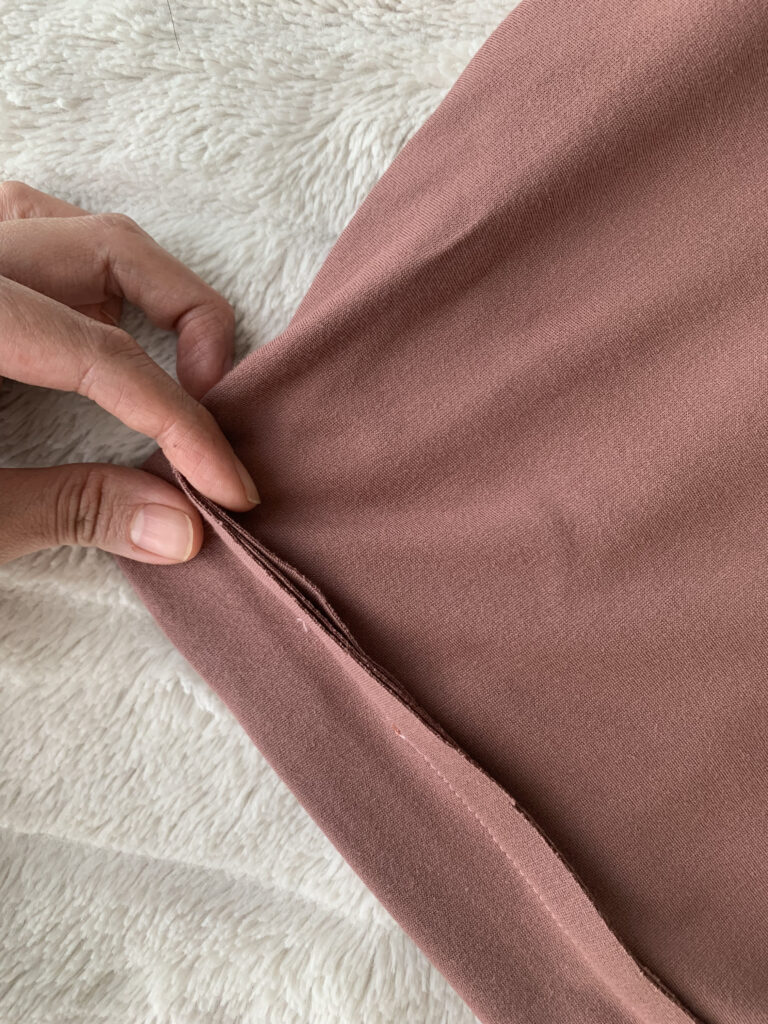
Step 3: Right sides together, sew the two Waistband pieces along the sides.
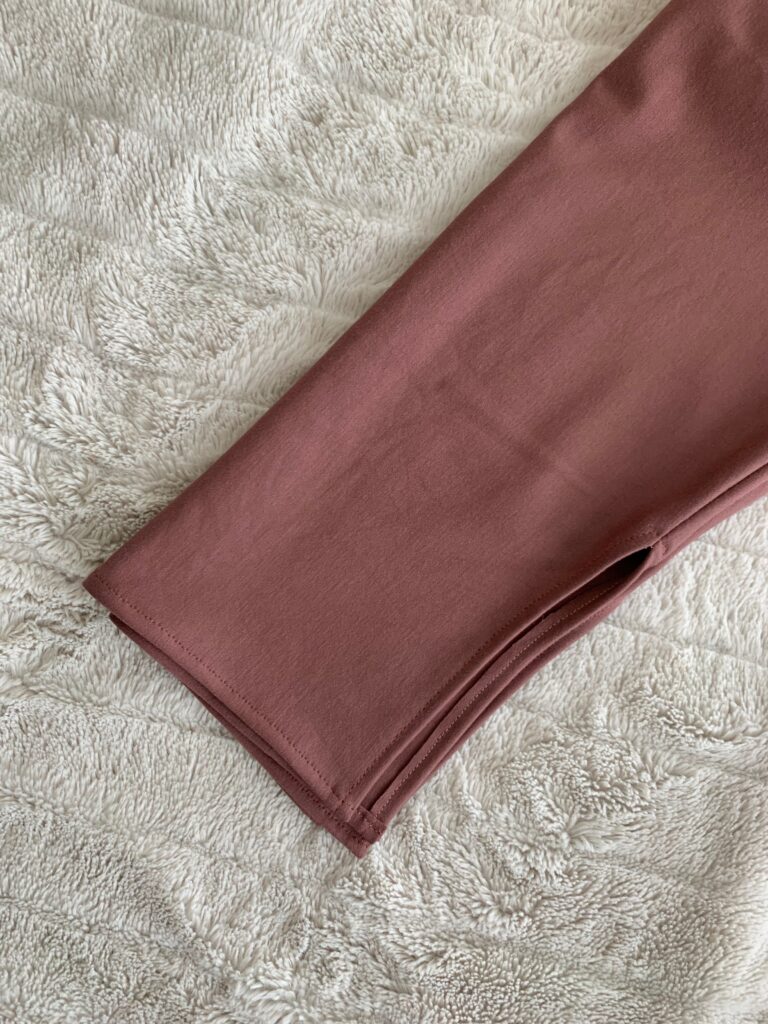
Step 4: If you opted to add slits to your skirt, fold the seam allowance down wrong sides together, to hem the slit. (shown below)
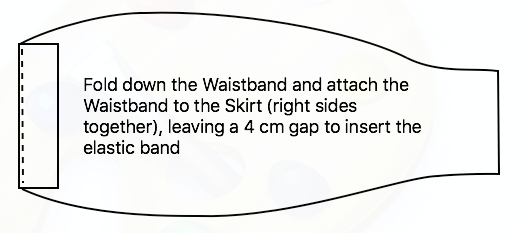
Step 5: Fold down the Waistband (to encase the elastic band) and attach the Waistband to the skirt (right rides together), leaving a 4 cm gap to insert the elastic band. Use a safety pin to guide the elastic band through the Waistband. Once the elastic band is in, using a zigzag stitch, sew the elastic band together. Once that is complete, sew the remaining 4 cm gap closed.
Step 6: Hem the Skirt, and finish any seams.
Outcome
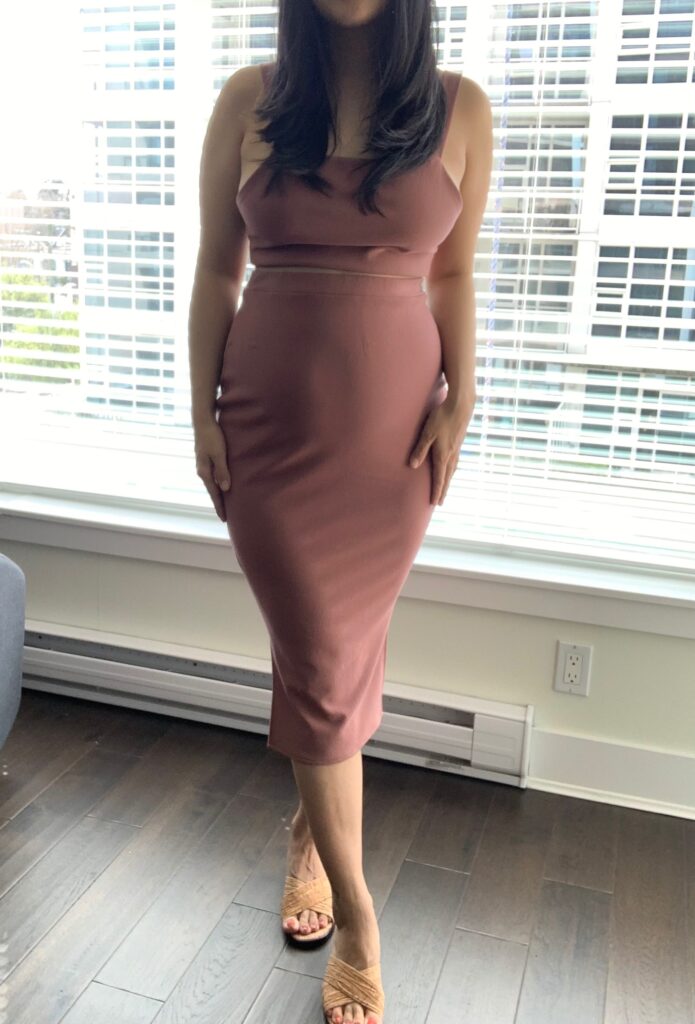
Voila! My very own pencil skirt! I hope you find this tutorial helpful!
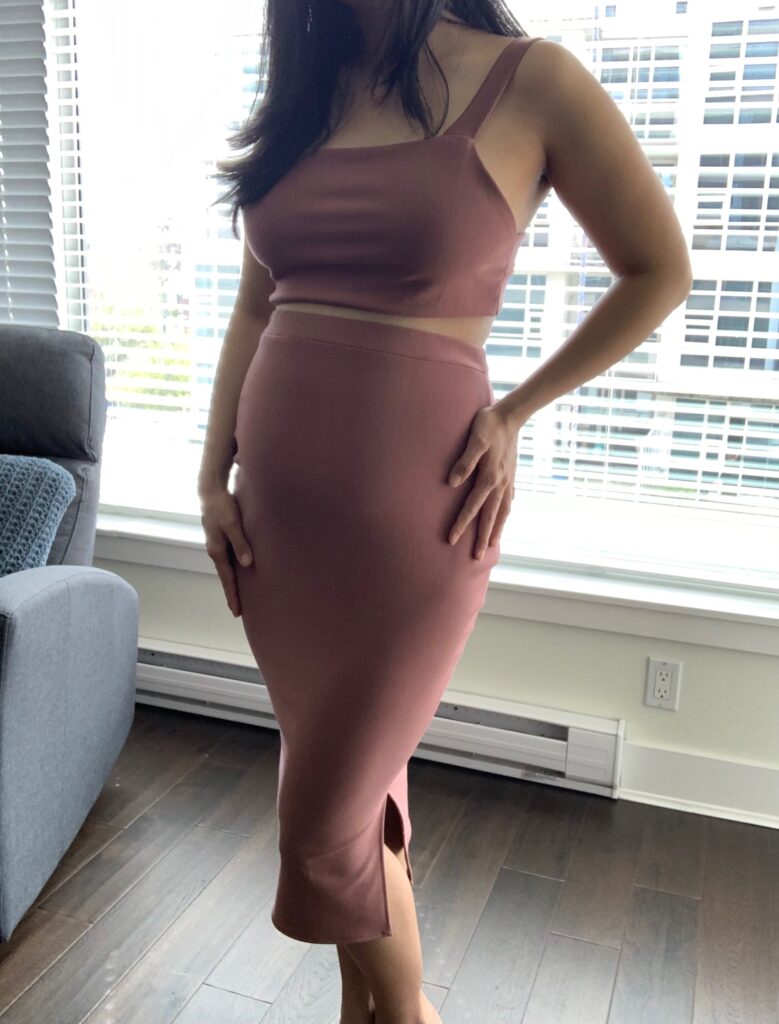
Fashioned with the pencil skirt, I made a matching “Twisty Crop Top” by @CoolStitches. I shortened the top by 5 centimetres, and I love the outcome!