Shirred Shoulder Tie Dress DIY
I made my dream dress with the gorgeous Japanese Sunflower Cotton Crepe fabric and I am completely obsessed! You don’t need a pattern, all you need is a few measurements:
- Bust
- Bodice length (roughly from underarms to waist)
- Waist
- Skirt length (starting at the waist)
Materials:
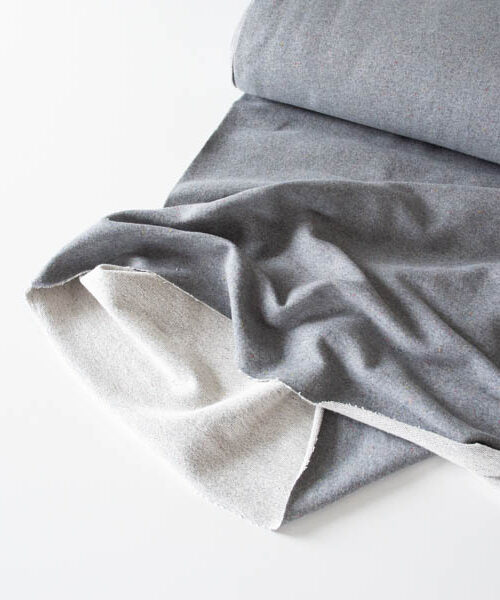
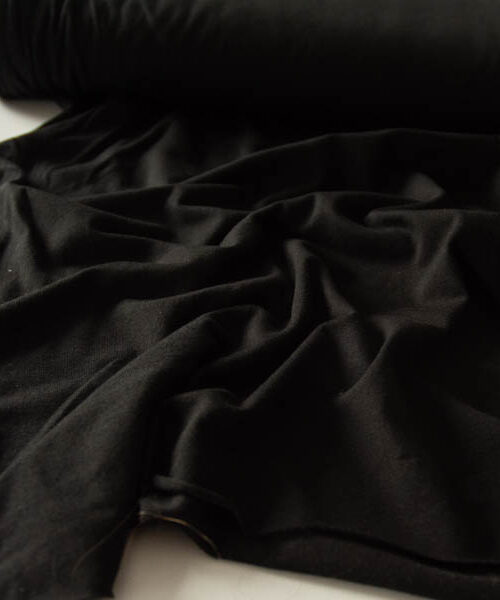
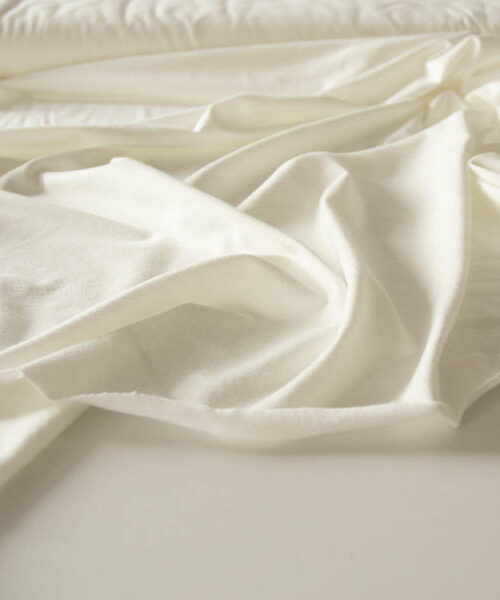
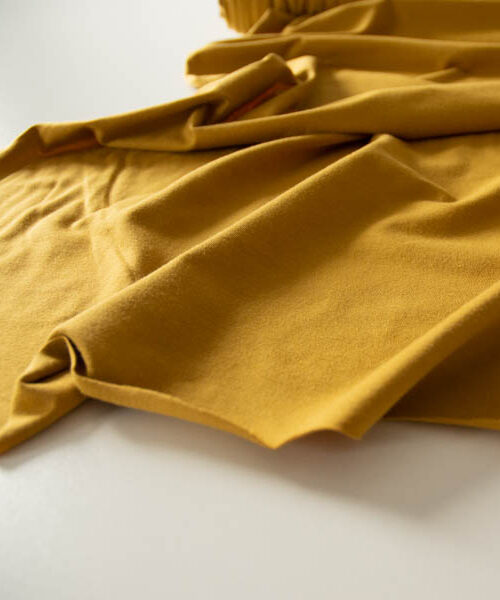
- 3-4 metres of a lightweight woven fabric (a rayon, viscose, or crepe are ideal). Most of the fabric is used for the full circle skirt – here’s a calculator to help you determine how much you’ll need. Don’t forget to add about 0.5m more for the bodice and straps.
- Elastic thread
I used a 1cm seam allowance throughout the dress.
Fitting notes:
- If your bodice doesn’t shrink up enough from shirring, try giving it a light steam. The lighter the fabric, the more it will shrink from shirring.
- If your waist to hip ratio makes this a tight squeeze, there are two ways to fix this:
- If you realize this might be an issue before cutting your skirt, add additional ease your waist measurement. The shirred bodice should bring the skirt back in to cinch at the waist.
- If you’ve already finished the dress, you can insert an invisible zipper at the back by opening up the back bodice and skirt seams (you may have to add a center back skirt seam depending on how you cut the skirt).
Bodice:
For the bodice, I used the tips shared by By Hand London for their shirred dress tutorial. Find the full tutorial on their Instagram story highlight.
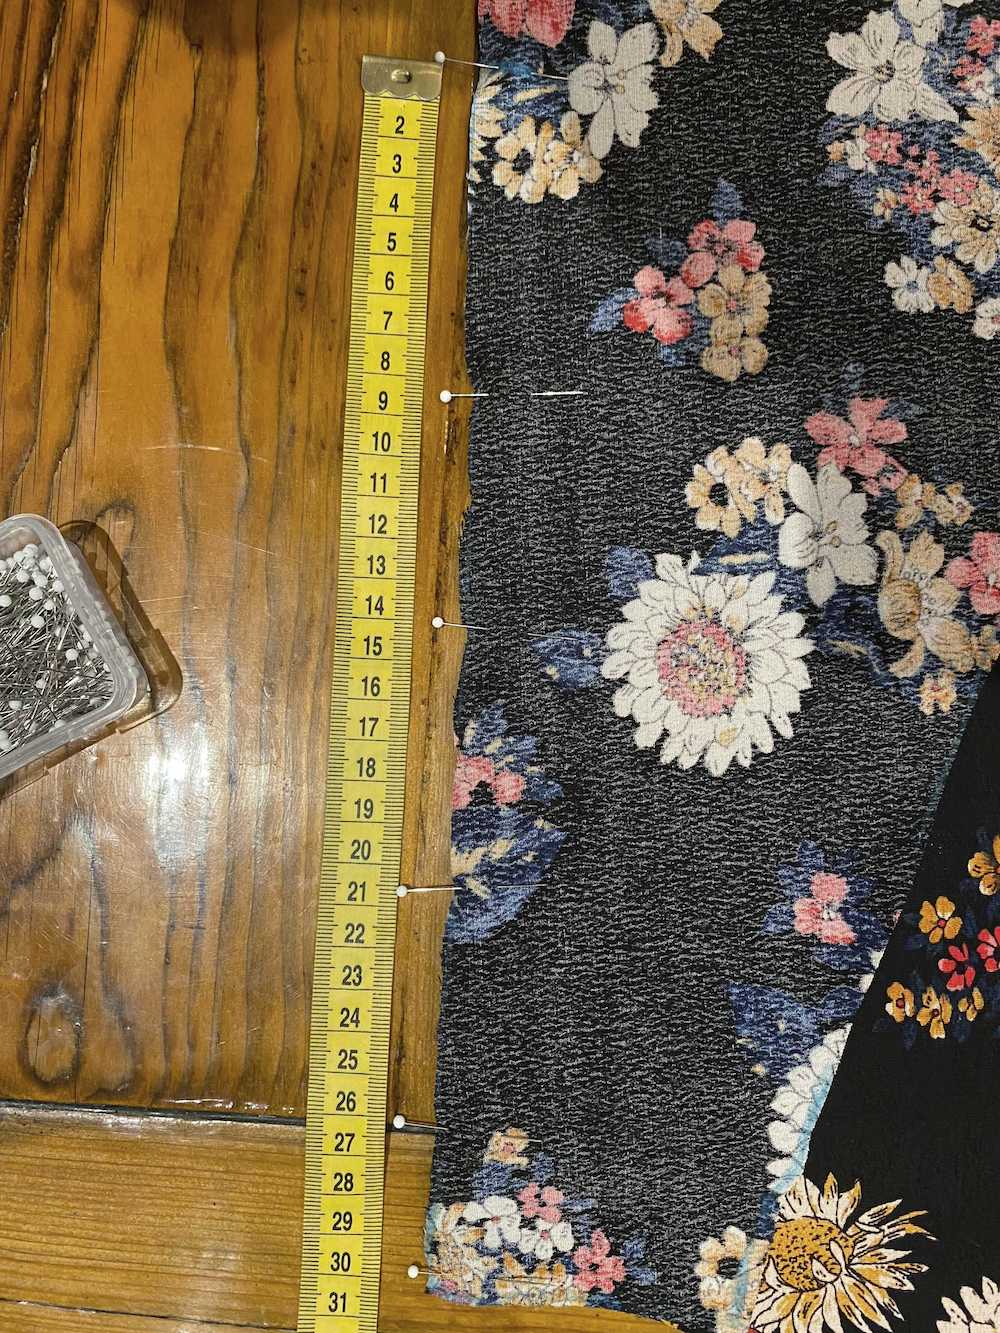
- Cut a piece of fabric that equals your bust multiplied by 1.5 (e.g. 33” x 1.5 = 49.5”) by the bodice length + seam allowance. I cut a rectangle that was 9.5” x 49.5”.
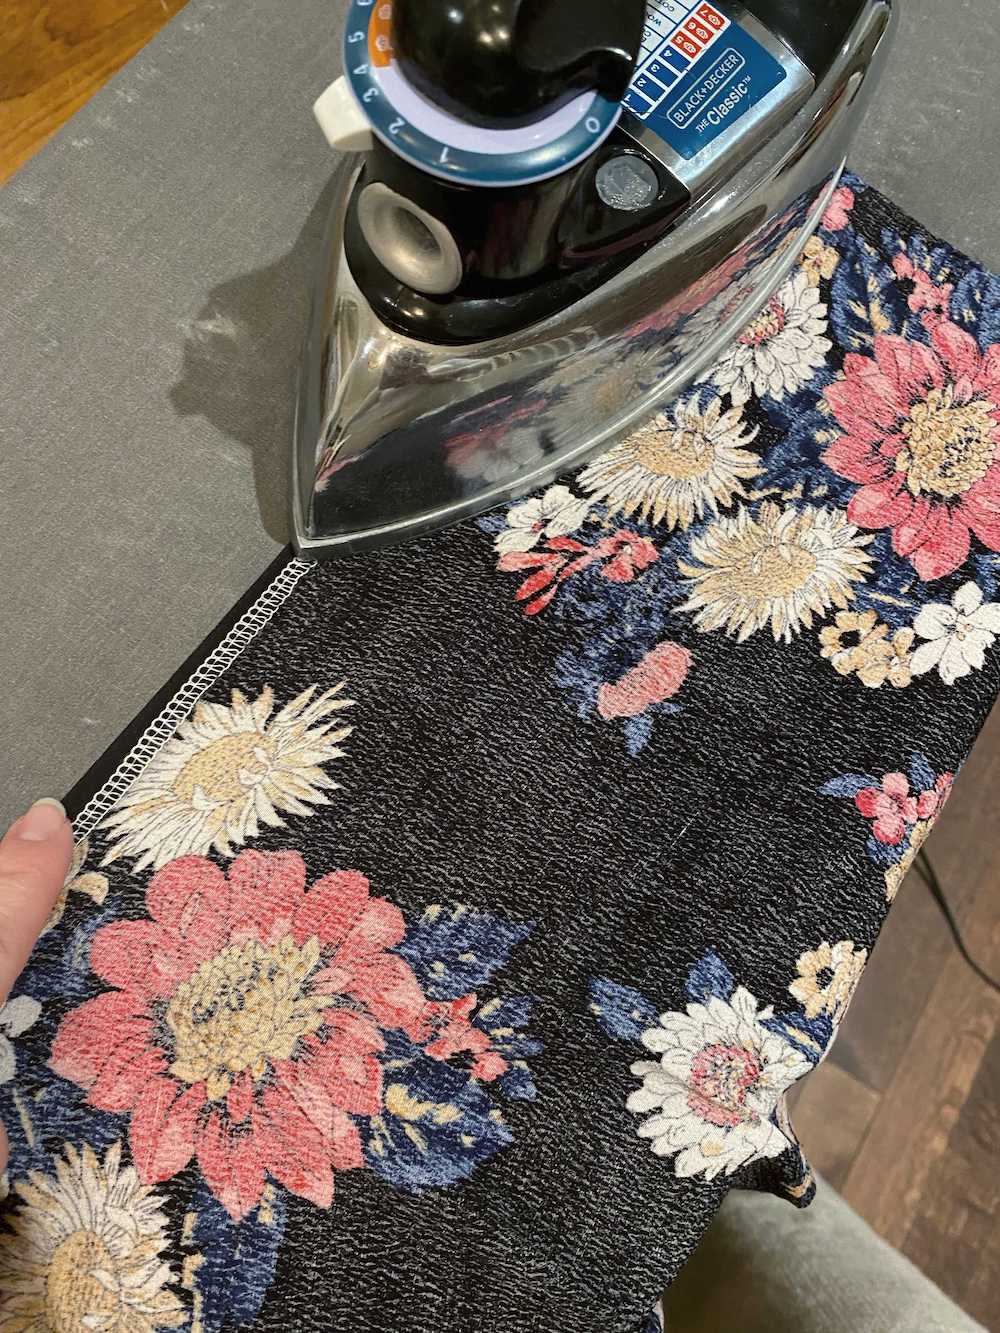
- Finish and fold over the top edge of the bodice, sewing 1cm from the edge:
- Hand wind your bobbin with elastic thread. You might want to test winding it tighter or looser to see what works best with your machine. Don’t forget to test on some scraps first.
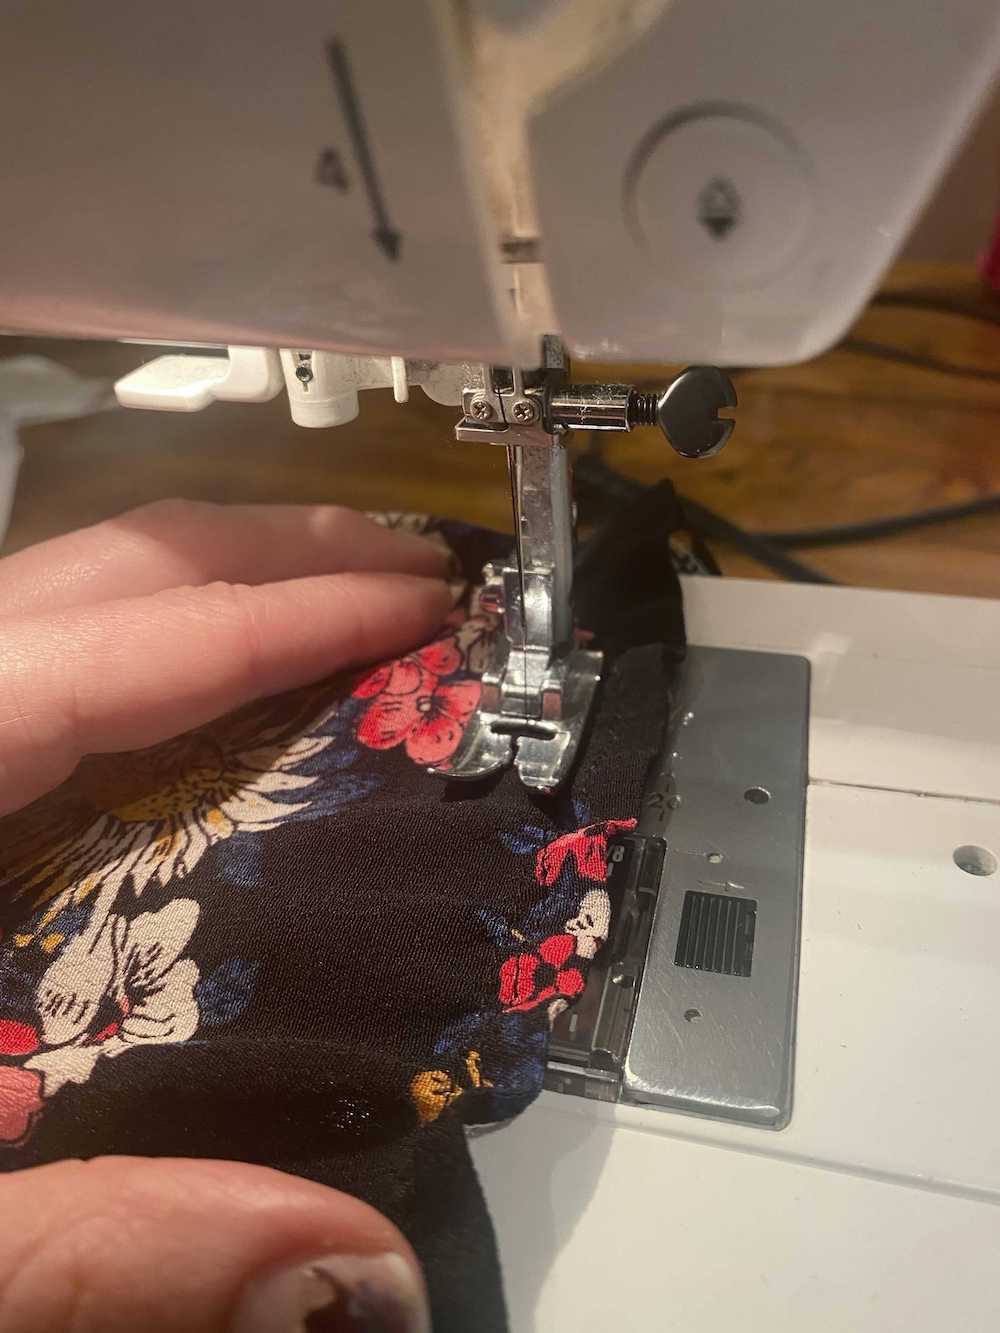
- Increase your stitch length to 3.5cm and sew lines about 1cm apart across the width of the fabric:
- Sew the back of the bodice together. I used french seams to hide all of the elastic ends. To french seam, fold fabric wrong sides together first, and sew a ¼” seam – it should look like this before sewing:

- Then fold inside out with right sides together using a ⅜” seam. Your fabric edge should be neatly hidden away.
Skirt:
For the skirt, I drafted a circle skirt using my waist measurement and the skirt length. There are many blog posts online that go into full details on how to do this – here is one I used with great visuals. The basic idea is that you want to take your waist measurement plus 1″ ease and divide it by 4, creating a quarter of your waist on the fabric fold.
Before you cut both front and back skirt pieces…
Since I wanted to have a front slit, after tracing the front waist and hem, I marked halfway on the front waistline and halfway on the front hemline. Then I drew a straight line to connect them and cut along the line. This gave me two front pieces, one 3/4 of the front width and one 1/4 of the front width.
Sewing the skirt:
- To sew the front slit, place the right sides of your front pieces together. Mark and sew 12” down from the waistline along the seam edge:
- Finish the slit by folding the raw edges over twice to bind the edge and sew. You now have a front skirt piece.
- Place back piece and front piece right side together and sew each seam. You should now have a full circle skirt with a front slit.
Attaching the bodice:
- Insert the skirt into the bodice, right sides together. Make sure the bottom, unfinished part of the bodice is aligned with the waist of the skirt.
- Sew the bodice to the skirt, being mindful to tuck in the excess bodice fabric as you go.
Straps:
- Cut 4 rectangles that are 2.75” x 23”. This gave me a 1” wide strap with 1cm seam allowance, but you can adjust to your liking.
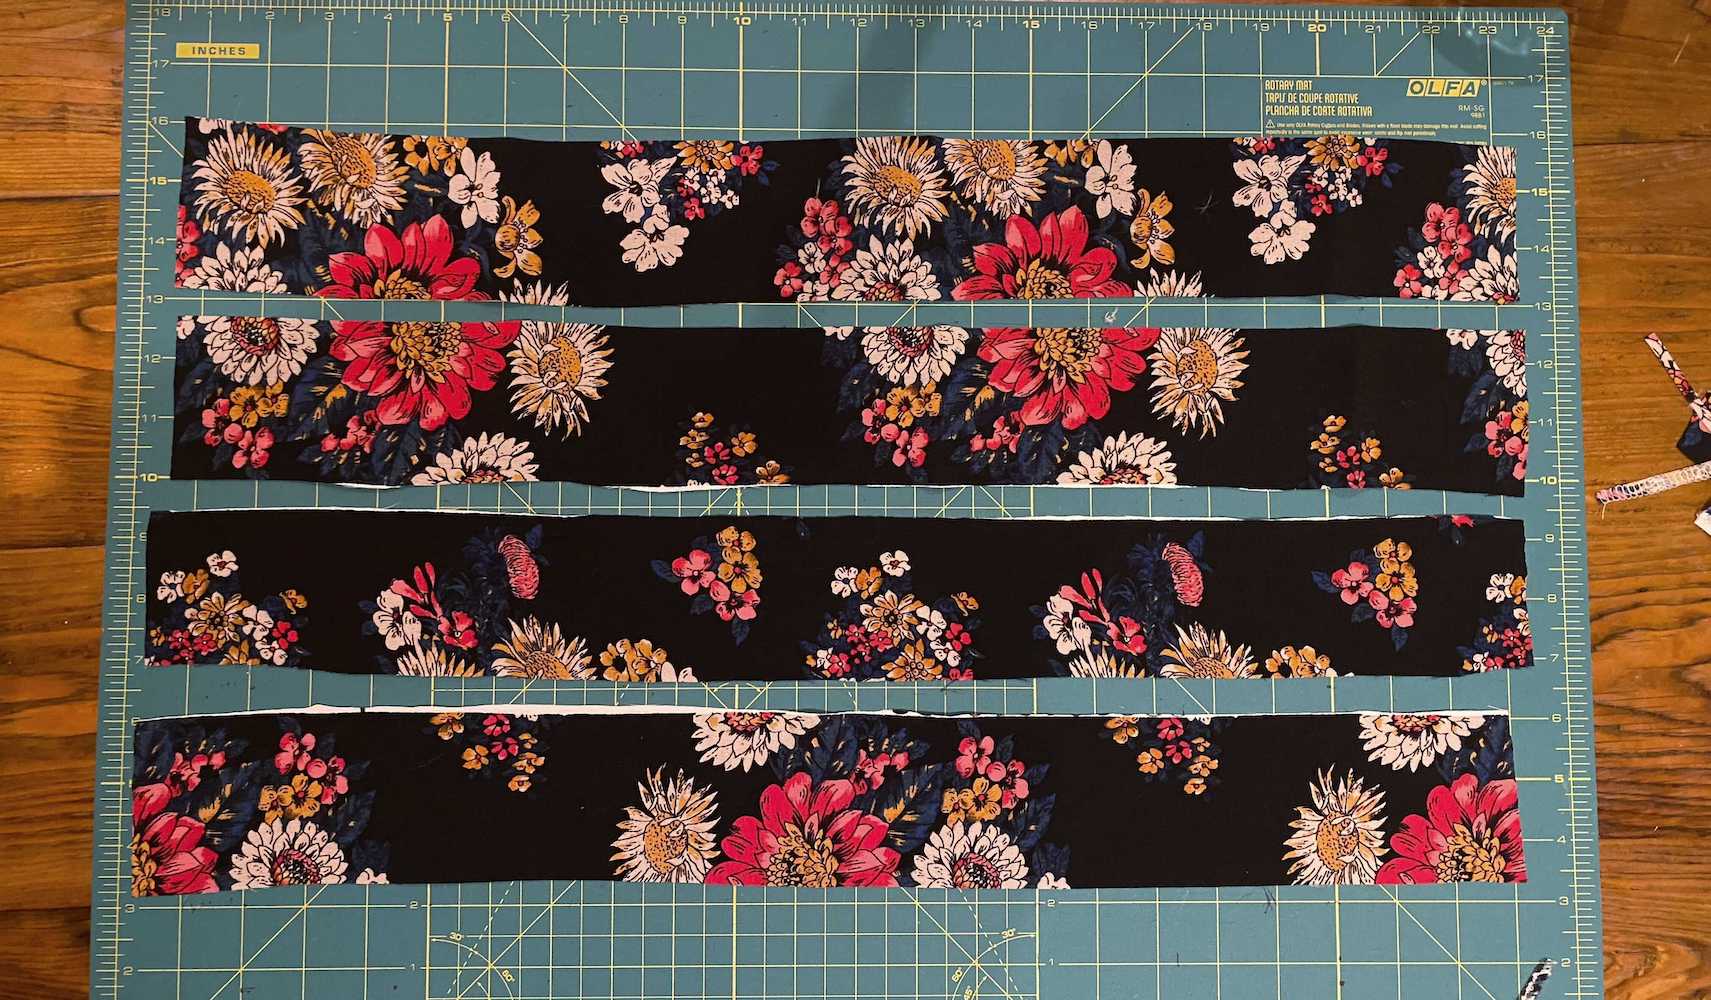
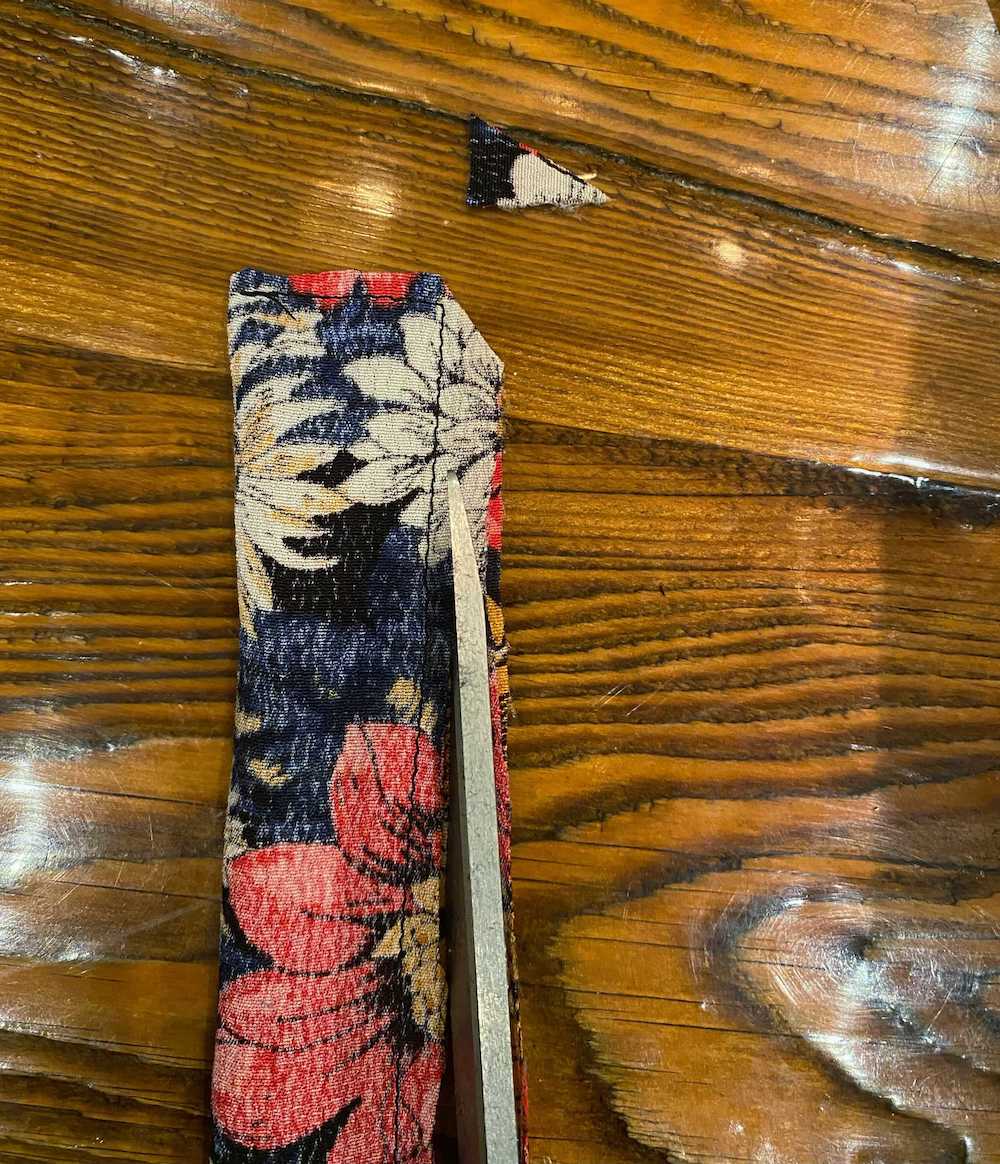
- Fold the rectangle in half lengthwise, right sides together. Sew along one short edge and the long edge, leaving one short edge open. Trim the seam allowance. Using a loop turner, turn the fabric right side out and press. Repeat for the other 3 straps.
- Tuck the raw edge into the strap and edge stitch to secure. Your strap should not have any raw edges exposed now. Repeat for the other straps.
- To attach the straps, mark 2” from either side of the bodice, front and back (not stretched). You want to attach the strap equal distance from each side. I liked where 2” (not stretched) sat on my shoulder when I tried it on. I suggest basting the strap and trying on the dress first.
- Once you like the placement, set your stitch length to 1.5 and attach the strap securely, sewing a small square across the width of the strap:

Hem and Finish:
- Try on your dress with the straps to finalize the skirt length. Hem by folding and pressing a double hem and sew. I used a half centimetre fold.
- Finish your raw edges using a serger or zig zag stitch.
I would love to see your dress! Tag me on Instagram at @_abbymakes