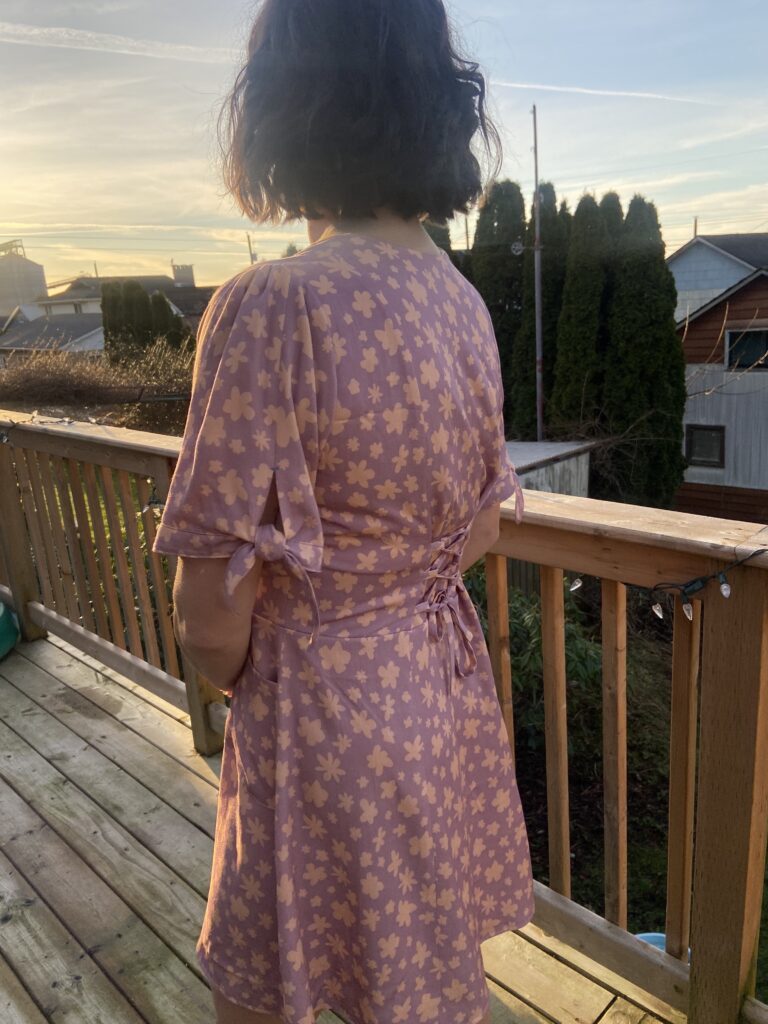
Tie Sleeve Tutorial: Hughes Dress by Friday Pattern Company

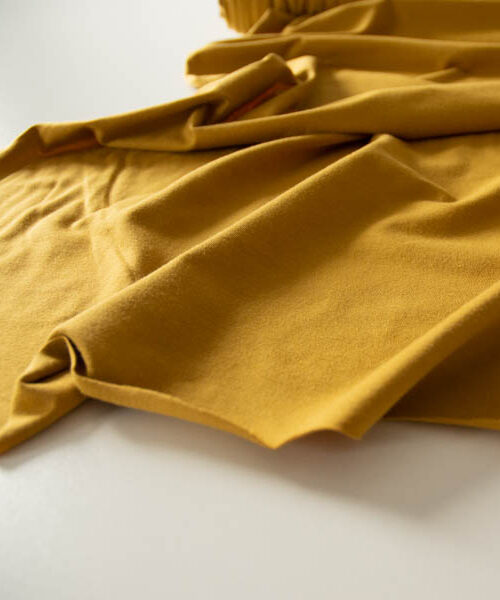
I find the easiest way to make a pattern your own is to change up a small detail, such as the sleeve. I’ve been wanting to make the Hughes dress by Friday Pattern Company for while now and when I saw this Daisy Chain fabric I knew it was meant to be. However I wanted to add a little spring detail. Here is how I modified the sleeve to have a tie.
First you will need to trace the sleeve pattern piece.
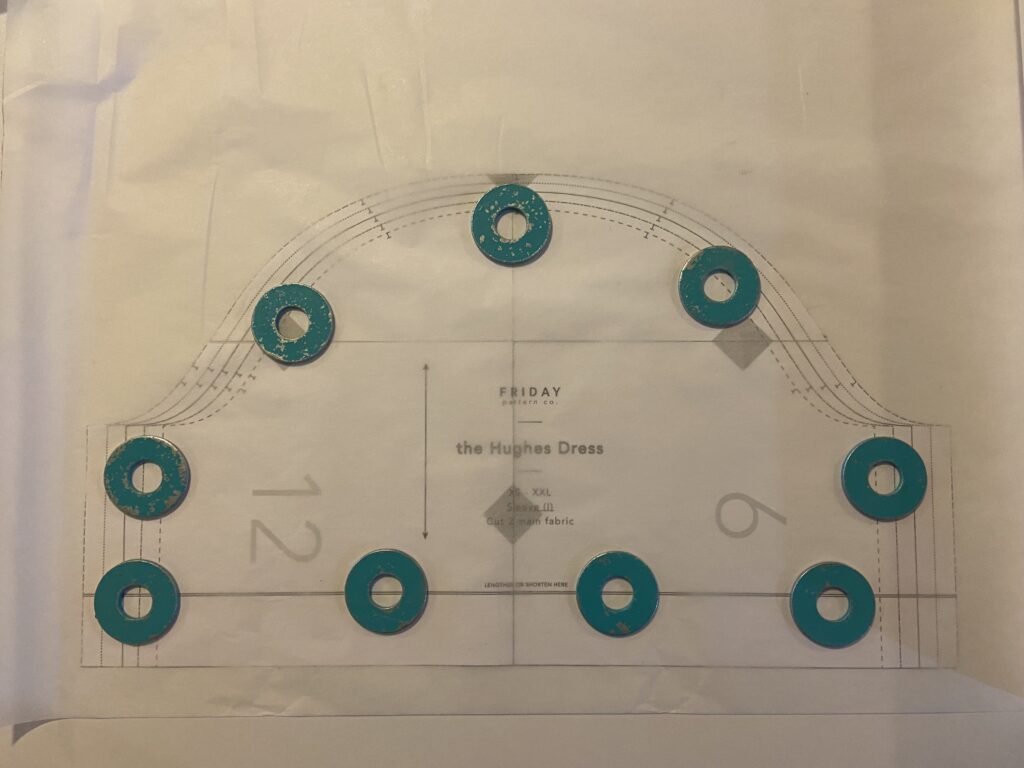
Make sure to transfer all of the notches and grainline to the traced version. I also like to transfer over the pattern name and size. Future you will be happy when you go to find this piece again.
After you have your pattern piece traced and ready to go grab your paper scissors, ruler, and a few coloured pencils. Now let’s get to work.
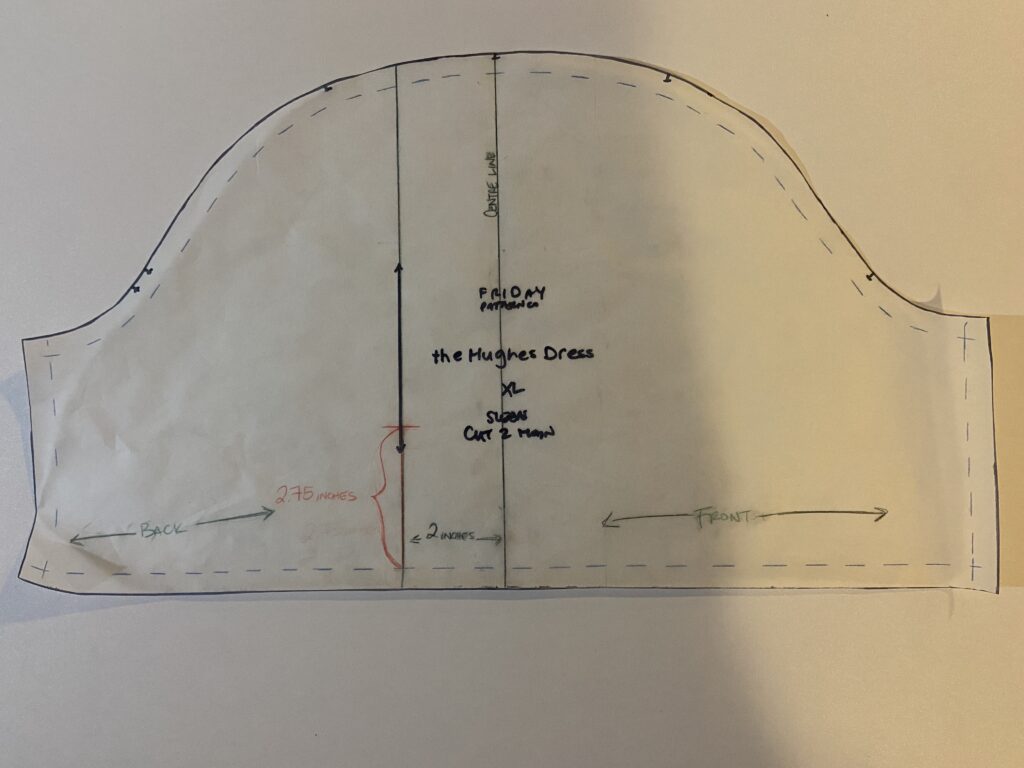
First off mark your seam allowance all the way around, which you will see as the blue dashes. Next find the centre notch and draw a line straight down. Here I have it labeled and in green. Now make another line 2 inches towards the back. As shown you will now have a front and back of your sleeve.
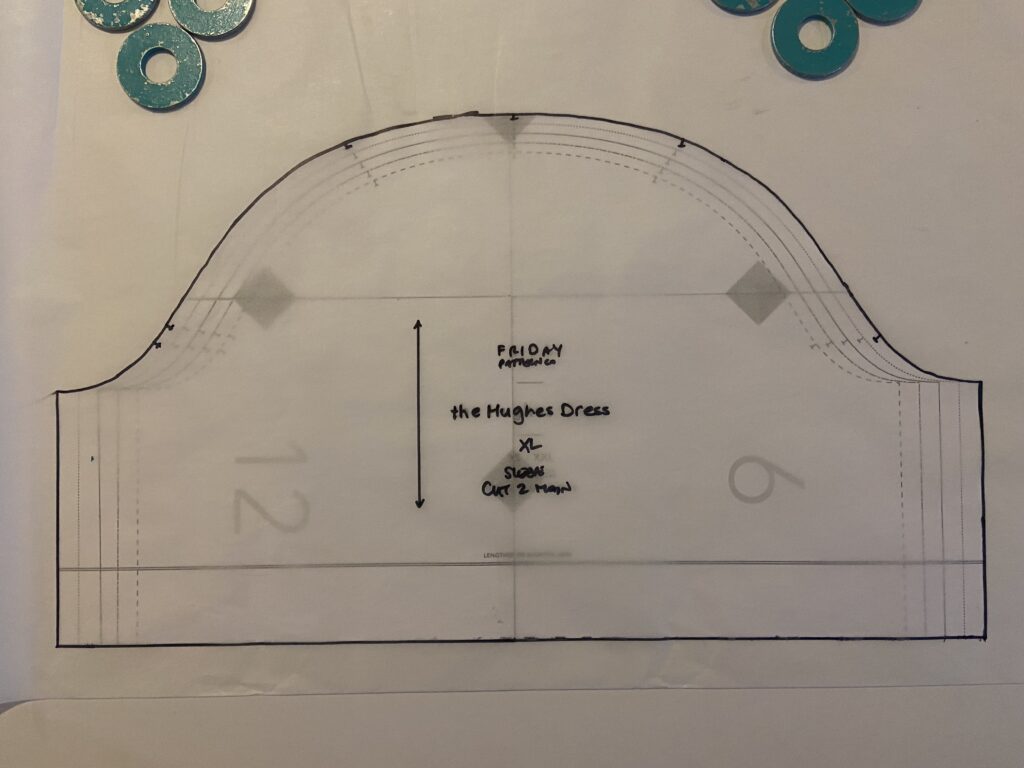
At the hem line mark 2.75 inches up the line towards the back. This line is labeled and in red. When we are sewing we will be stopping at this mark.
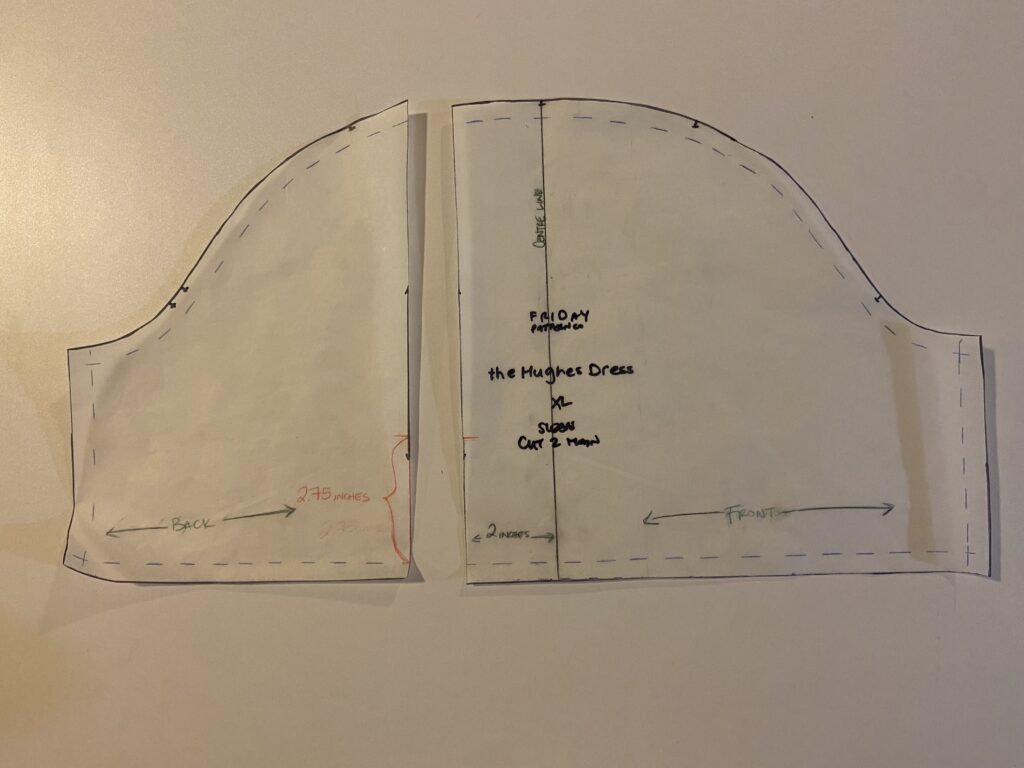
Now separate the two sides up the line towards the back part of your sleeve. Make sure your stop mark is on both pieces.
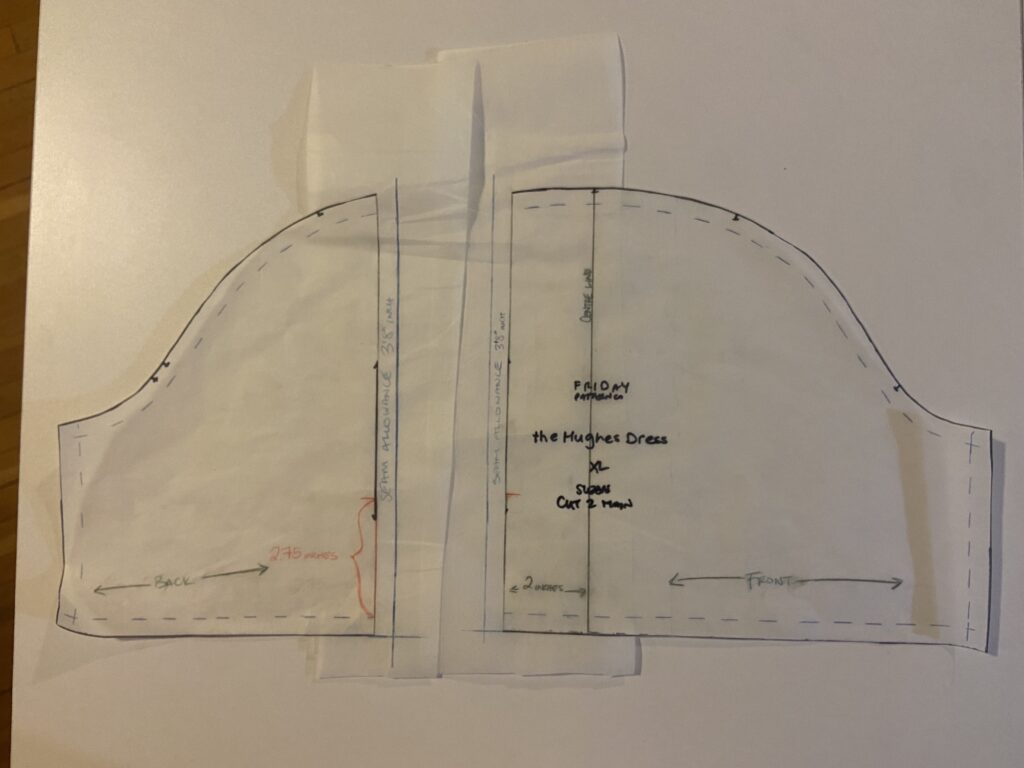
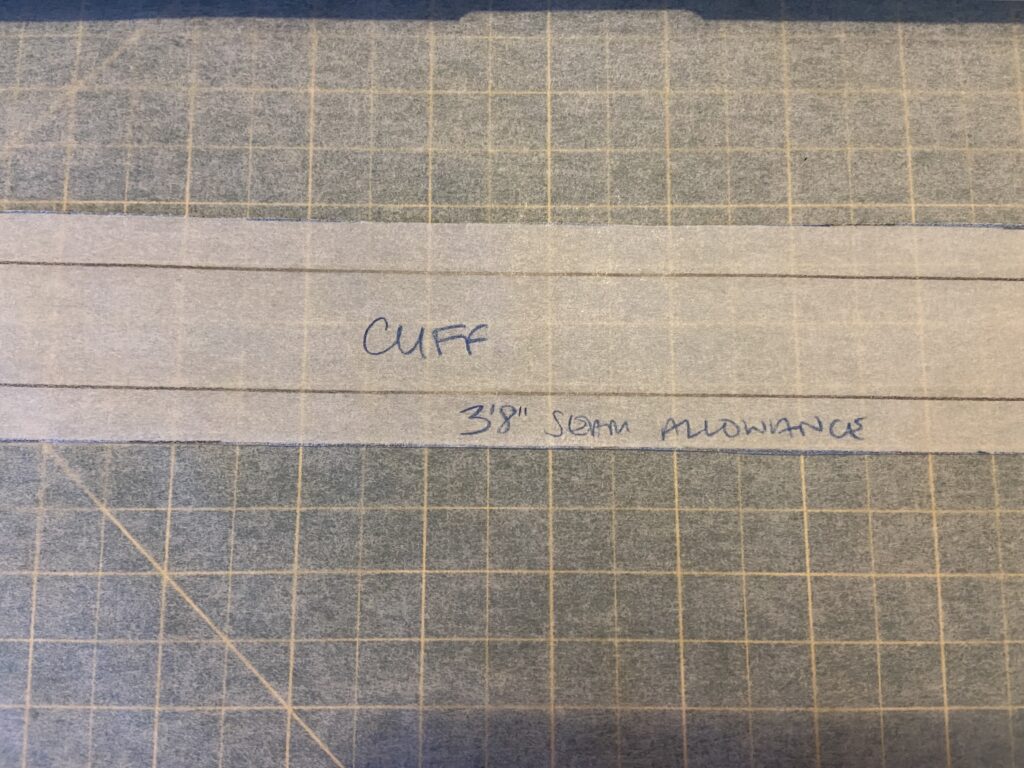
Now tape or glue a piece of paper under each side and add in seam allowance. For the Hughes dress the seam allowance is 3’8 of an inch and that is what I used for all my seam allowances to keep it consistence.
Fold each sleeve allowance under and cut the top of your sleeve. It will have a weird shape but when sewn will lay better in when pressed open.
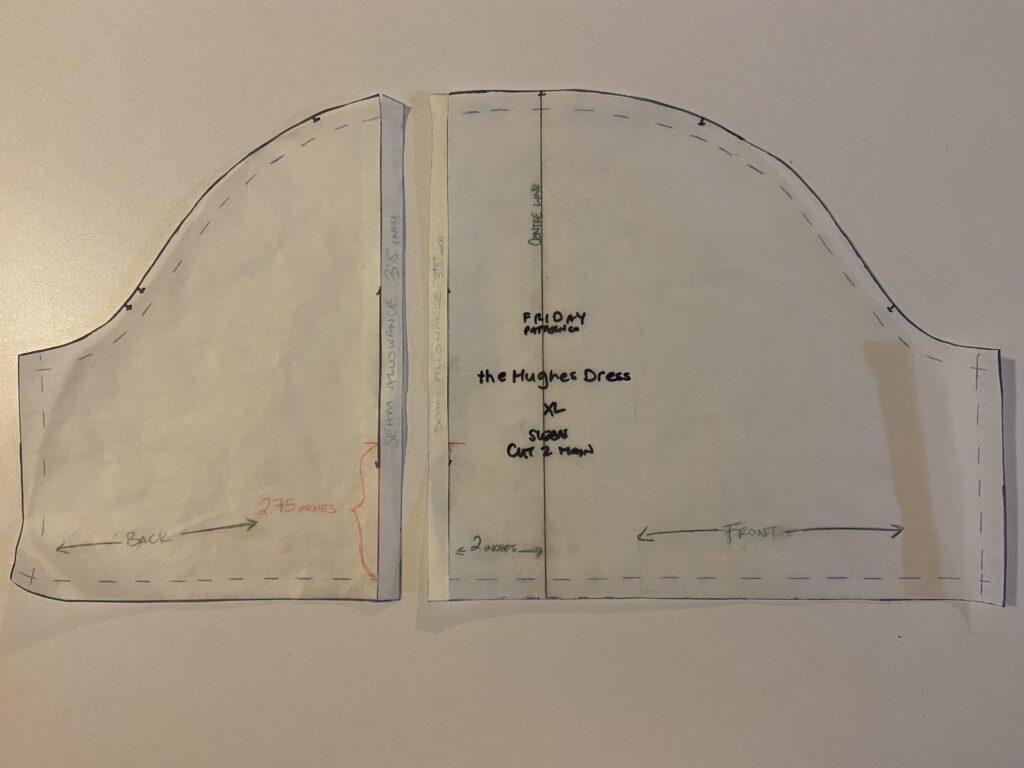
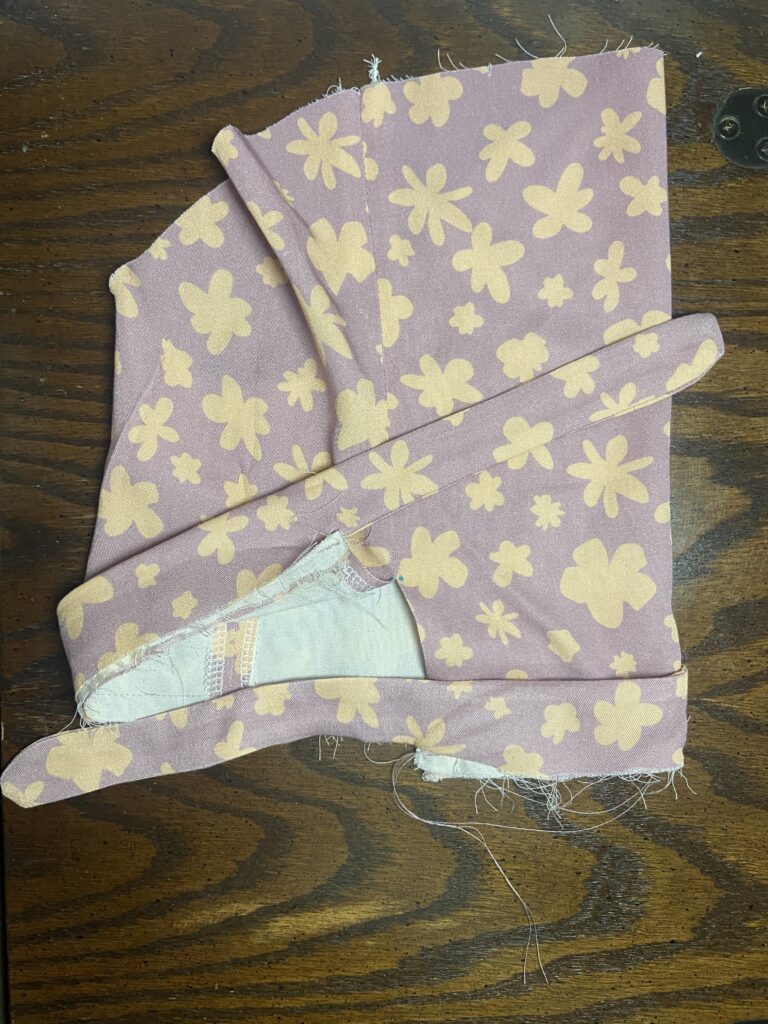
Now you have your new sleeve pieces!
Next we need to make the tie piece. This will involve some math but you can do it. I promise.
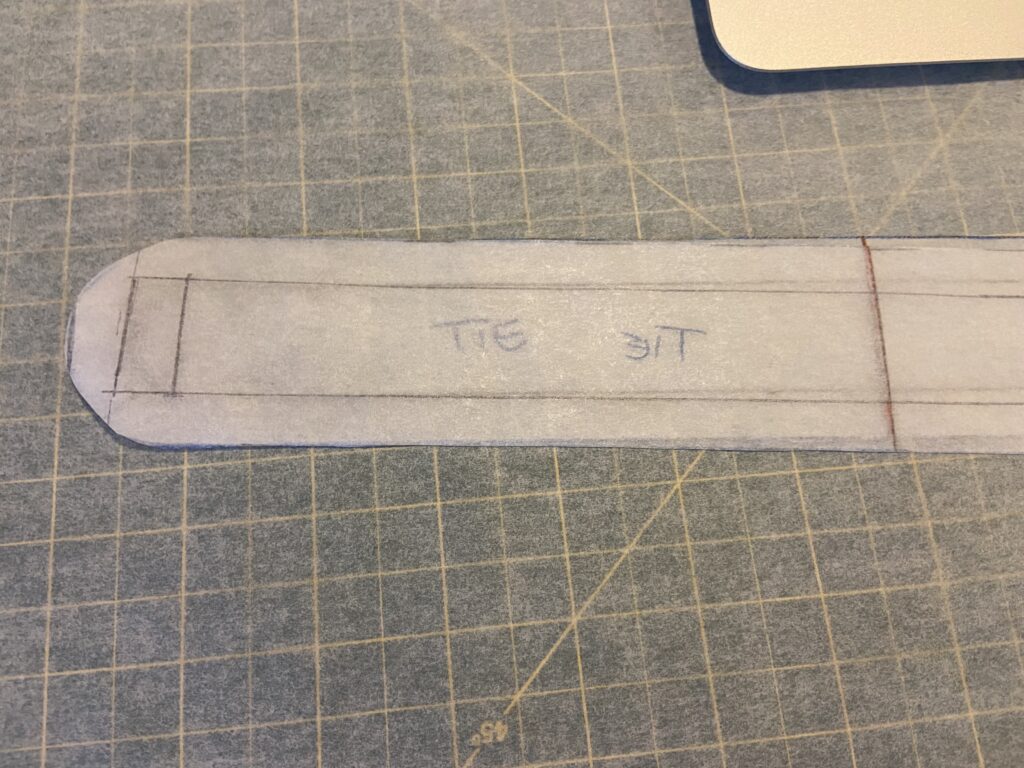
You will need a long rectangle 1 inch wide. Now to figure out how long you want you will need to know the finished circumference of the sleeve opening. On the XL size it was 19 inches. I figured this out by measuring the length of the bottom of the sleeve pattern pice and subtracting the seam allowance.
You will also need to know how long you want your tie ends to be. I went for 6 inches each. So 6+6+19=31 inches total length for my rectangle or tie pattern piece.
Draw this out but do not cut out immediately. We need to add seam allowance and notches!
From each end measure in the length of your tie, in my case 6 inches. The middle section should match the length of your sleeve opening, so 19 inches for mine. At those 6 inch mark make a notch on each side of the pattern piece.
Now we will add the seam allowance. Draw 3’8 of an inch all around the rectangle. As show by the dashes below.
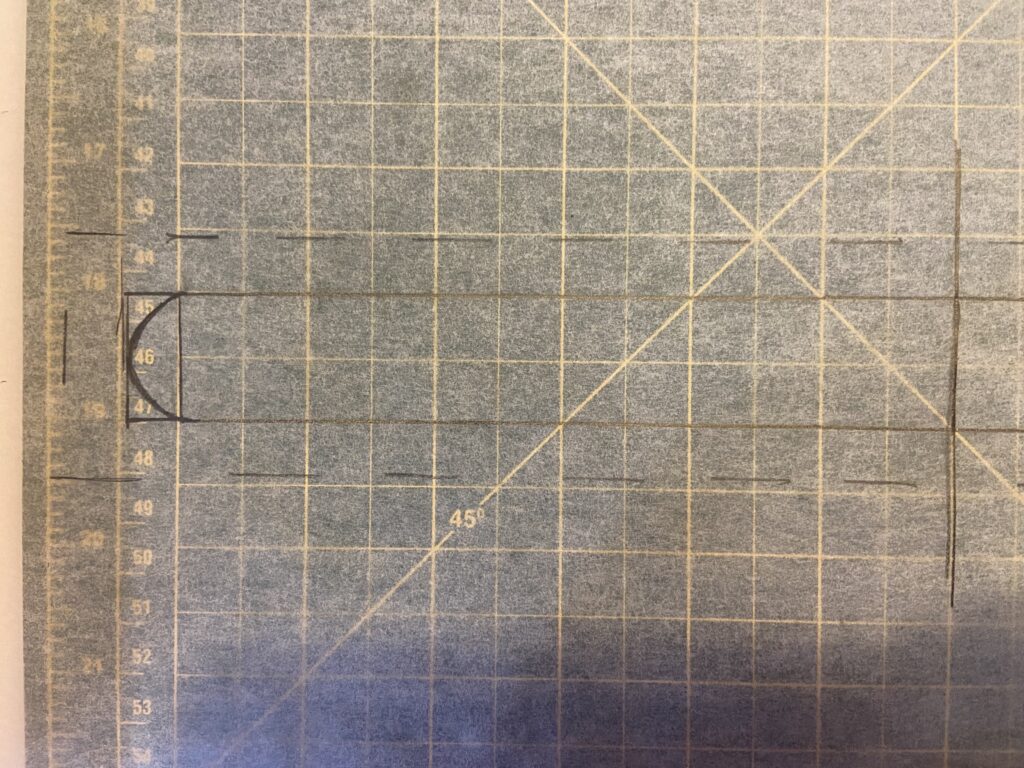
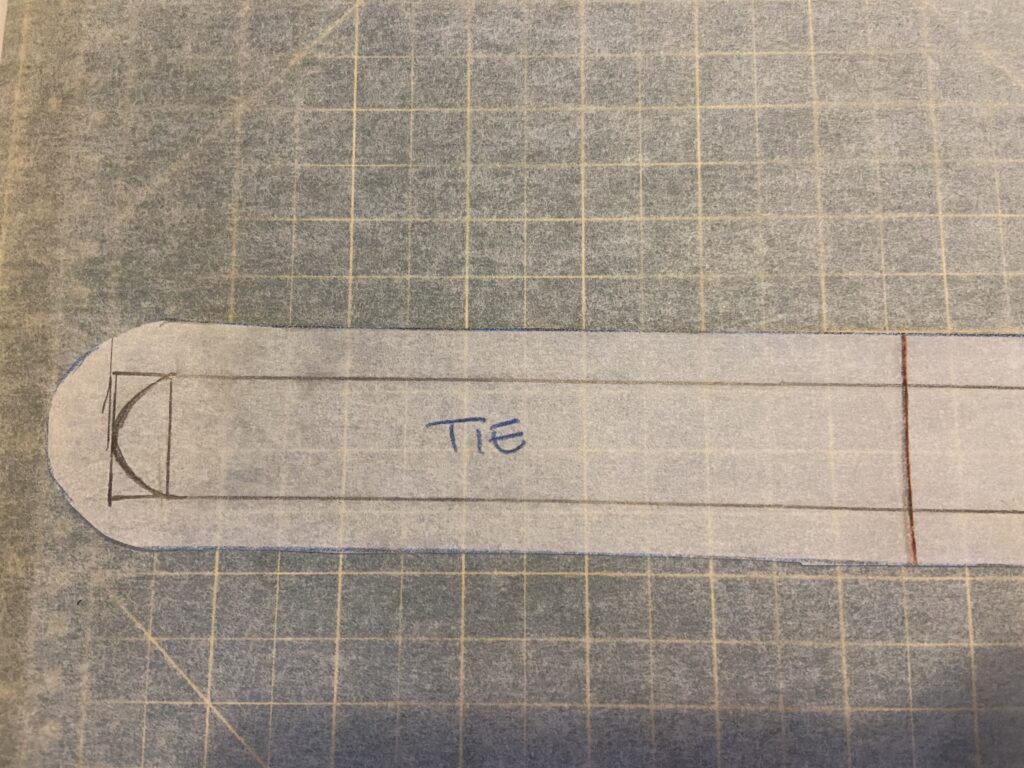
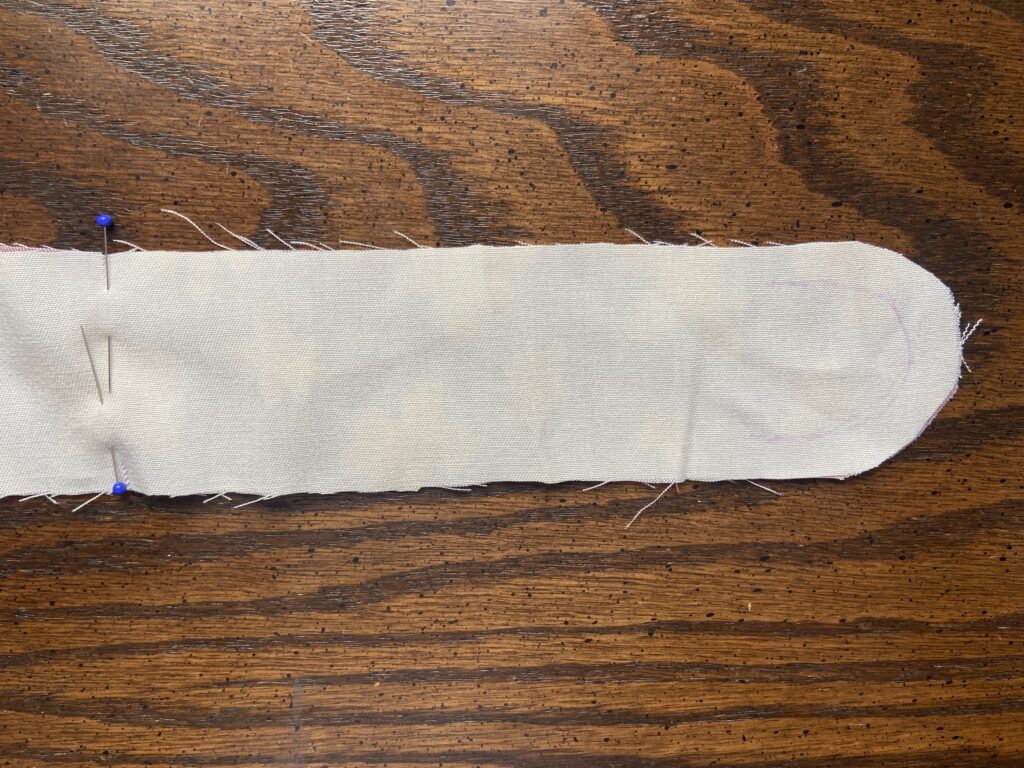
Round the end of one tie side. Now cut out along the seam allowance. Fold over and match end then cut the round edge at the same time to have matching ends.
You will need to cut 2 pair of this piece. Once you have cut all of your pieces out proceed to the fun part, the sewing part!
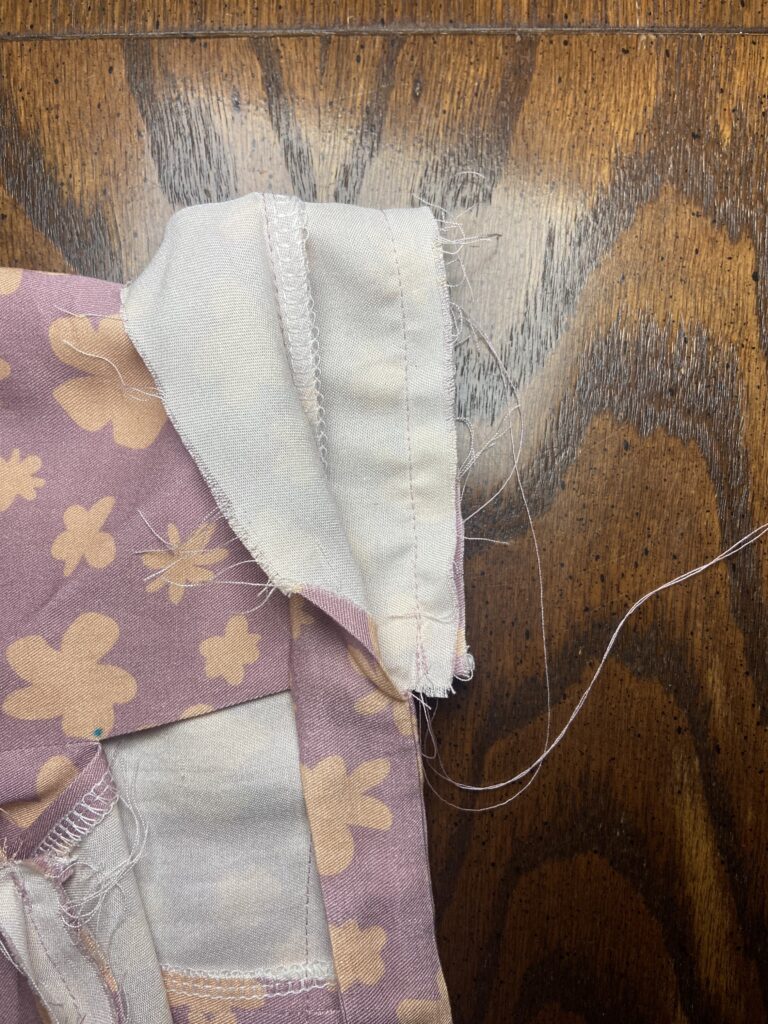
Place right sides together and sew from the top of your sleeve to the stop mark.
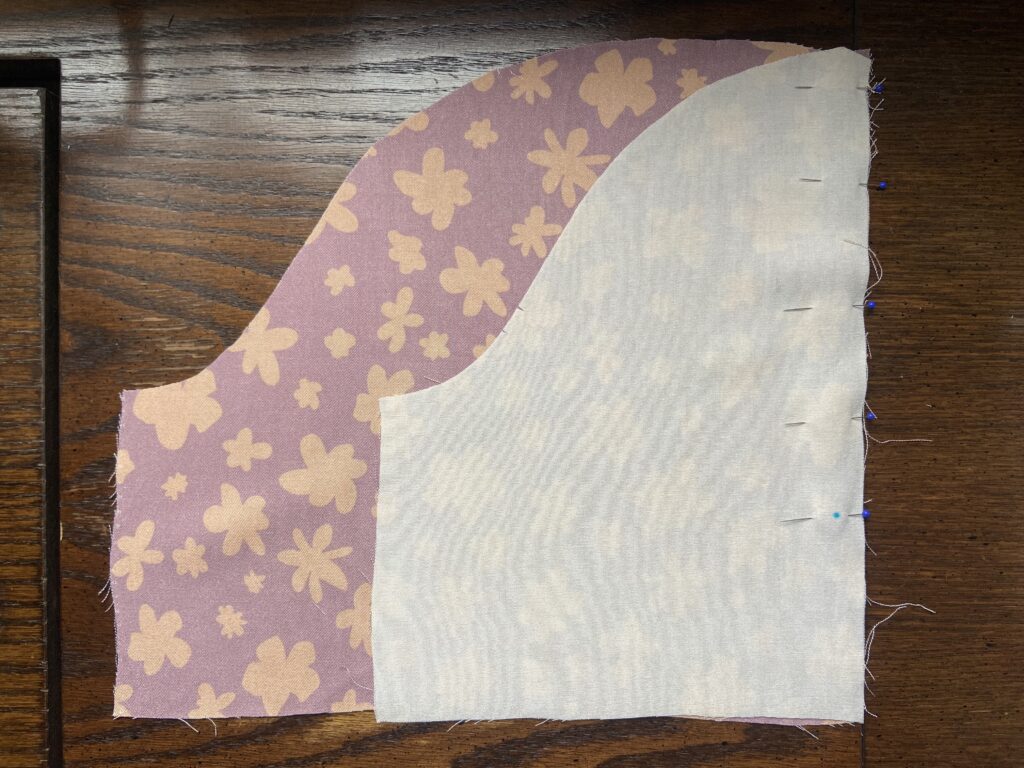
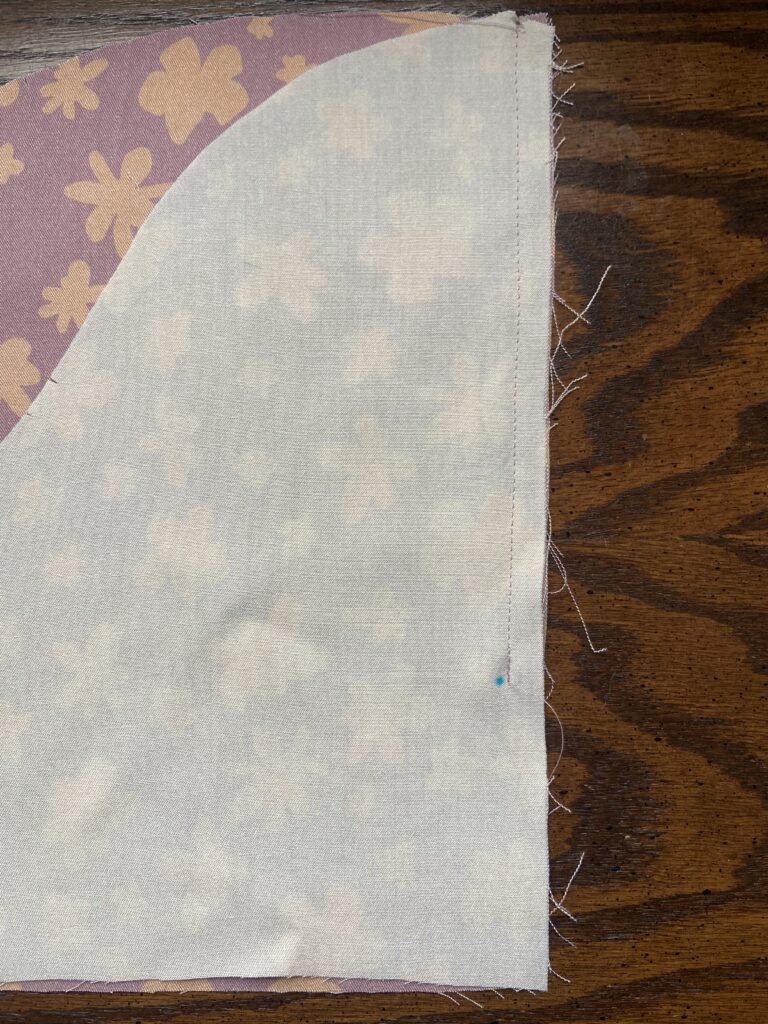
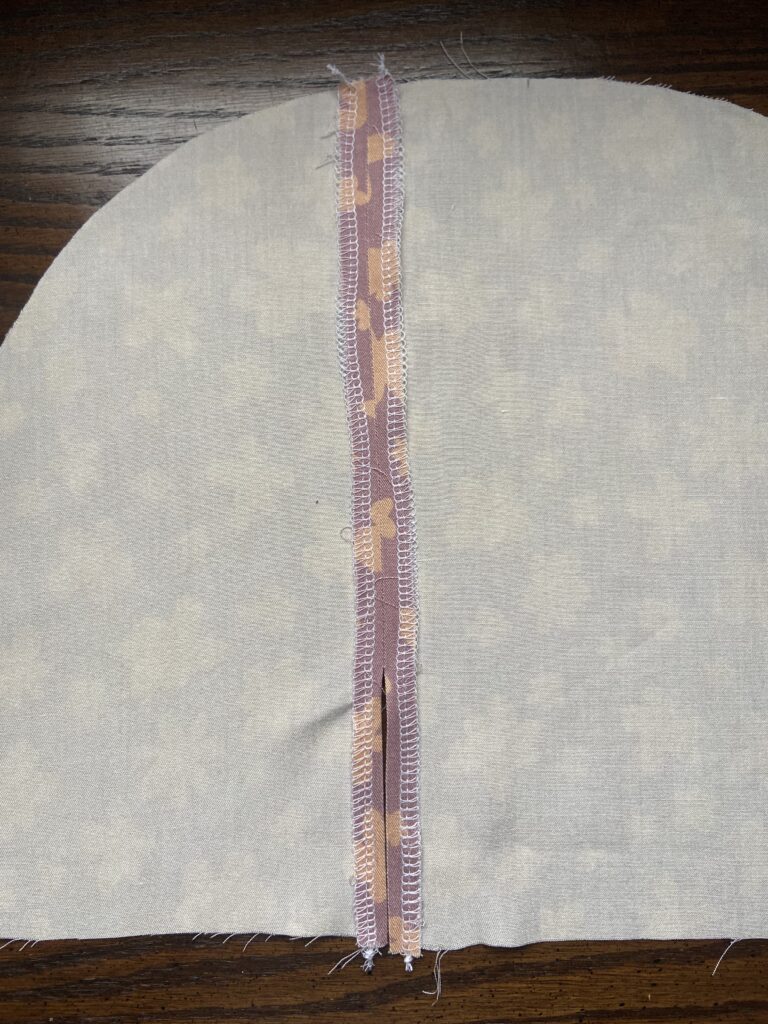
Finish the seam allowance separately and press open.
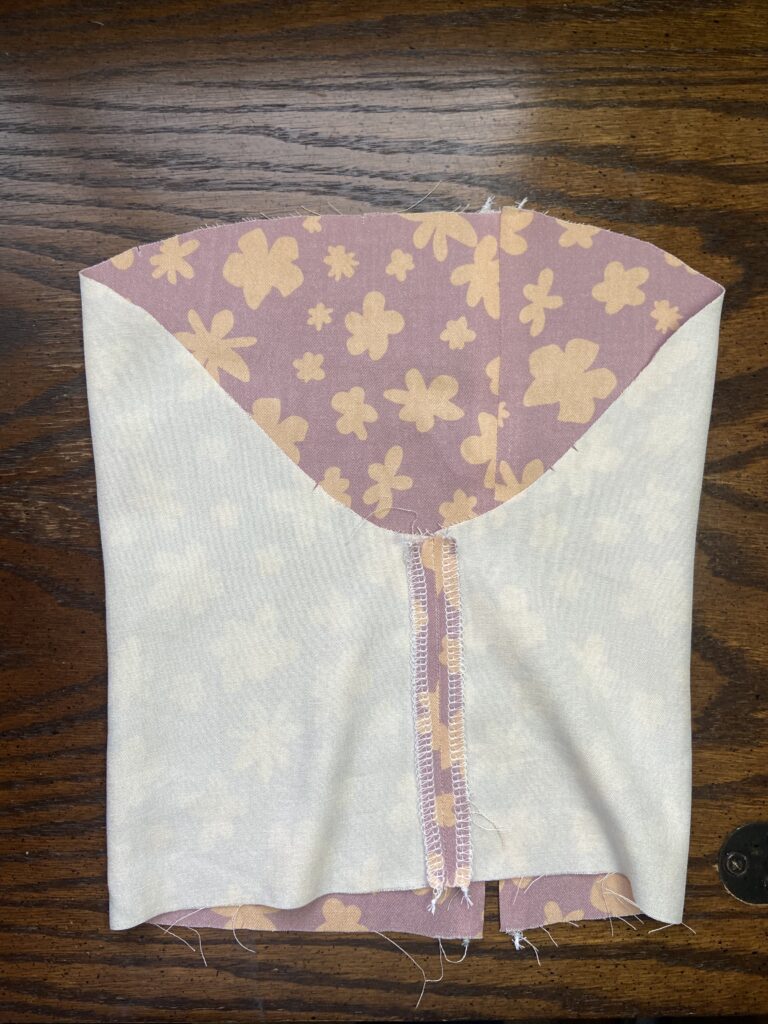
Next sew the other seam of the sleeve. Also finish seam allowance separately and press open. Set sleeve aside.
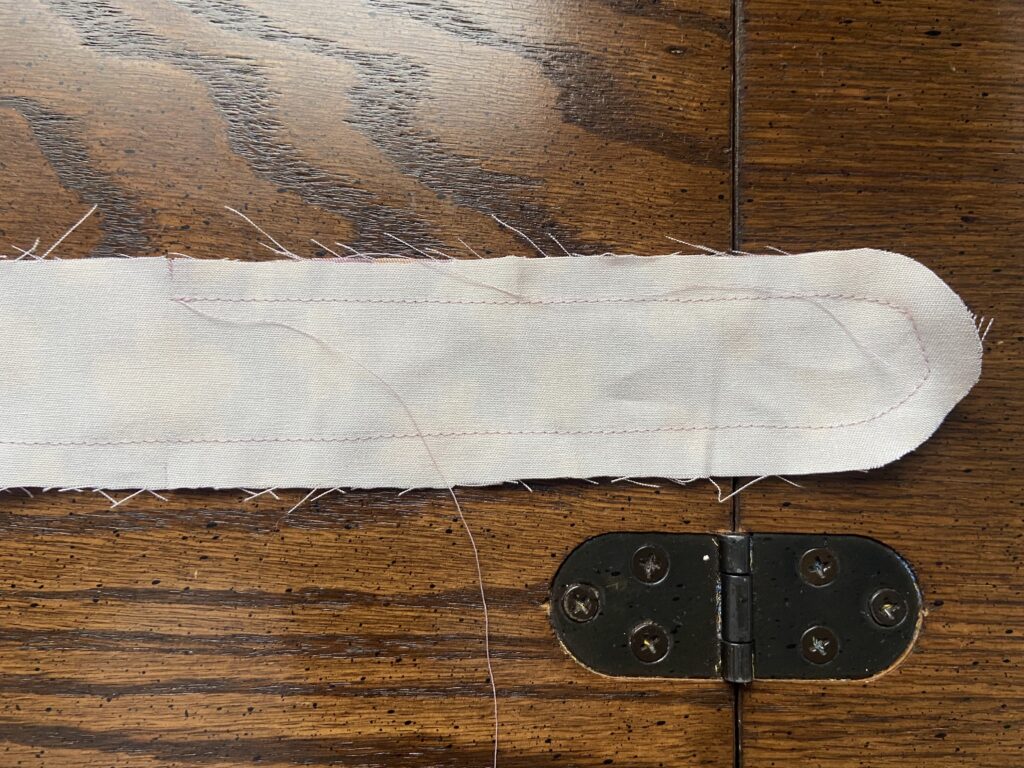
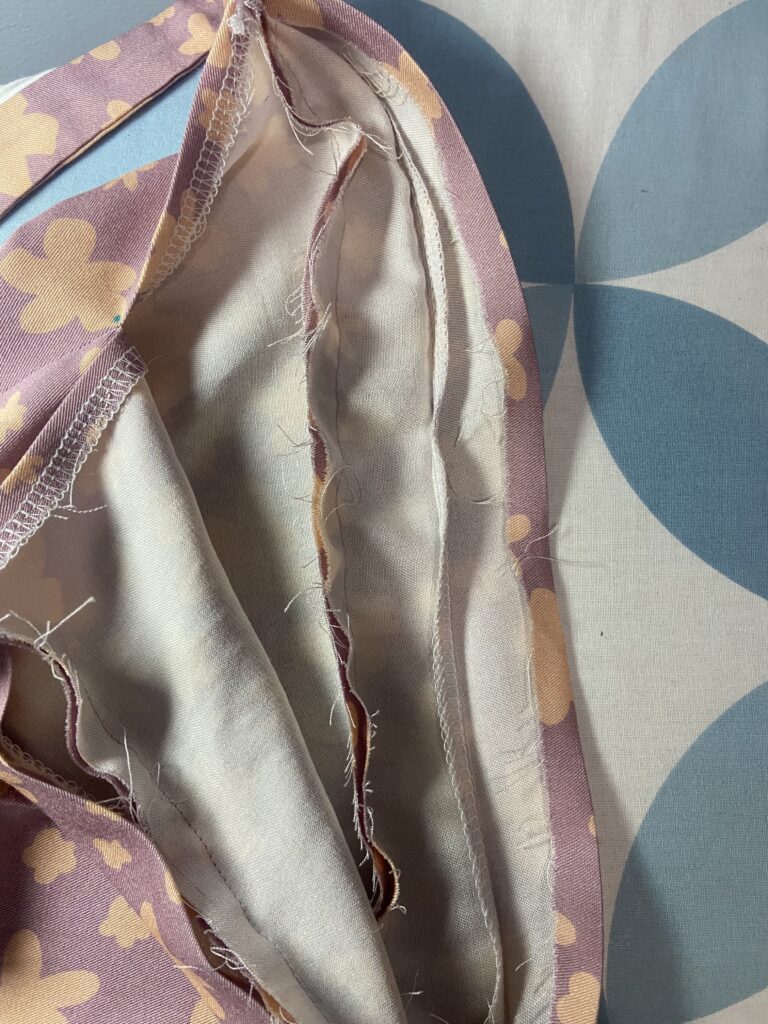
Next take two of your tie pieces, right side together. Pin. Before sewing draw in your seam allowance around the rounded ends. This will make it easier to sew around the end.
Sew from the top notch around the bottom to the other top notch. Leaving a space open between the two top notches to insert your sleeve. Trim the rounded ends to make a cleaner tip when turned right side out.
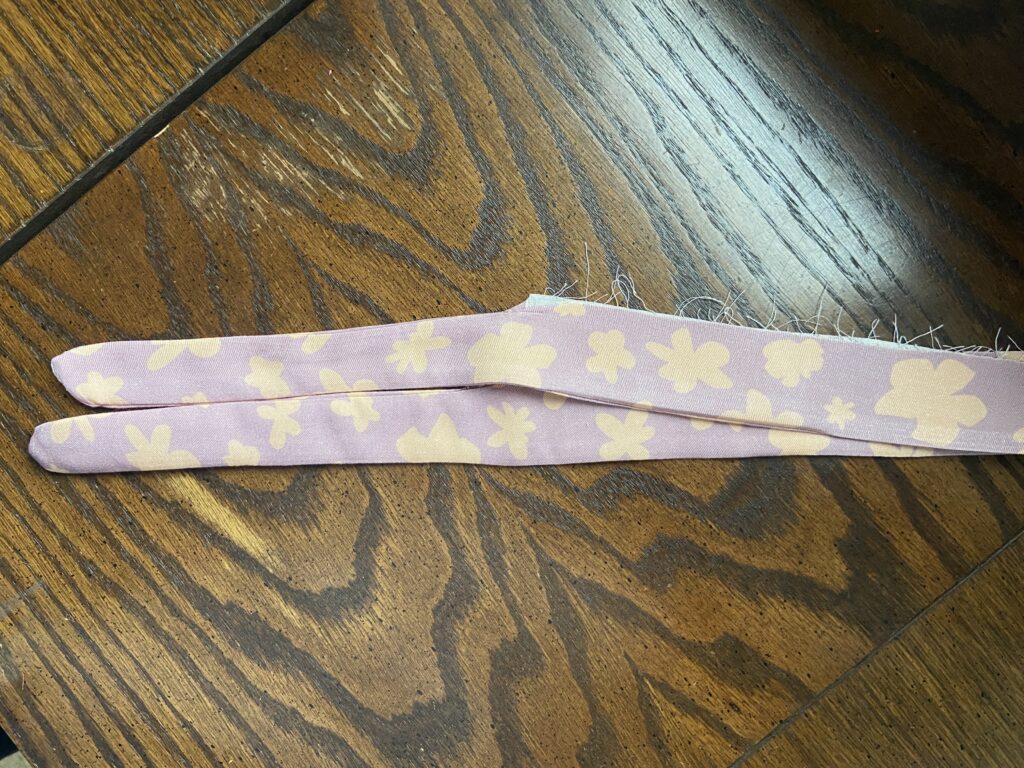
Turn right side out and press.
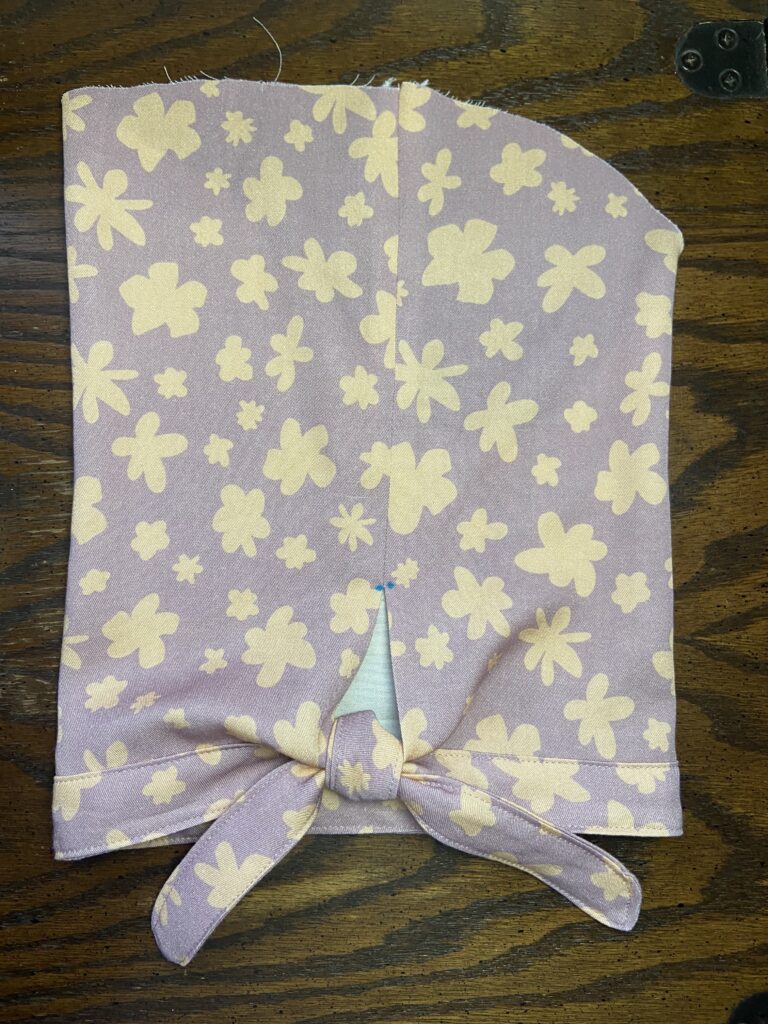
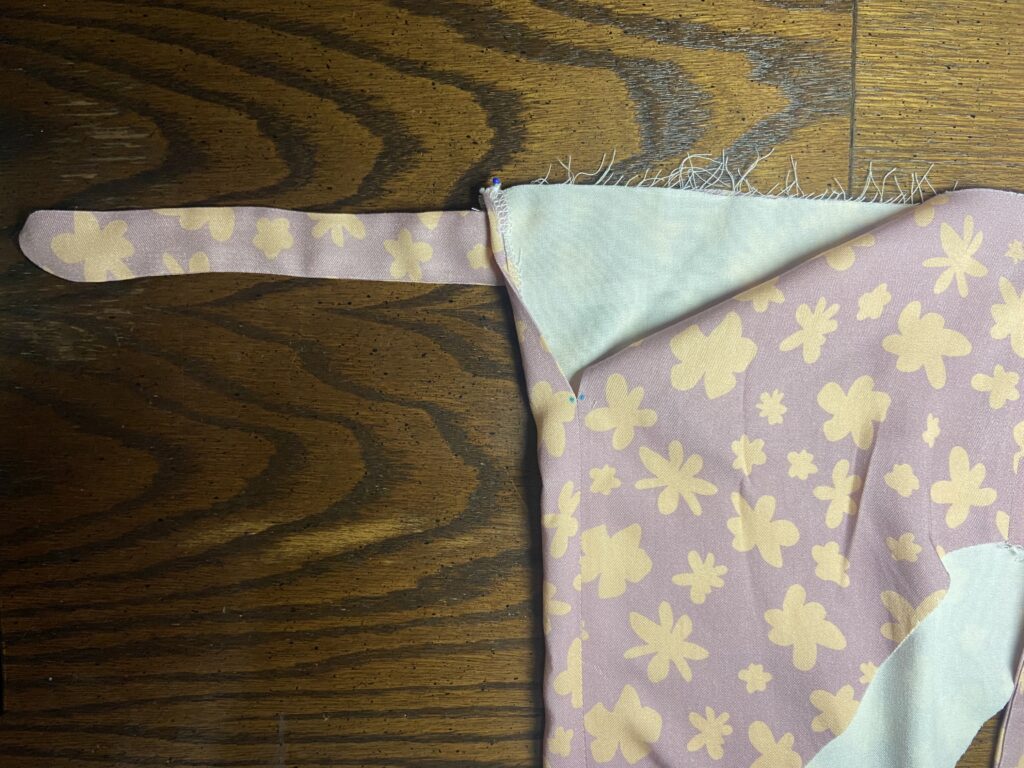
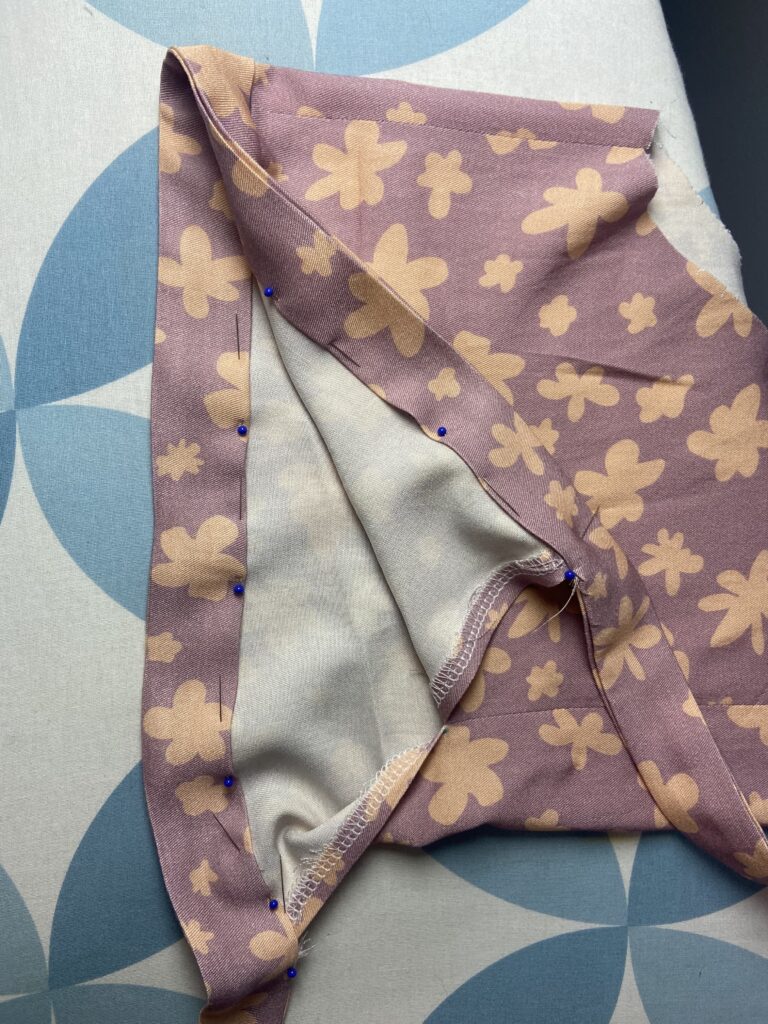
Ok this is where it gets a little complicated but you got this! With right sides together pin your sleeve opening to the tie. Think of it like bias tape. Trust the process and look at the photos.
Stitch around the sleeve opening, catching only the side of the tie touching the sleeve. We are going to fold it over the sleeve to finish.
Next press up the seam allowance of the side of the tie not sewn to the sleeve. For mine that is 3’8 of an inch.
Pin in place. Now you can either hand sew this to the inside edge for an invisible finish or you can top stitch. I was going for a causal look so I top stitched.
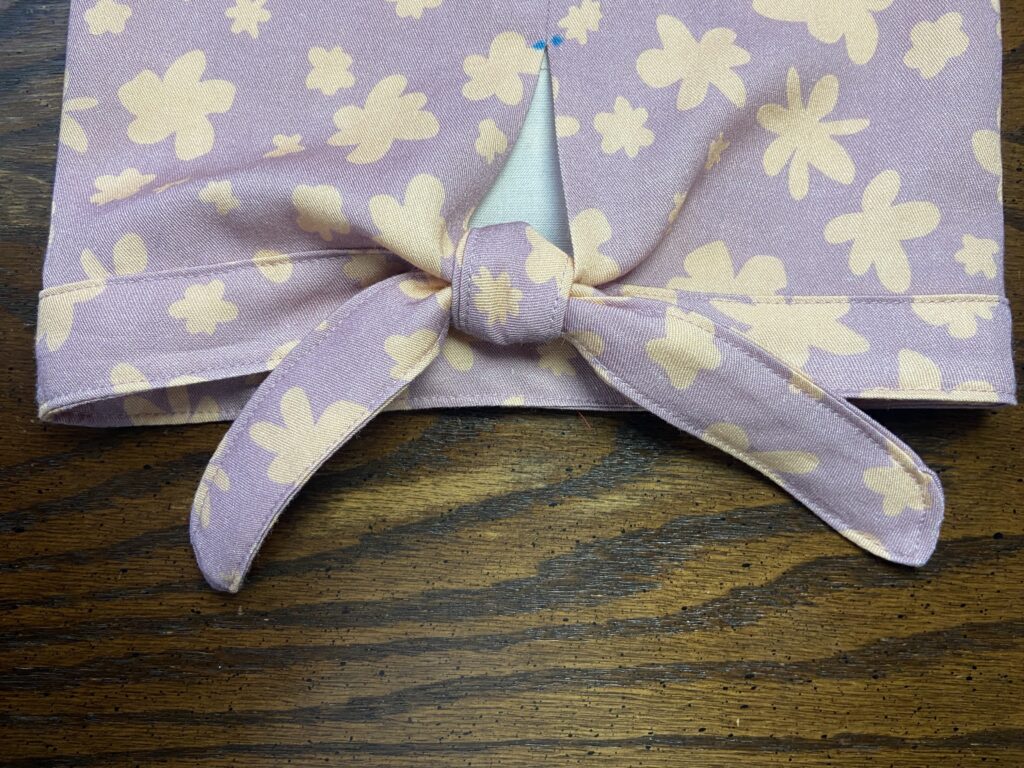
Give it a good press and you are done…your sleeve. Continue on with the rest of the dress and insert as normal!